Freebsd
![]()
Once you have launched your FreeBSD instance go to your OpenStack dashboard and execute these actions.
Login to OpenStack Horizon Dashboard and navigate to Project > Compute > Instances > FreeBSD instance > Console
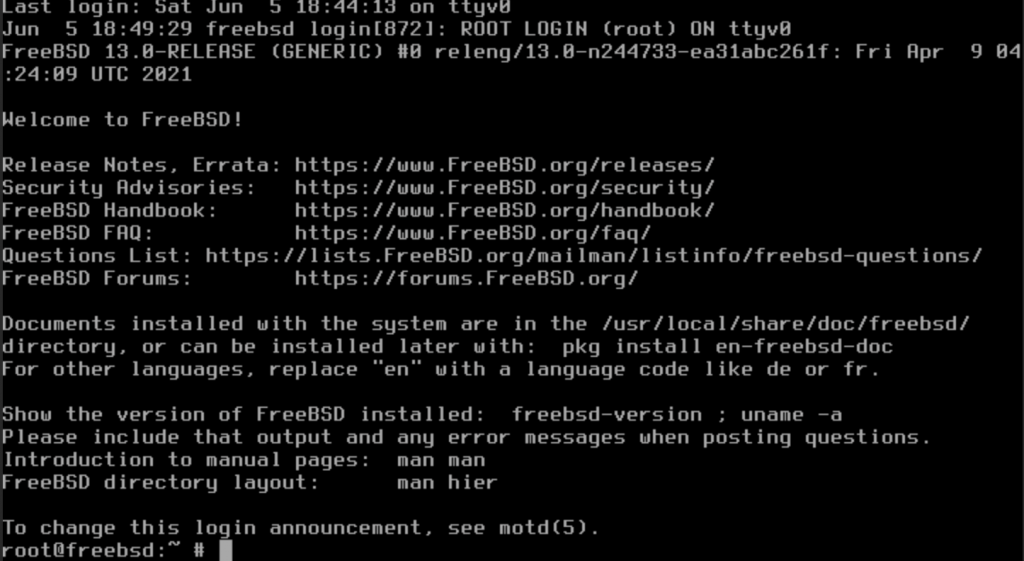
1) Login in your instance
Just enter root as login.

It will not ask for any password.
2) Change root password with this command:
passwd
3) Enable and configure the SSH service
To enable the SSH service at login edit the /etc/rc.conf file
vi /etc/rc.conf
sshd_enable="YES"
Then edit the /etc/ssh/sshd_config file and modify theses lines like below:
PasswordAuthentication yes
PermitRootLogin yes
Start the SSH service
/etc/rc.d/sshd start
You can now login with the root user and the password you have set previously.
Beware that your ssh key will not be automatically configured as FreeBSD comes without cloud-init. If you already have an ssh key configured on your computer you can use it by following the instructions below.
ssh-copy-id root@<SERVER_IP_ADDRESS>
Then edit /etc/ssh/sshd_config file and edit this line like below :
PasswordAuthentication no
Now restart SSH service to apply changes, and allow you to login with your keypair
/etc/rc.d/sshd restart
You now have a new FreeBSD instance configured properly.