Connecting to the project
The unified OpenStack client (openstack) is the recommended command line interface. Most of the examples in this guide will use this client. We recommend to use the most recent OpenStack client available to you. There are also versions available for standalone Mac, Windows and Linux machines.
To install the OpenStack tools on your own client machine you can follow one of this method :
Installation
Linux
Red Hat / Cent OS
sudo yum install python3-openstackclient
Debian 10 (Buster)
If you didn't have the buster-backports repository activated, to so:
echo "deb http://deb.debian.org/debian buster-backports main" | sudo tee /etc/apt/sources.list.d/buster-backports
sudo apt-get update
Add the Victoria backports repository for Buster and install all OpenStack clients:
sudo apt install extrepo
sudo extrepo enable openstack_victoria
sudo apt update
sudo apt install openstack-clients
Debian 11 (Bullseye)
sudo apt install openstack-clients
Ubuntu
sudo add-apt-repository cloud-archive:victoria
sudo apt update
sudo apt install python3-aodhclient python3-barbicanclient python3-cinderclient python3-cloudkittyclient python3-glanceclient python3-gnocchiclient python3-heatclient python3-keystoneclient python3-magnumclient python3-neutronclient python3-novaclient python3-octaviaclient python3-openstackclient python3-osc-placement python3-swiftclient
MacOS
brew
Info
If brew is not already installed yet you can fetch the one-liner installation from https://brew.sh/
Once you have brew installed you can install Openstack client just like any other package
brew install openstackclient
pip
pip install --upgrade pip wheel
pip install python-openstackclient
Info
In case you wish not to mess-up with your system libraries you may as well use a Python virtual env, see the documentation at https://docs.python.org/3/library/venv.html
Retrieve credentials
In the list of users, you can download the OpenStack file

Your file will look like this:
export OS_AUTH_URL=https://api.pub1.infomaniak.cloud/identity/v3
export OS_PROJECT_NAME=PCP-U2CAZJ4
export OS_PROJECT_DOMAIN_NAME=default
export OS_USERNAME=PCU-U2CAZJ4
export OS_USER_DOMAIN_NAME=default
export OS_PROJECT_ID=7368f02b559648d0a9ff15bff29b464f
export OS_IDENTITY_API_VERSION=3
export OS_INTERFACE=public
export OS_REGION_NAME=dc3-a
# To avoid being prompted for your password each time,
# write your password below and uncomment the line
#OS_PASSWORD='your password goes here'
[ -z "$OS_PASSWORD" ] && read -e -p "Please enter your OpenStack Password for project $OS_PROJECT_NAME as user $OS_USERNAME: " OS_PASSWORD
export OS_PASSWORD
export OS_AUTH_URL=https://api.pub1.infomaniak.cloud/identity/v3
export OS_PROJECT_NAME=PCP-U2CAZJ4
export OS_PROJECT_DOMAIN_NAME=default
export OS_USERNAME=PCU-U2CAZJ4
export OS_USER_DOMAIN_NAME=default
export OS_PROJECT_ID=7368f02b559648d0a9ff15bff29b464f
export OS_IDENTITY_API_VERSION=3
export OS_INTERFACE=public
export OS_REGION_NAME=dc3-a
export OS_PASSWORD='<password>'
Remember to replace <password> with your password of course.
Getting ready
Source the openRC file :
source <your_file>
Sample command you can issue to test you are ready.
$ openstack project list
+----------------------------------+-------------+
| ID                               | Name        |
+----------------------------------+-------------+
| d17cf39d24a44eab9b1307db04886e3c | PCP-WDPGE71 |
+----------------------------------+-------------+
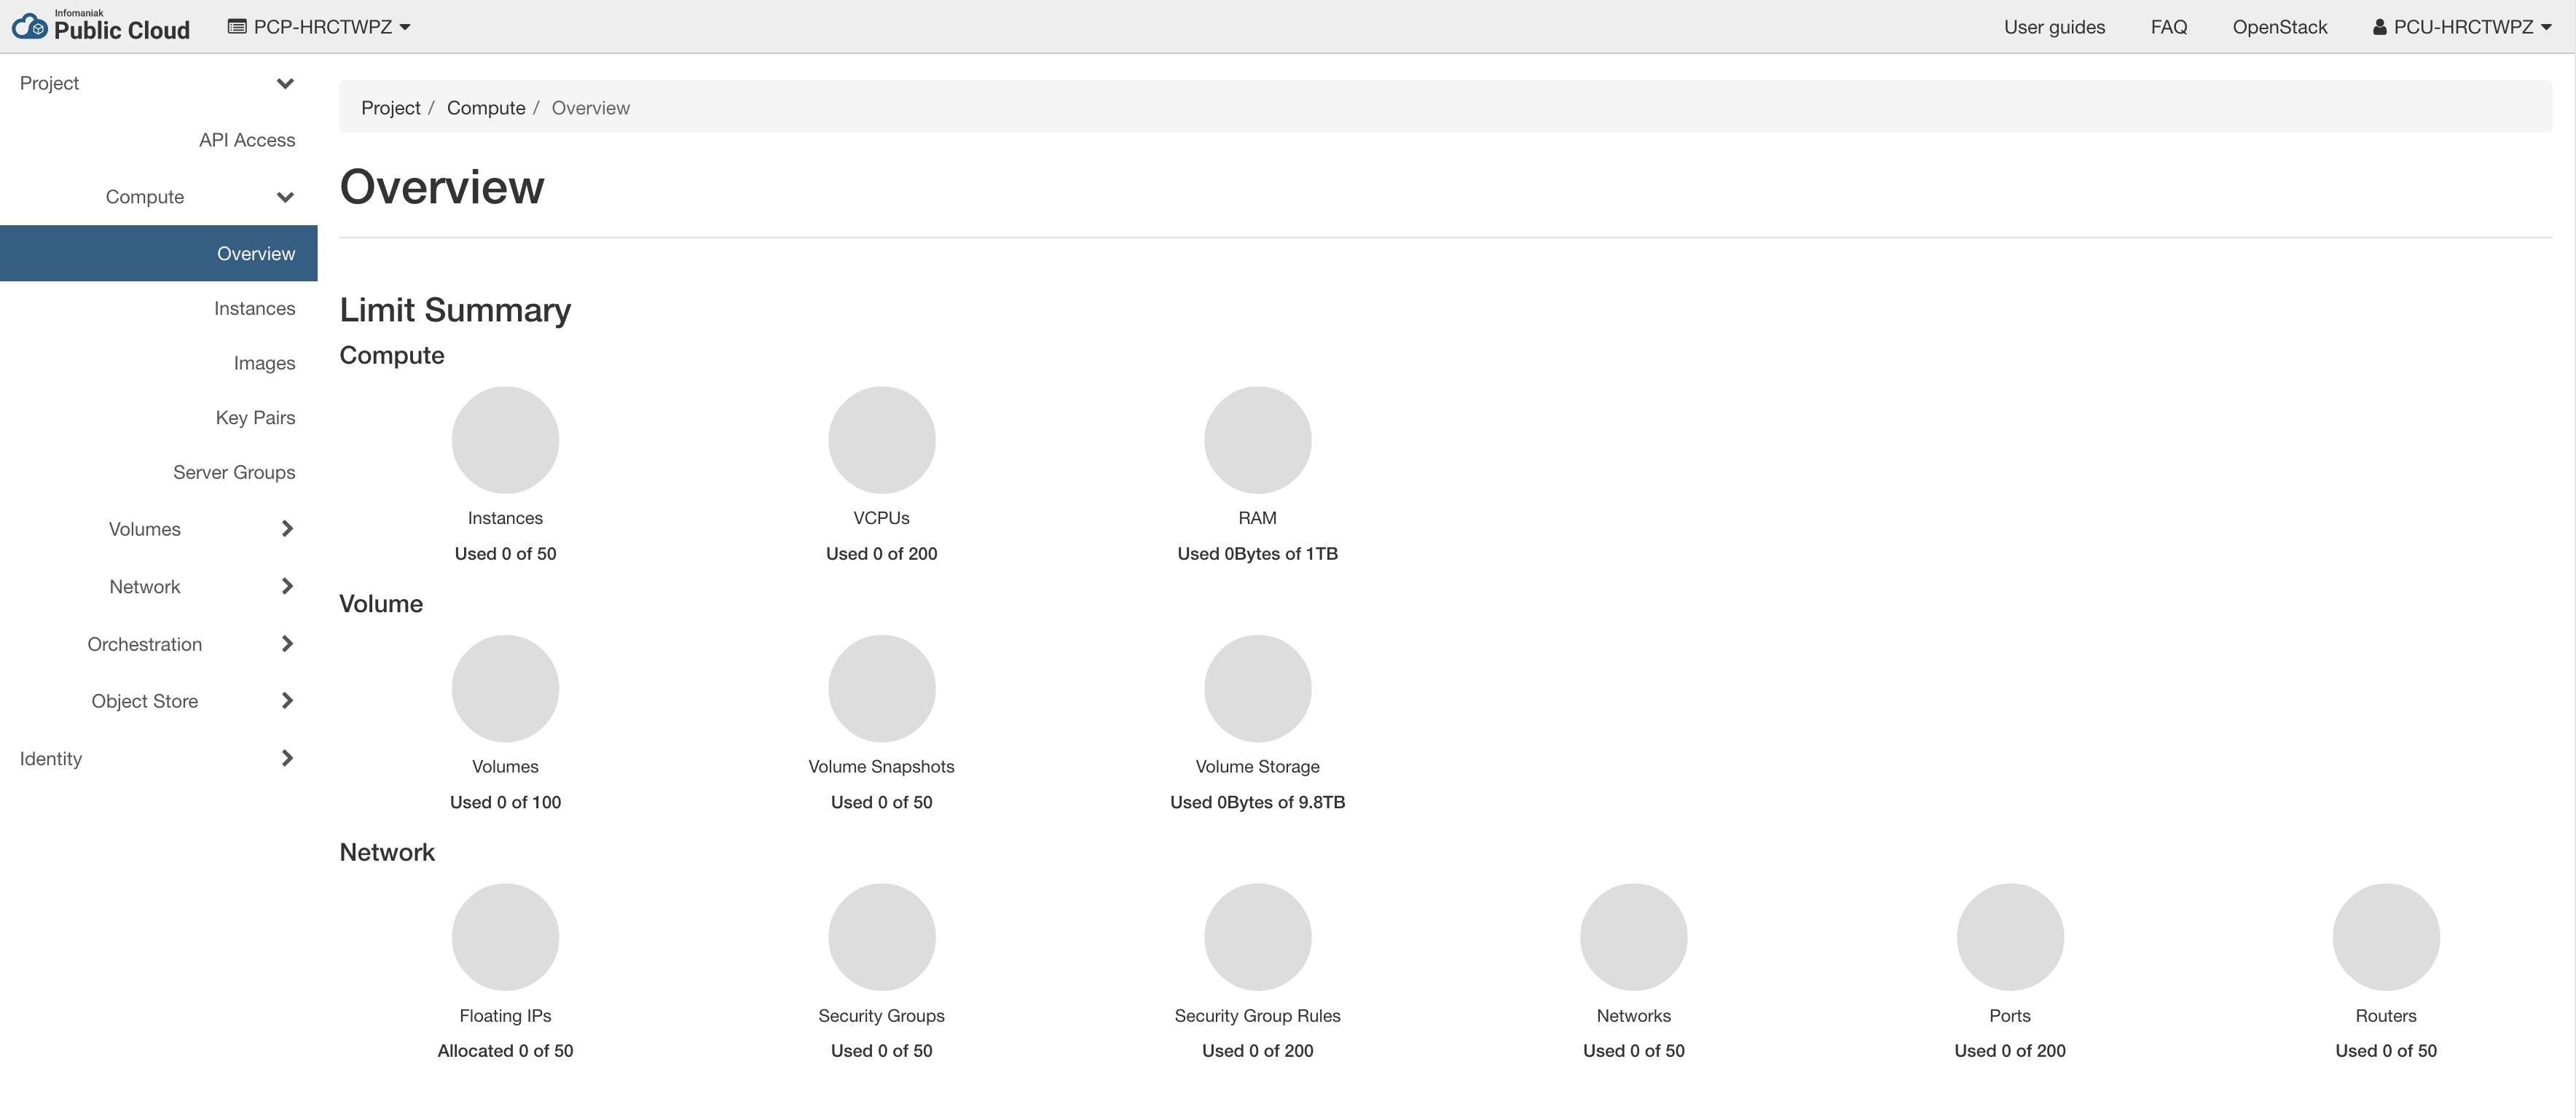
Horizon is a web interface allowing you to create and manage your instances, images etc...
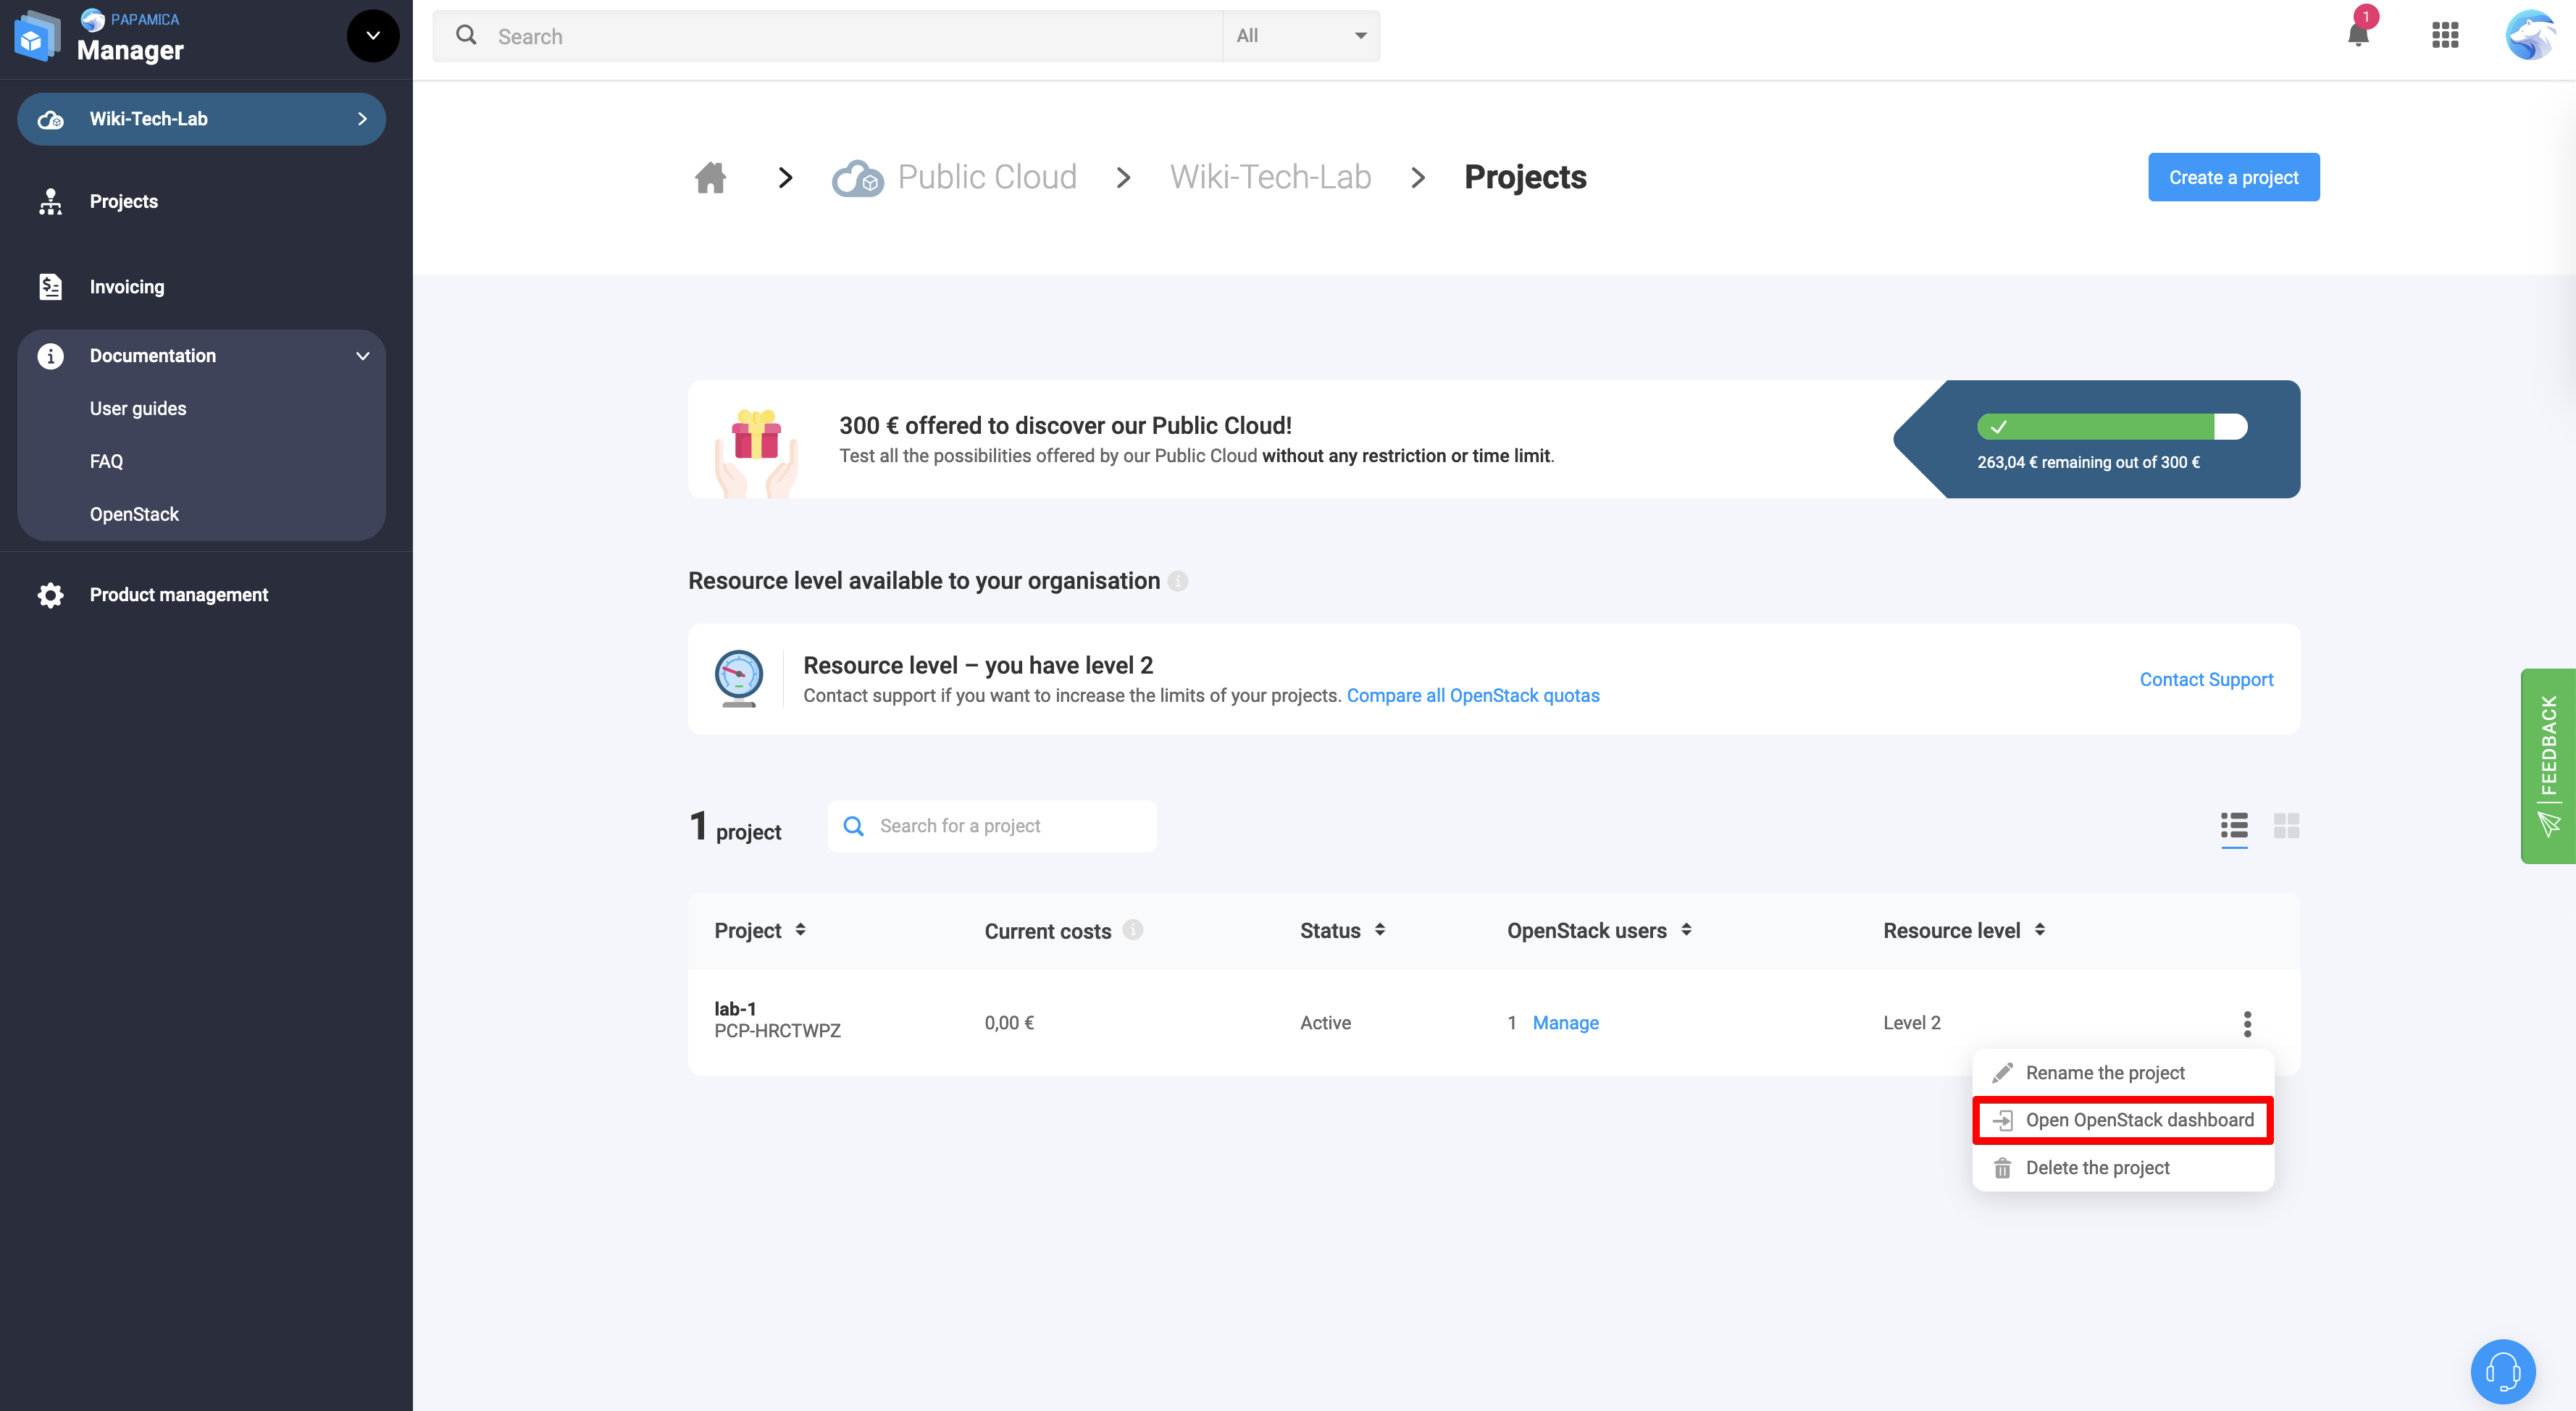
Click on the name of your project or on Open the OpenStack dashboard.
 Log in with the previously created credentials

Welcome to the Openstack dashboard of your project!