Skip to content

Create a project

Projects are globals

There is no separation of projects based on the different regions that make up the infrastructure.
When creating a project, it will be global and can be used to provision resources in any region. The choice of the region to be used is made directly through the Horizon console or via command-line options.

Creating a project

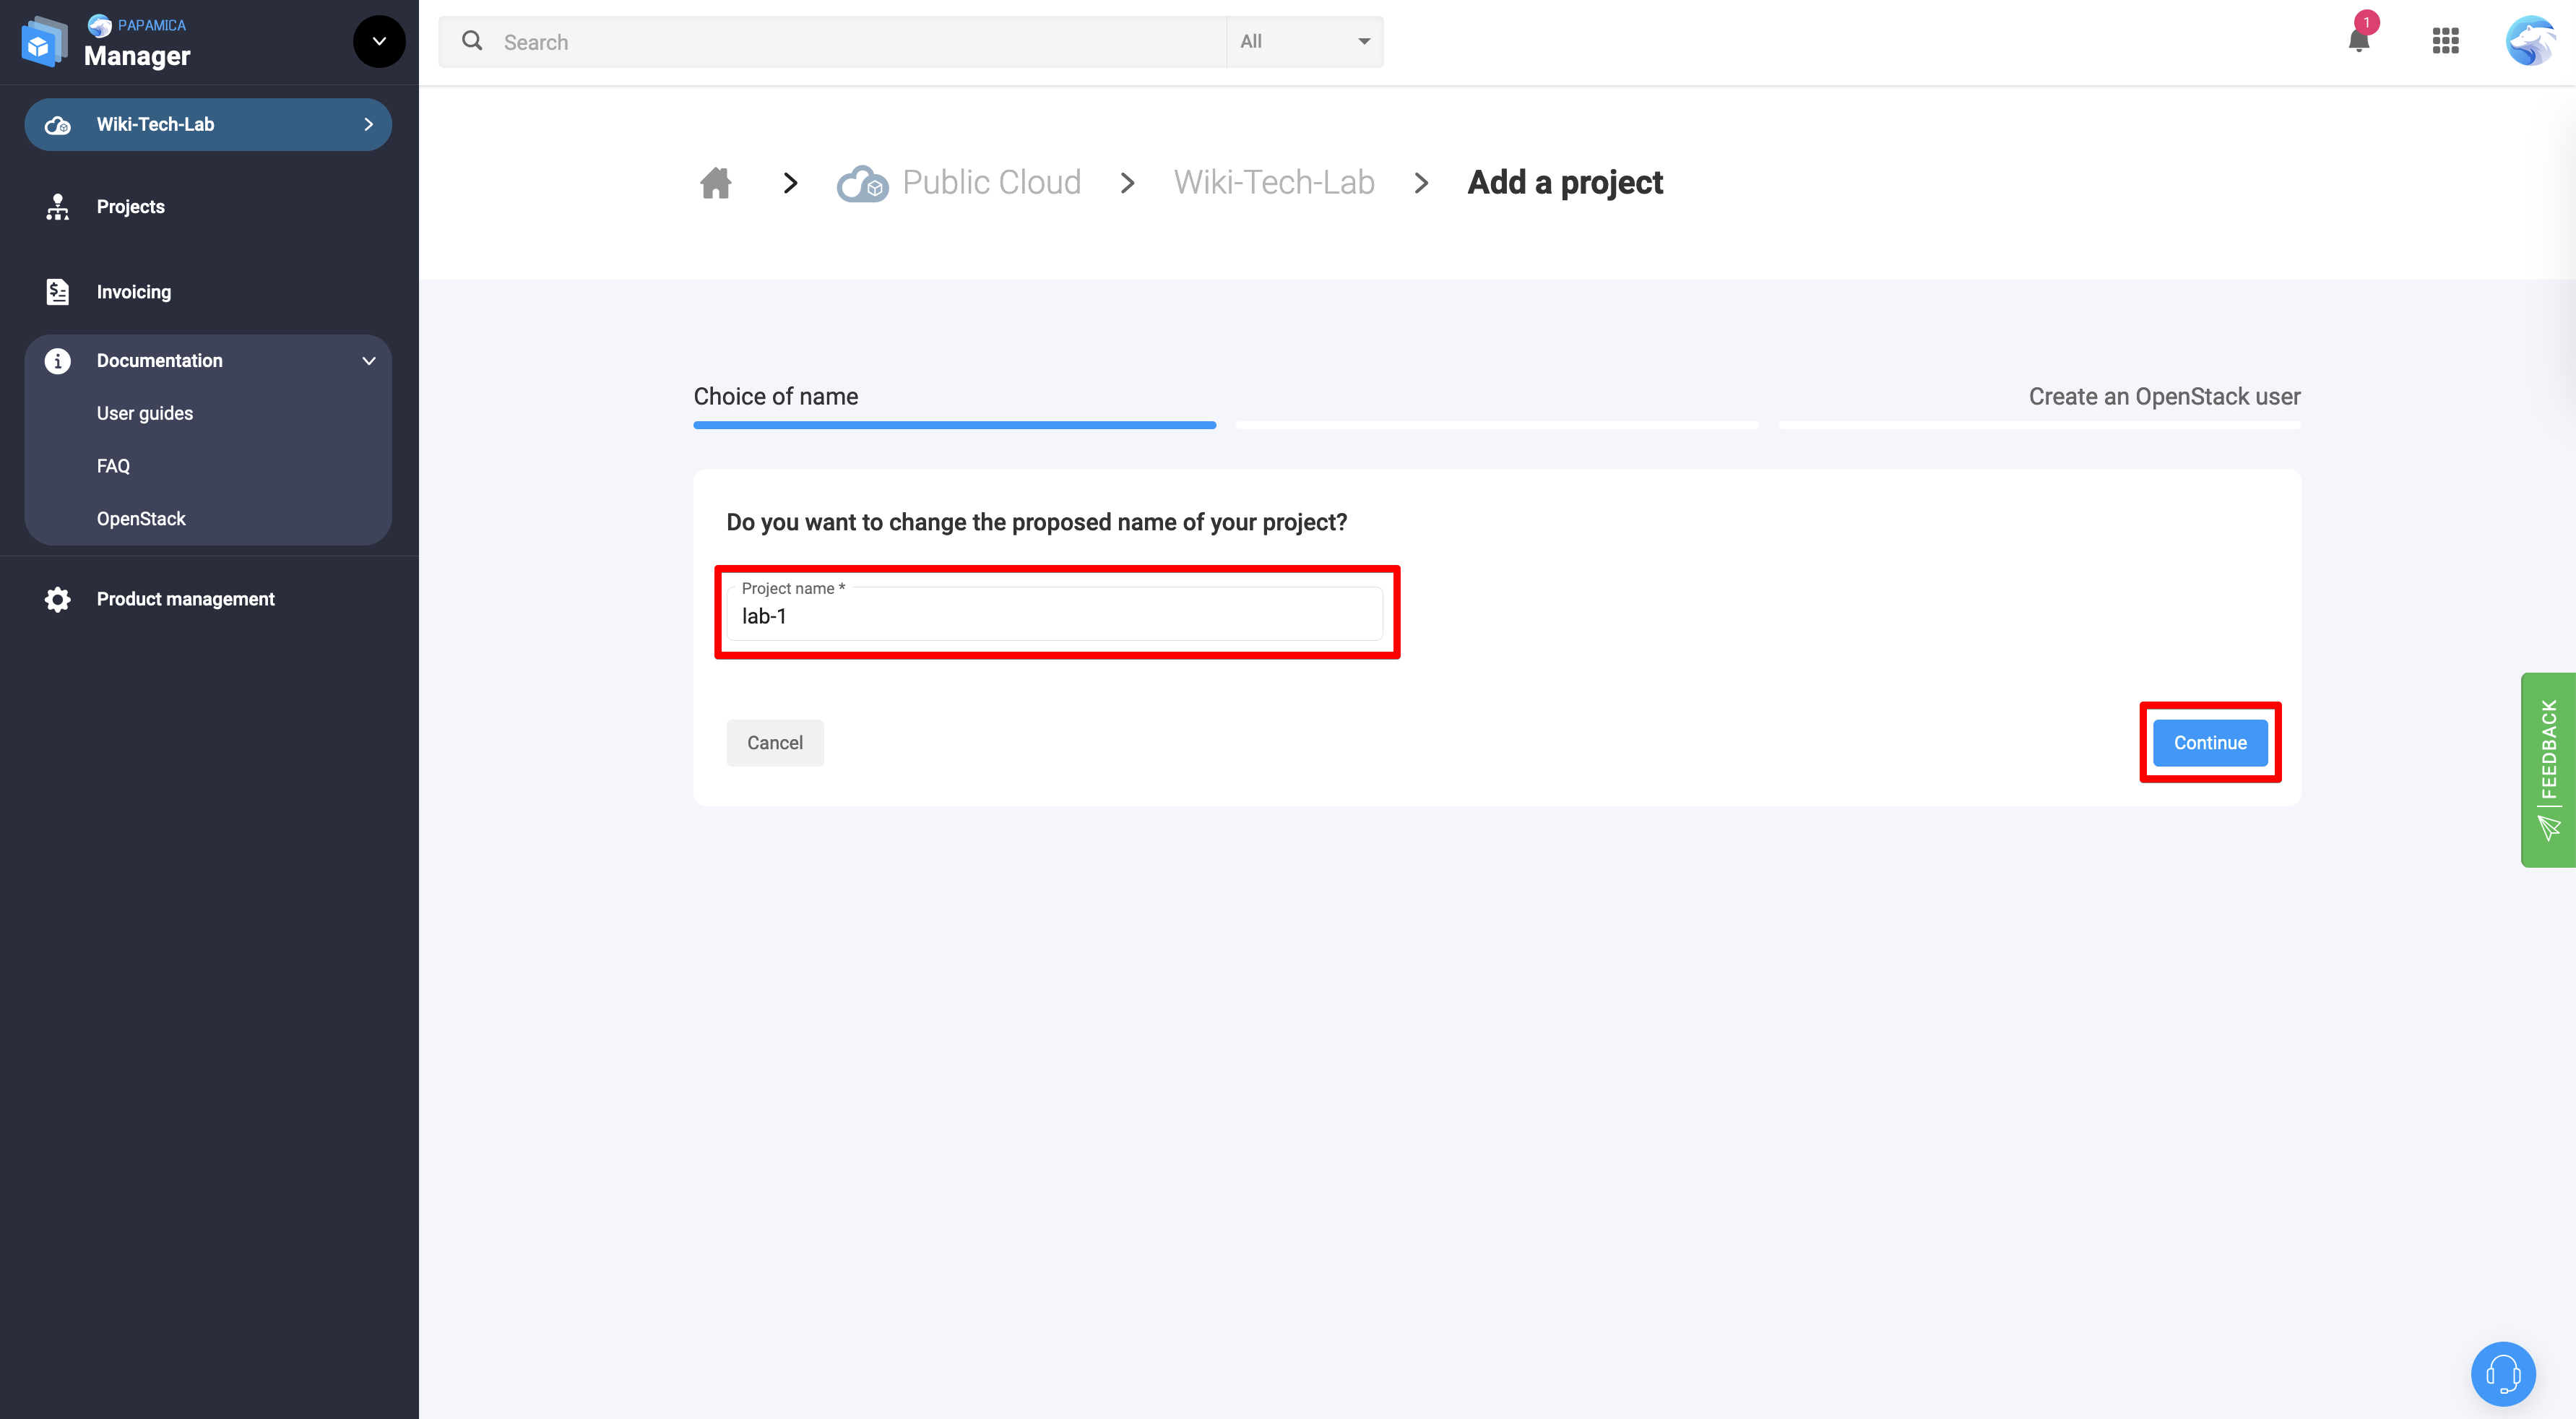
Once you have ordered your Public Cloud, you will be taken to the following dashboard where you can create your first project:

Click on Create a project. infomaniak-publiccloud_01.png
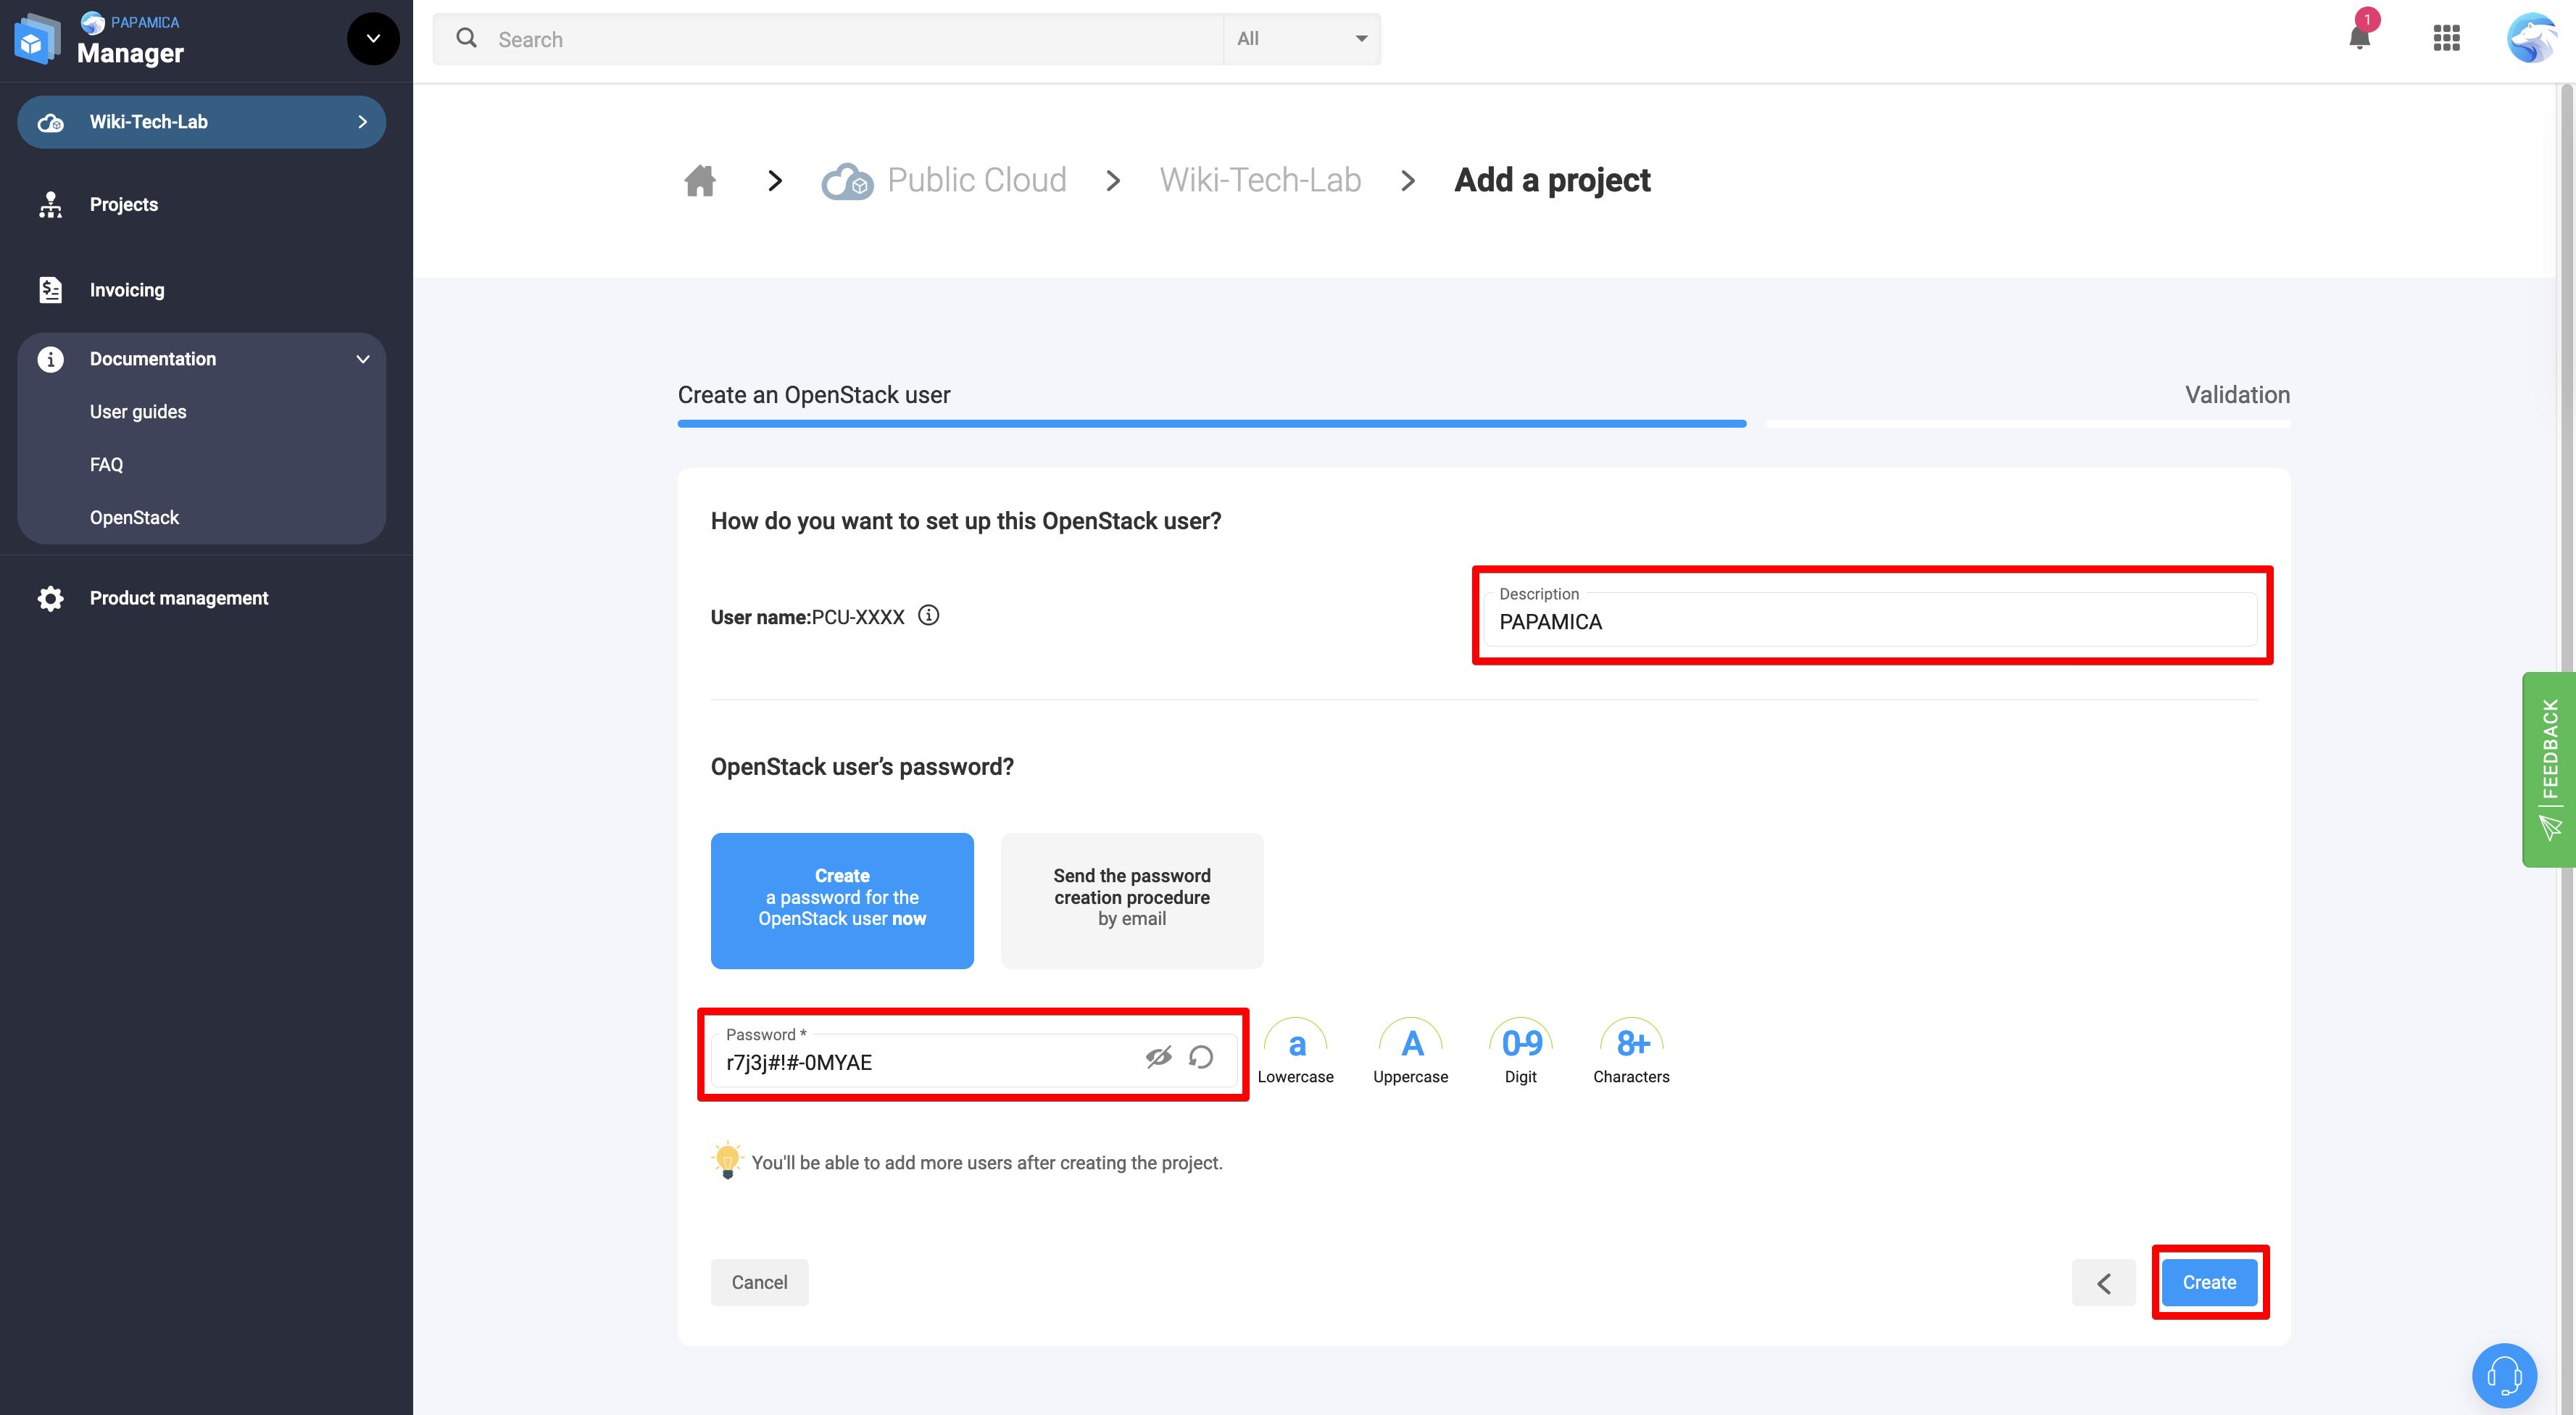
Give a name for your project and click on Continue infomaniak-publiccloud_02.png

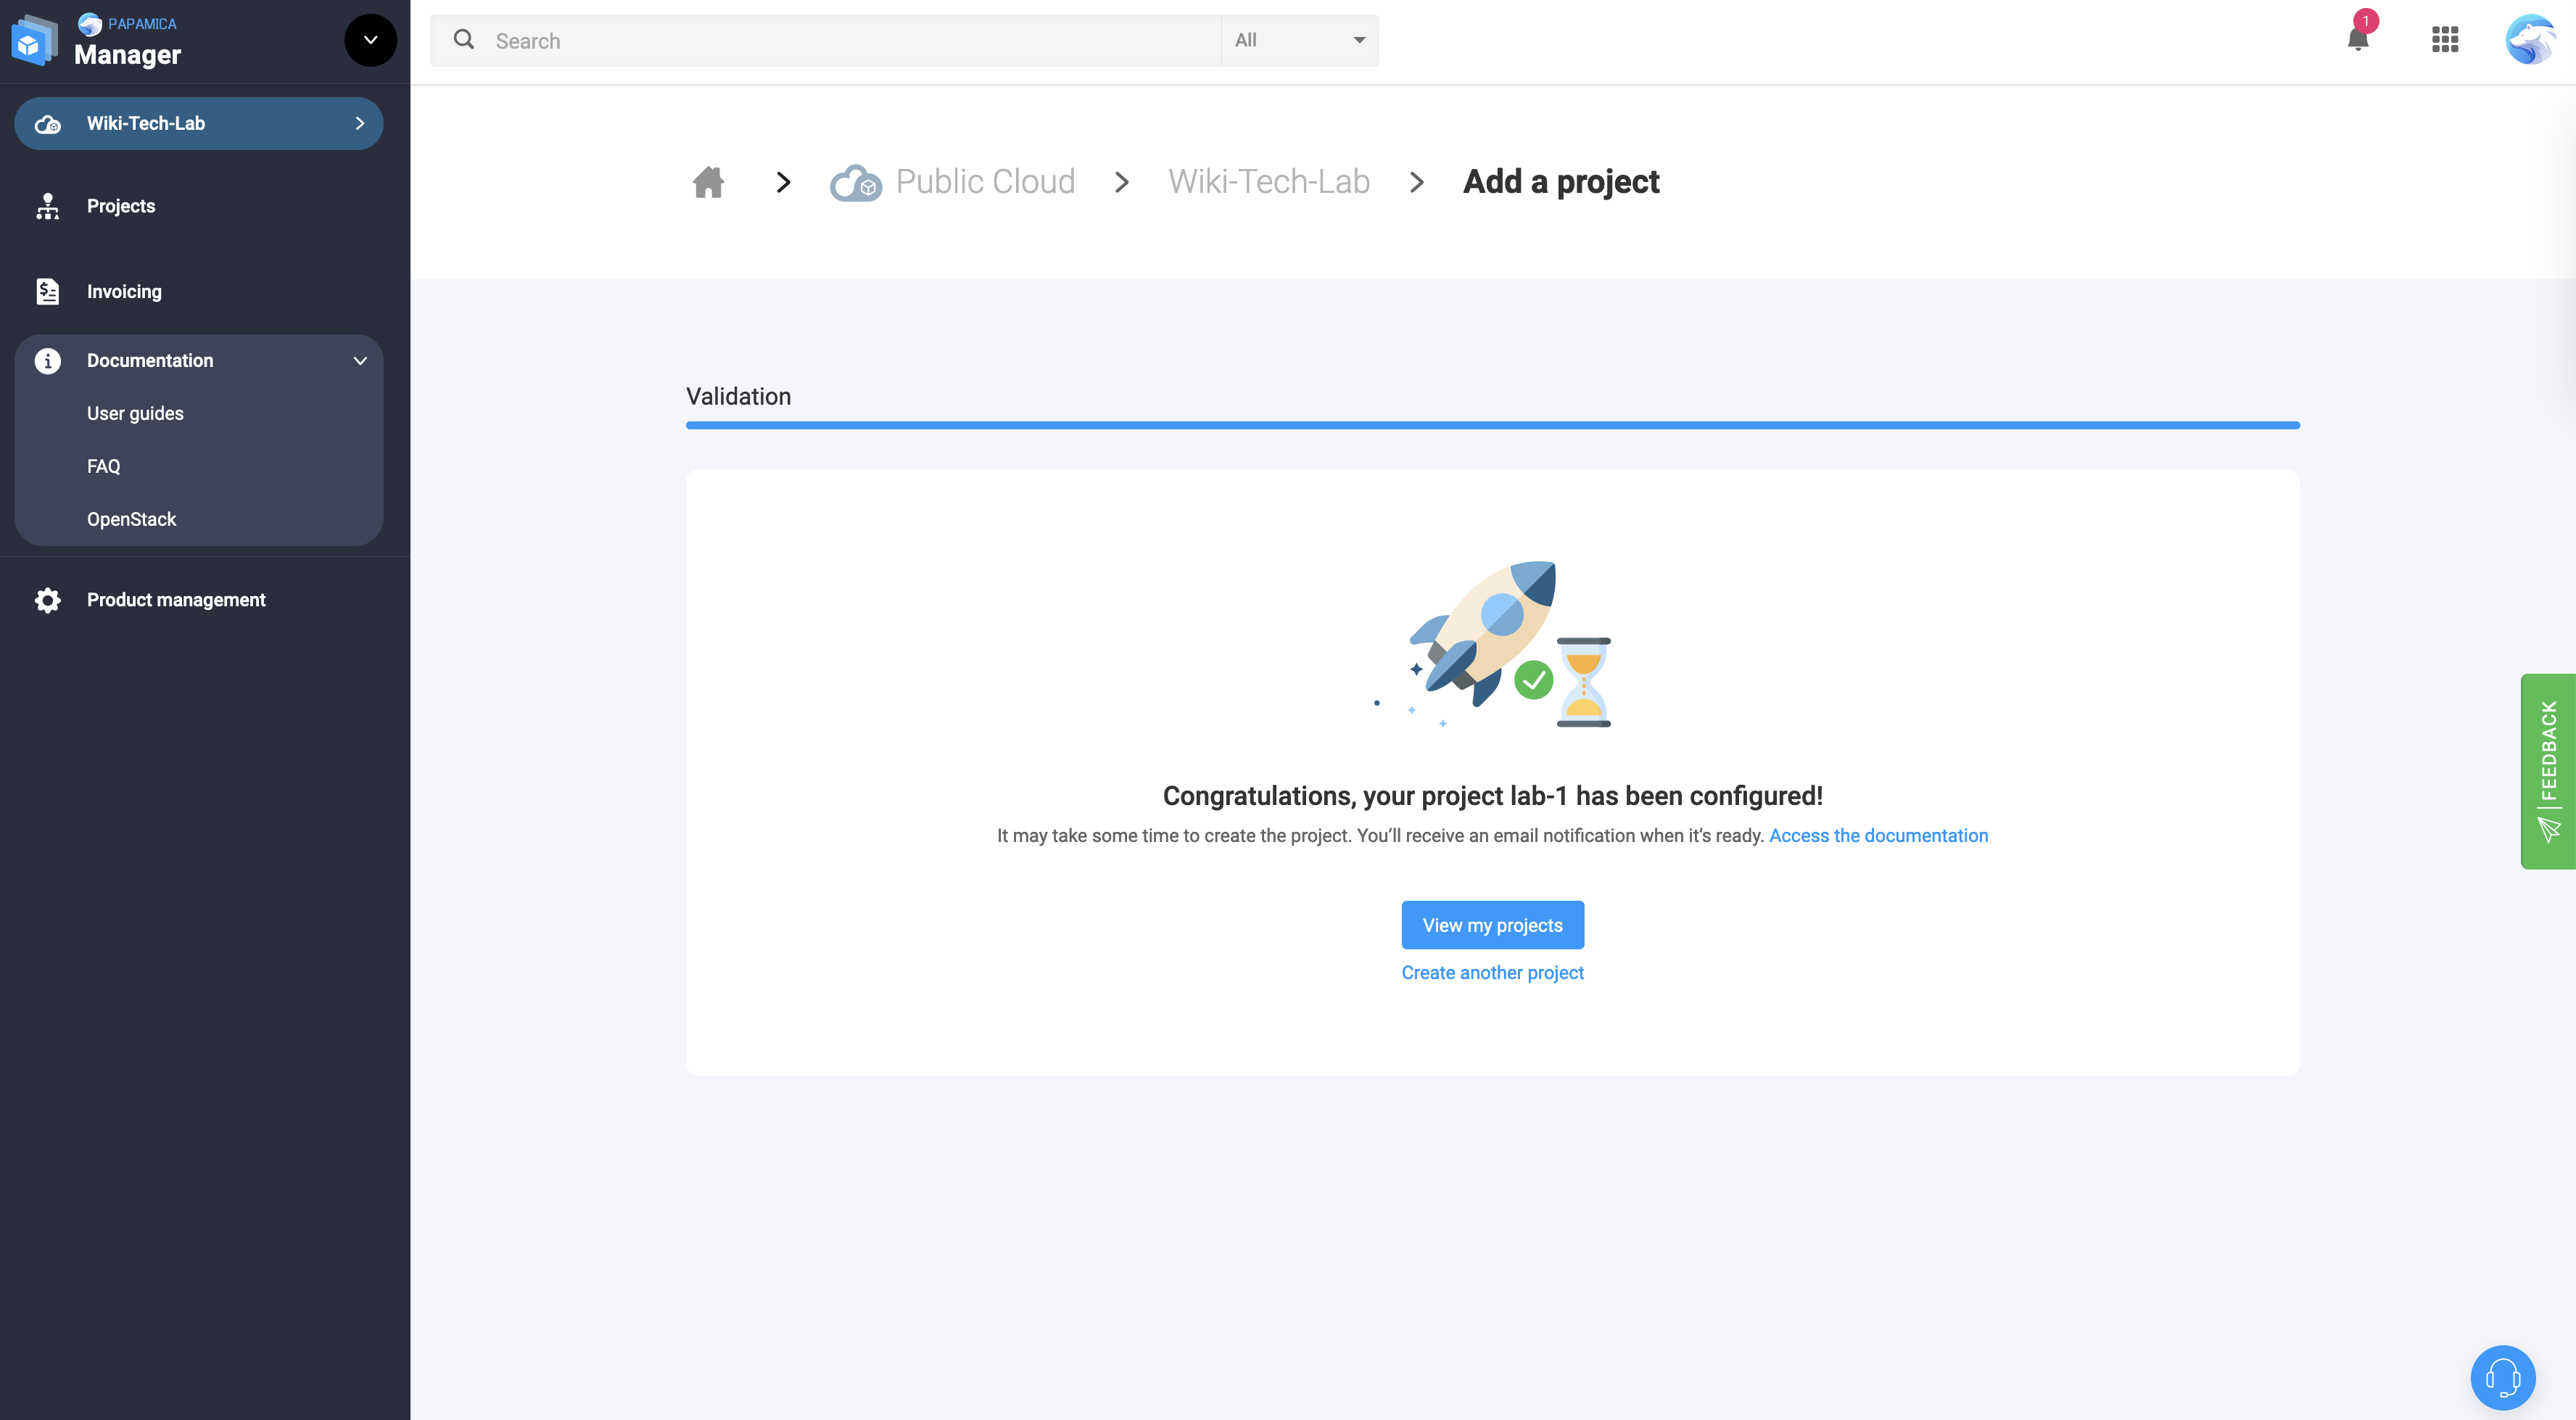
Now you will create your first user for your project. All users on Infomaniak Public Cloud platform are created with a username like this PCU-XXXXXX and you can't modify it. But you can add a description to identify users more efficiently.
Then add password for the new user. You can use you own password or use password generator.

To finish click on Create infomaniak-publiccloud_03.png

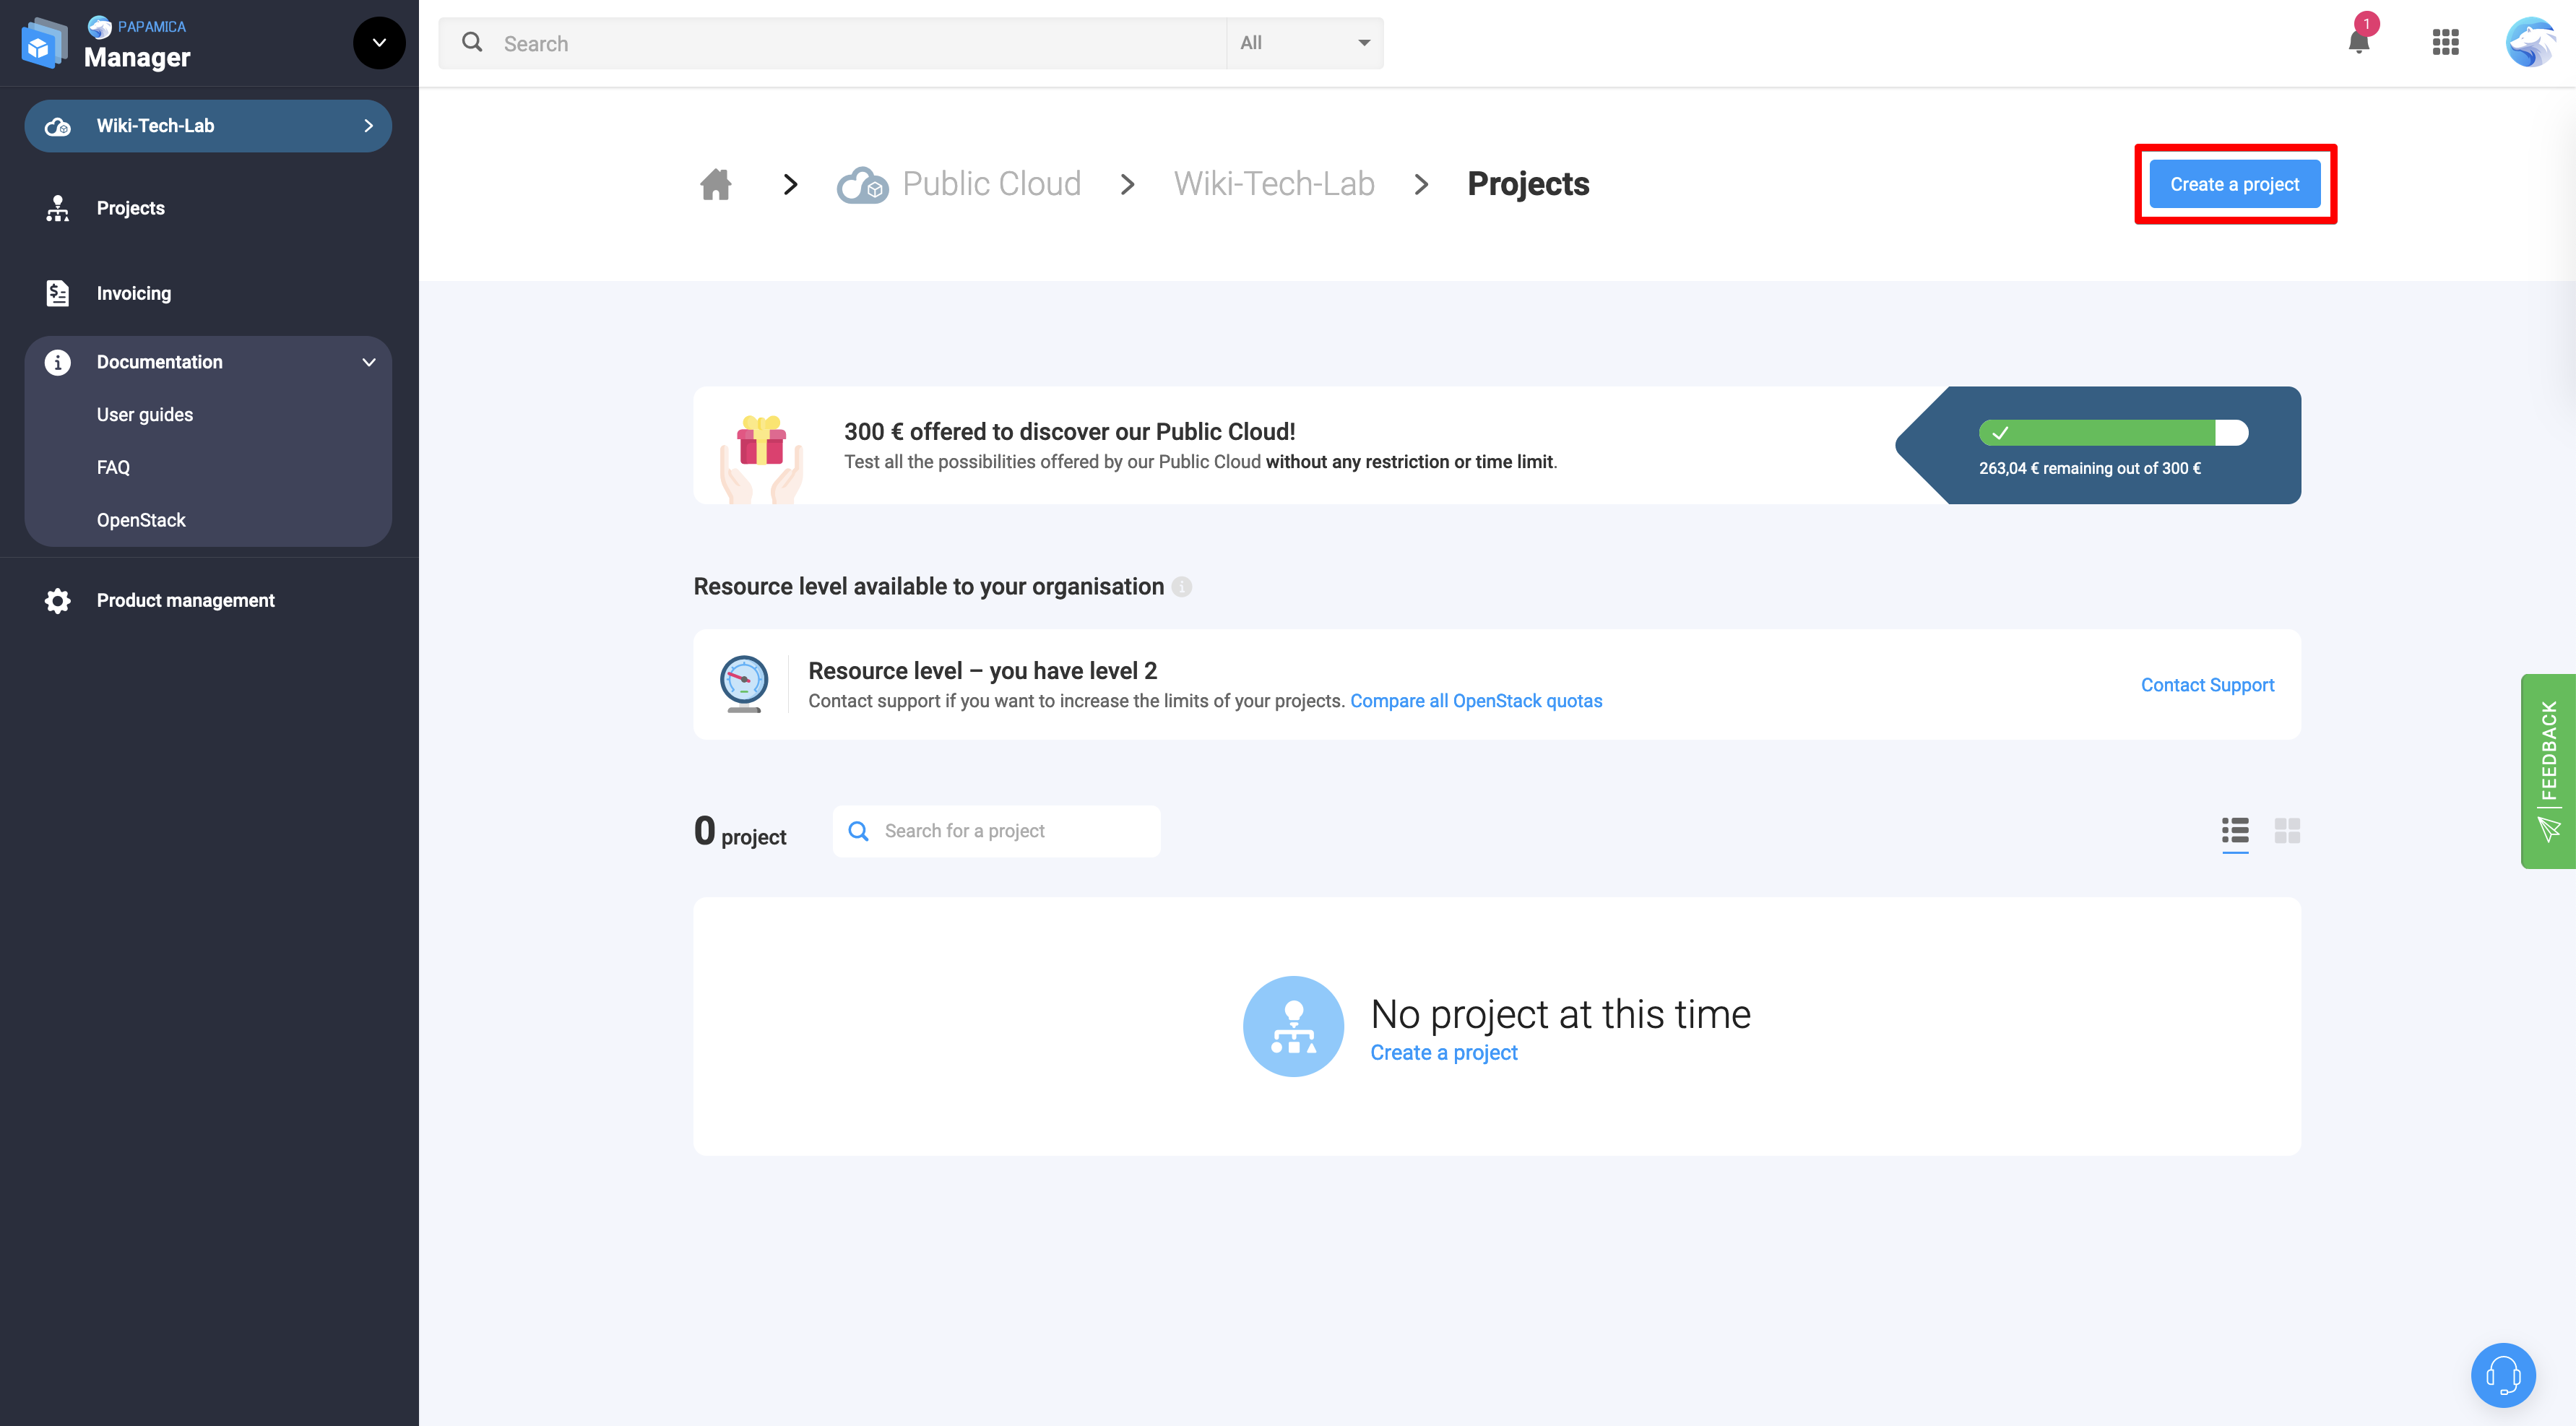
You will then see the page confirming the creation of your project.
Click on View my projects infomaniak-publiccloud_05.png

You can see that your new project is available in the list of projects attached to your account. infomaniak-publiccloud_06.png

User management

All user management tasks can be performed via the infomaniak manager.

To make changes to a user, such as changing its password or description, select your project line and click on manage in the Openstack Users column, or select the side menu on the right and select Manage users. infomaniak-publiccloud_06.png

In this page you can perform any actions on users such as:

  • Edit description
  • Change password
  • Download authentication files
  • Delete users
  • Add a new user to the current project

infomaniak-publiccloud_07.png