Terminated-TLS Loadbalancer
This use case demonstrates how to configure a load balancer with terminated TLS. In this configuration, the load balancer itself serves the TLS certificate to the client and terminates the TLS connection. The traffic between the client and the load balancer is encrypted, but once the load balancer decrypts it, the communication between the load balancer and the backend servers is unencrypted. This setup is useful when encryption is required for client-facing traffic, but not for internal communication within the network.
Info
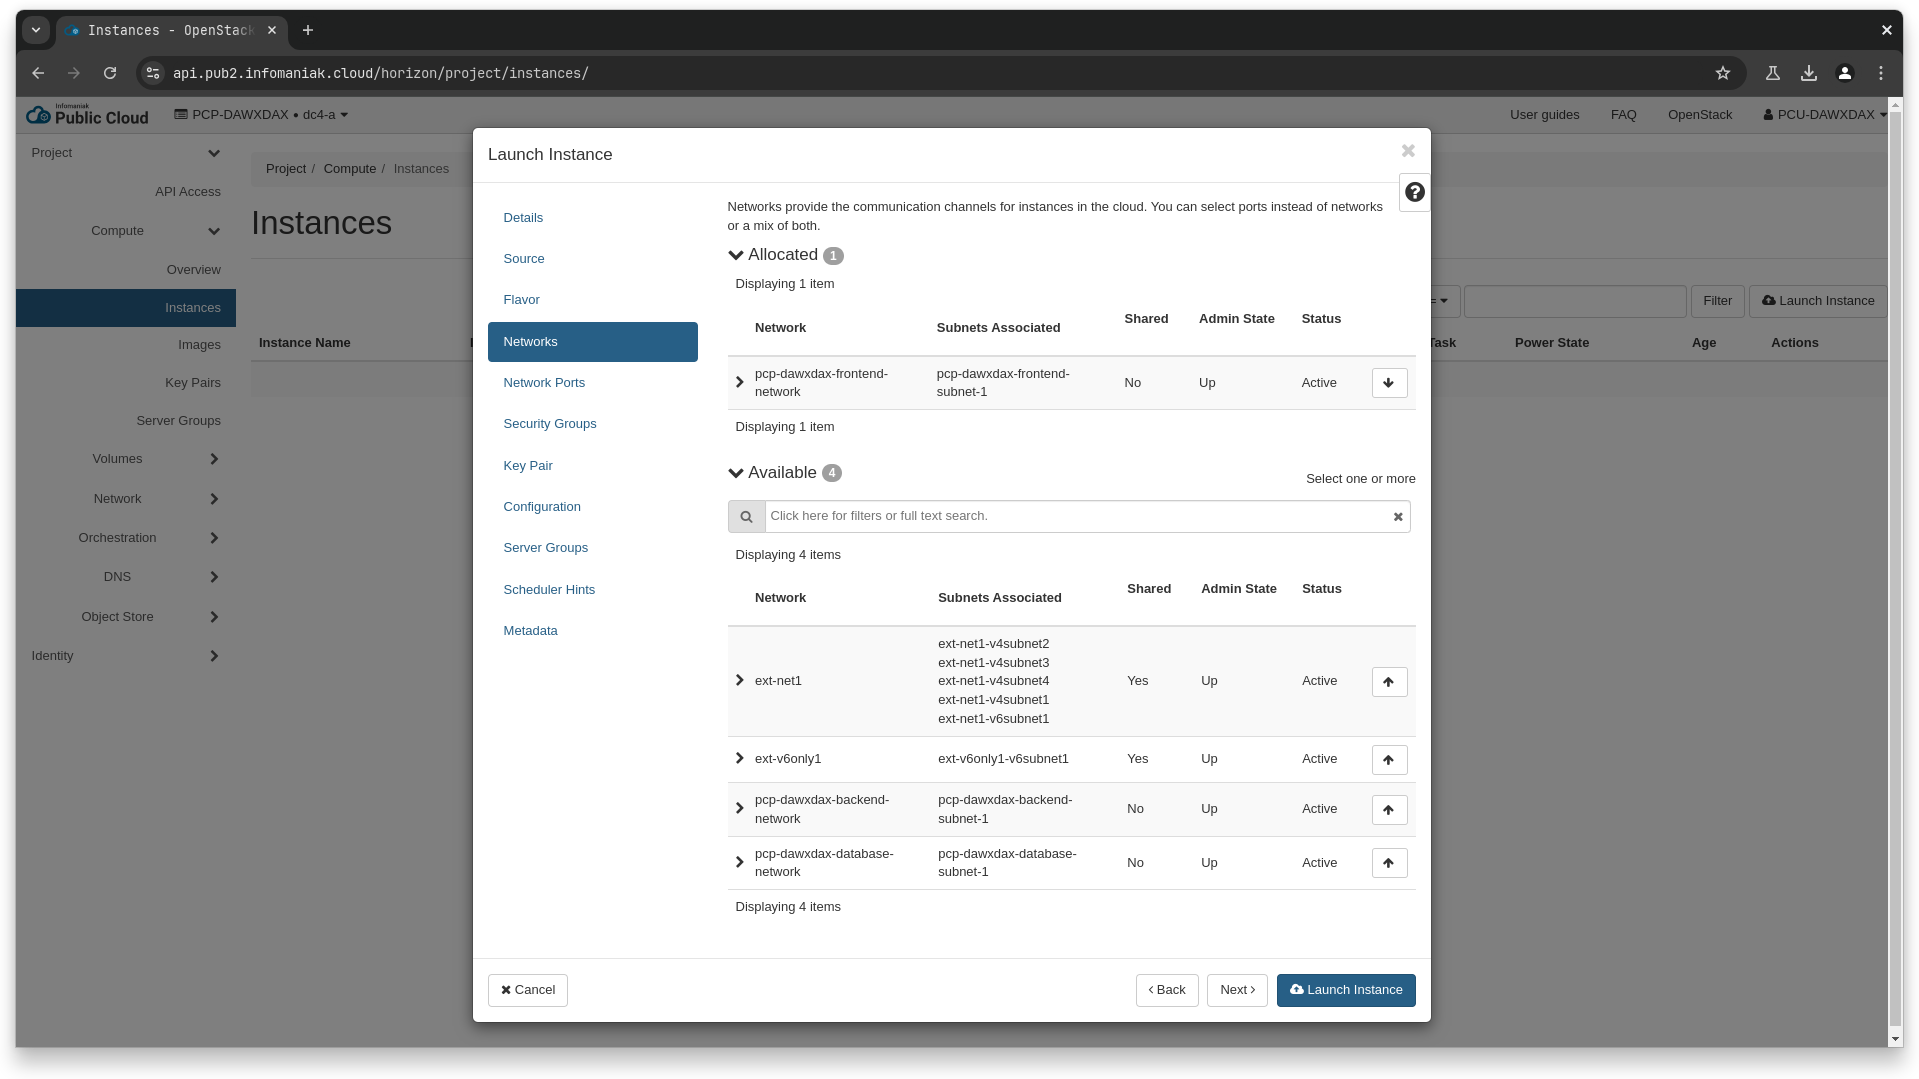
Similar to the basic HTTP usecase, we've created a single network pcp-dawxdax-frontend-network with a single subnet pcp-dawxdax-frontend-subnet-1, and a cidr of 10.4.128.128/27.
Creating backend instances
We'll create the exact same backend instances as the basic HTTP usecase
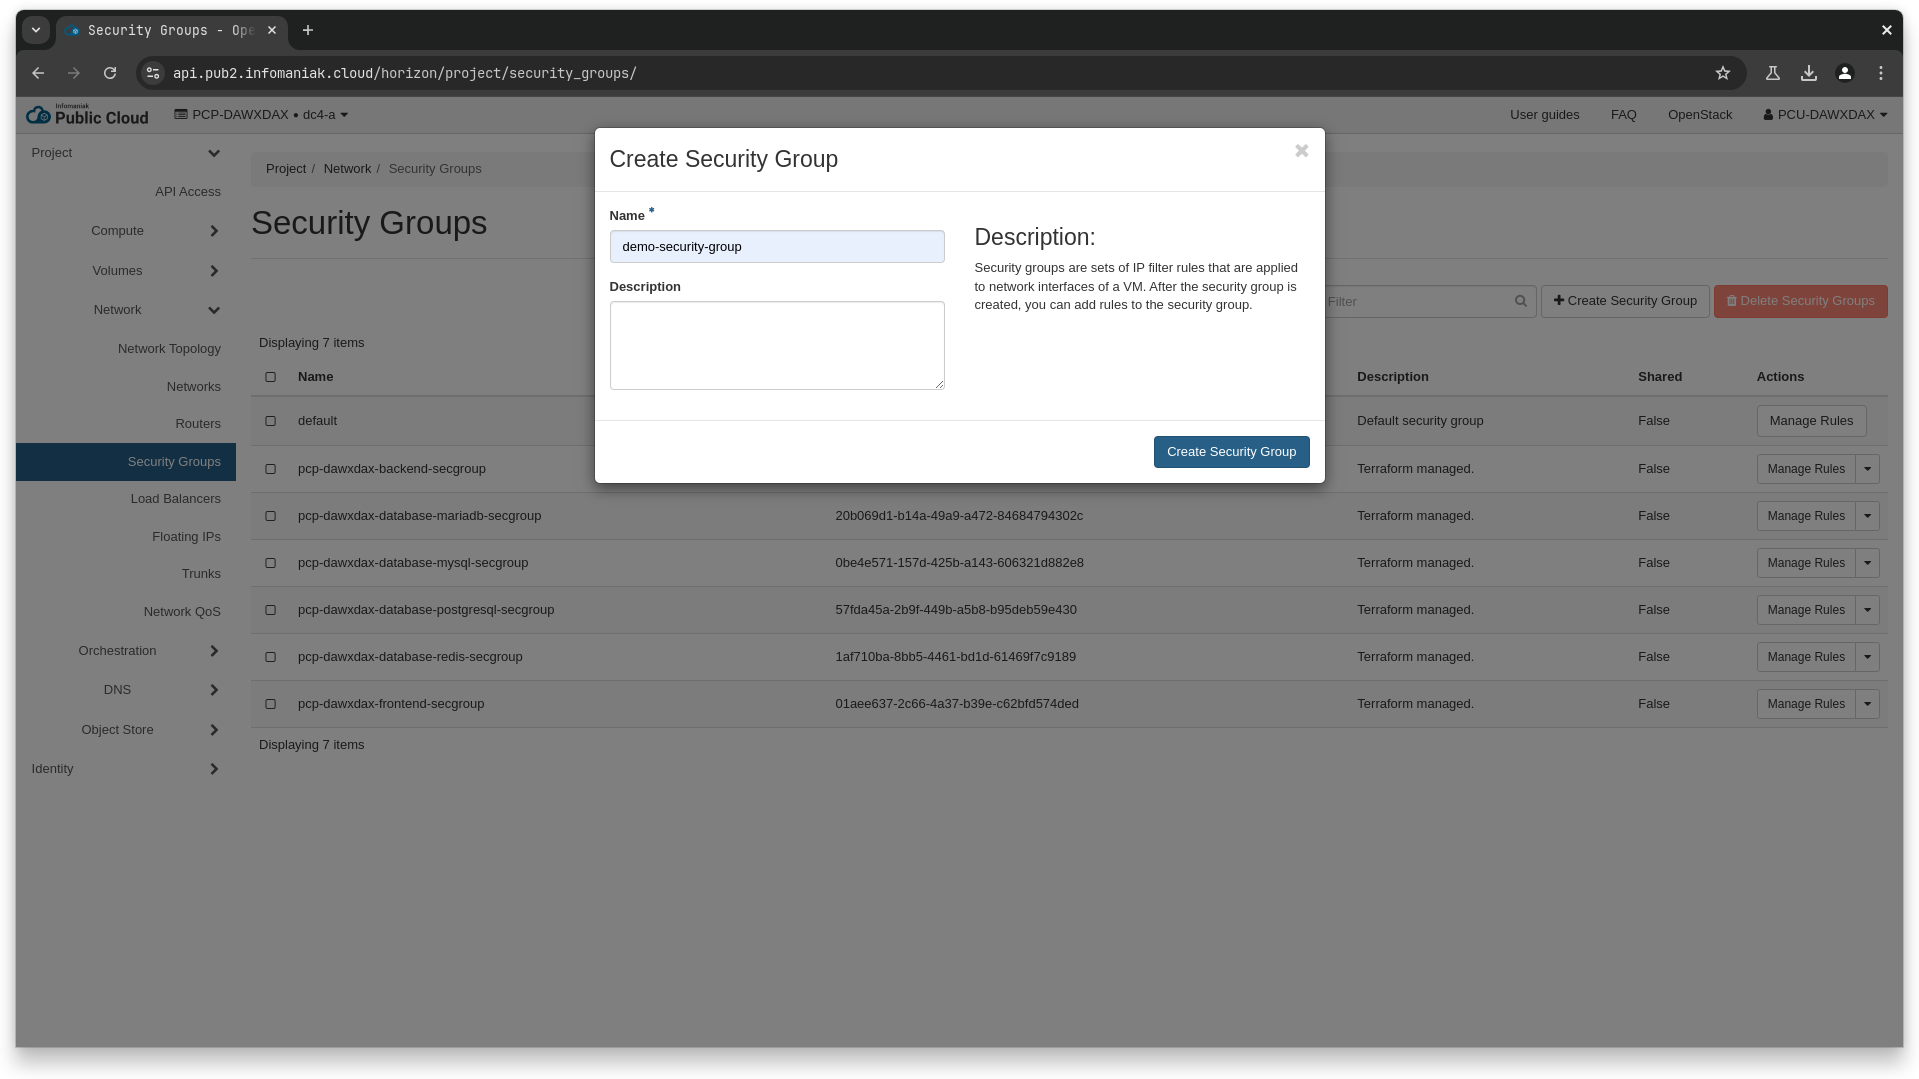
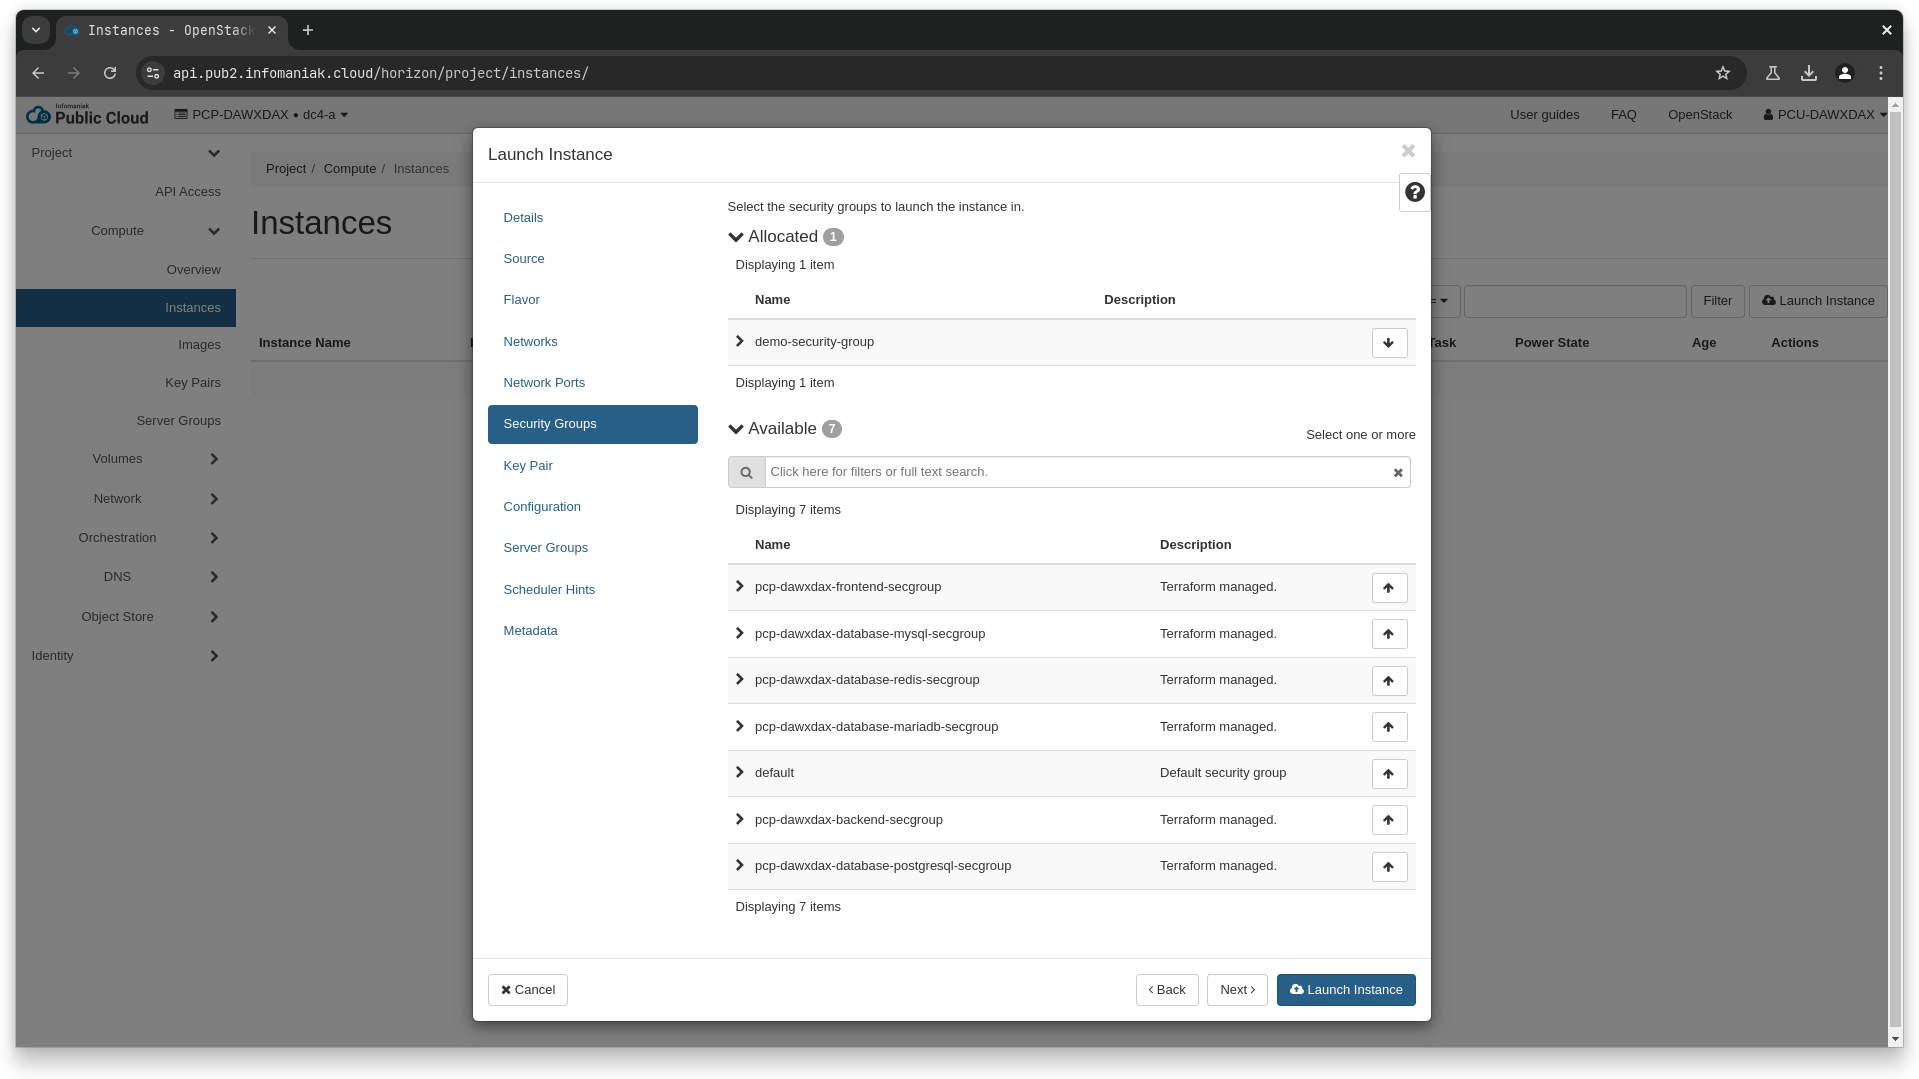
We'll first create the security group to attach to the instances.
❯ openstack security group create demo-security-group
# we get id 459888ad-0d17-4e76-8a13-96cd5ed248c1 for our new security group

❯ openstack security group rule create \
  --ingress \
  --ethertype IPv4 \
  --protocol tcp \
  --dst-port 80 \
  --remote-ip 0.0.0.0/0 \
  459888ad-0d17-4e76-8a13-96cd5ed248c1

❯ openstack security group rule create \
  --ingress \
  --ethertype IPv4 \
  --protocol tcp \
  --dst-port 443 \
  --remote-ip 0.0.0.0/0 \
  459888ad-0d17-4e76-8a13-96cd5ed248c1
resource "openstack_networking_secgroup_v2" "demo" {
  name        = "demo-security-group"
  description = "Terraform managed."
}

resource "openstack_networking_secgroup_rule_v2" "ingress_http" {
  direction         = "ingress"
  security_group_id = openstack_networking_secgroup_v2.demo.id

  description      = "Terraform managed."
  ethertype        = "IPv4"
  protocol         = "tcp"
  port_range_min   = 80
  port_range_max   = 80
  remote_ip_prefix = "0.0.0.0/0"
}

resource "openstack_networking_secgroup_rule_v2" "ingress_https" {
  direction         = "ingress"
  security_group_id = openstack_networking_secgroup_v2.demo.id

  description      = "Terraform managed."
  ethertype        = "IPv4"
  protocol         = "tcp"
  port_range_min   = 443
  port_range_max   = 443
  remote_ip_prefix = "0.0.0.0/0"
}
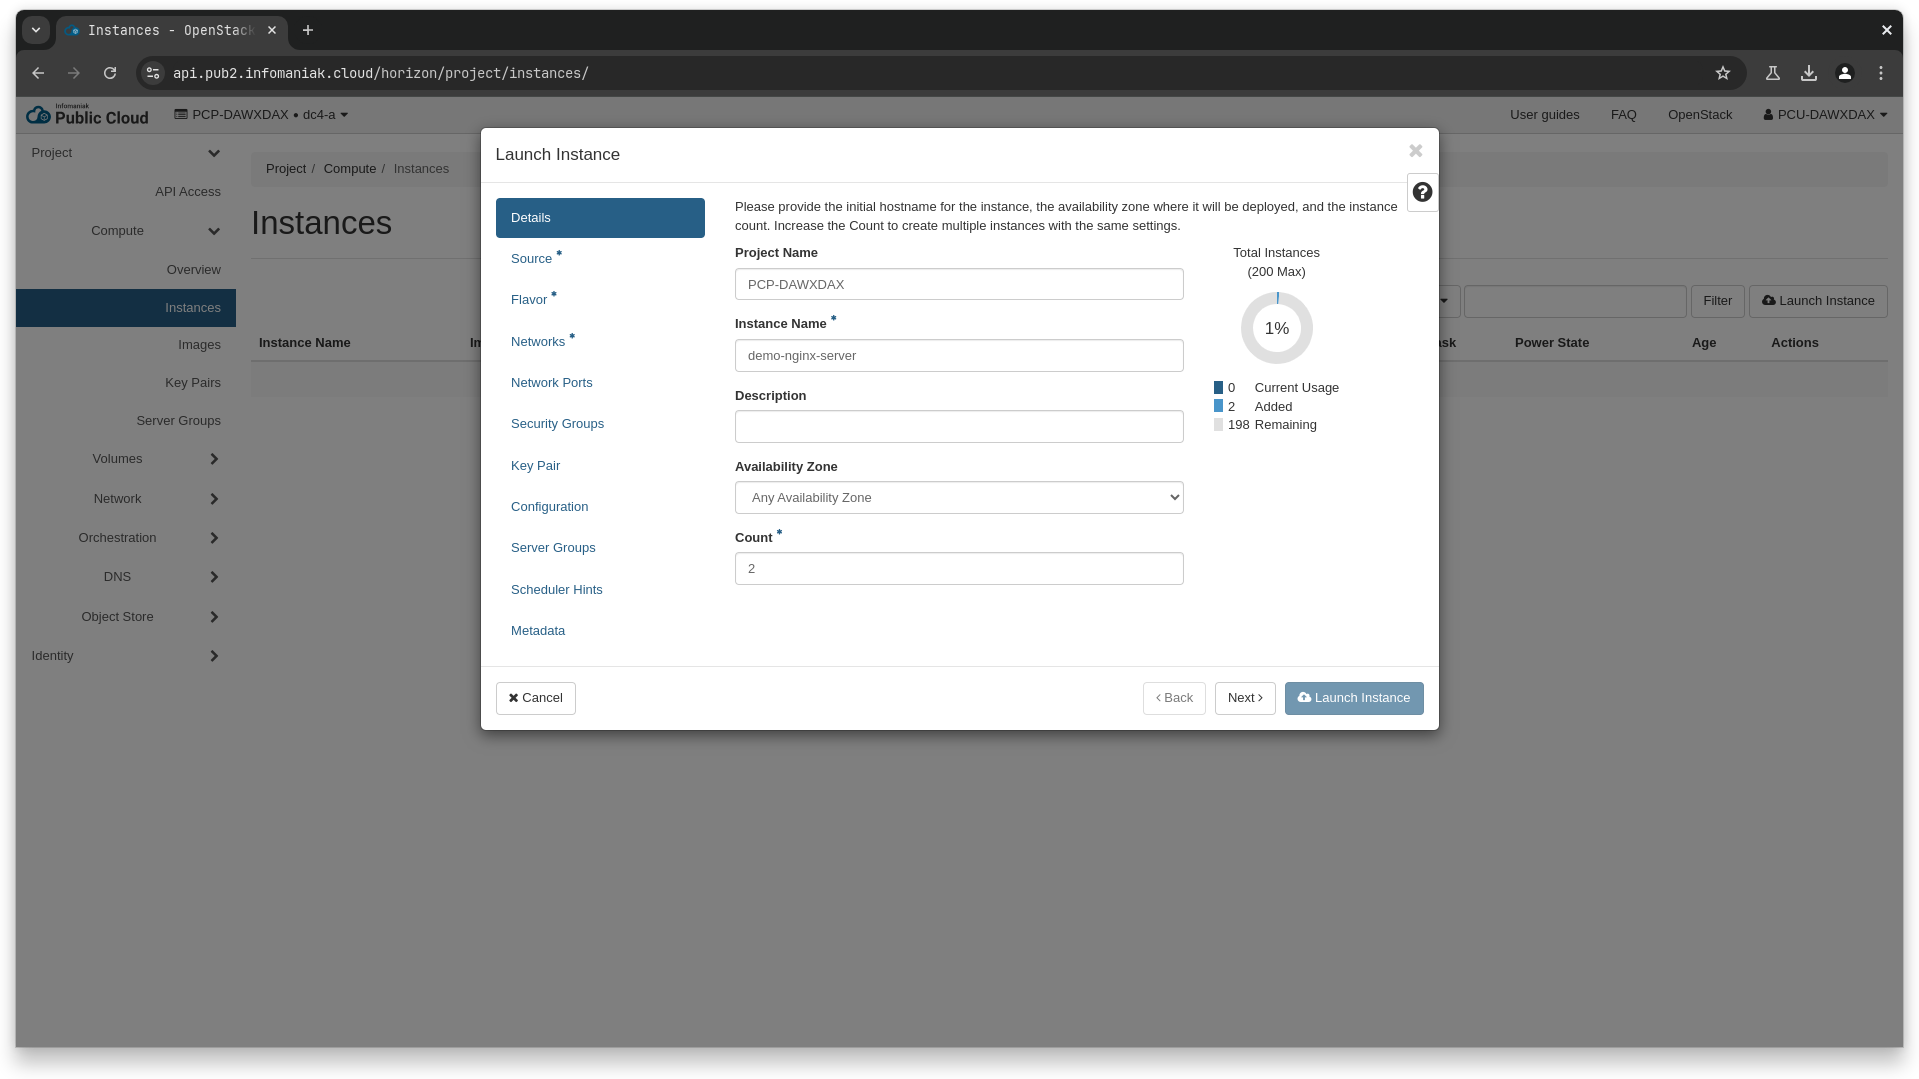
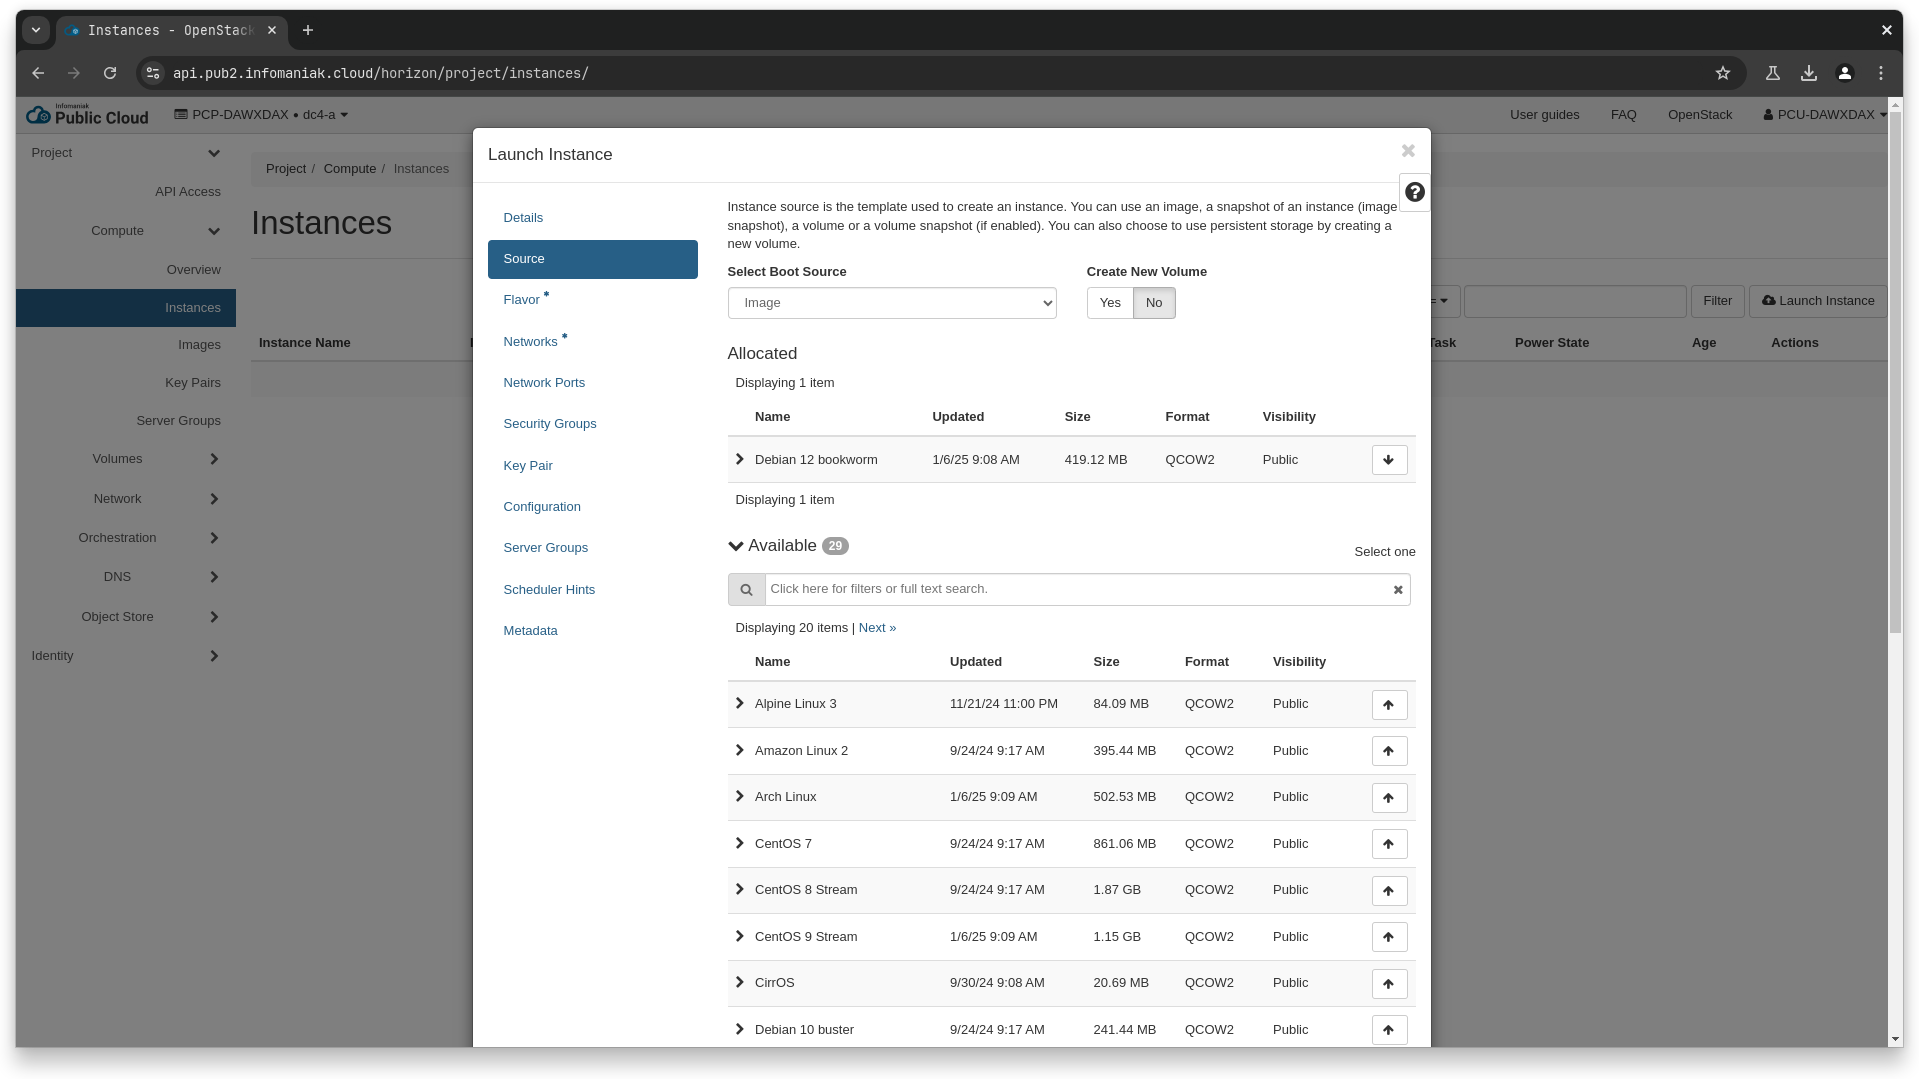
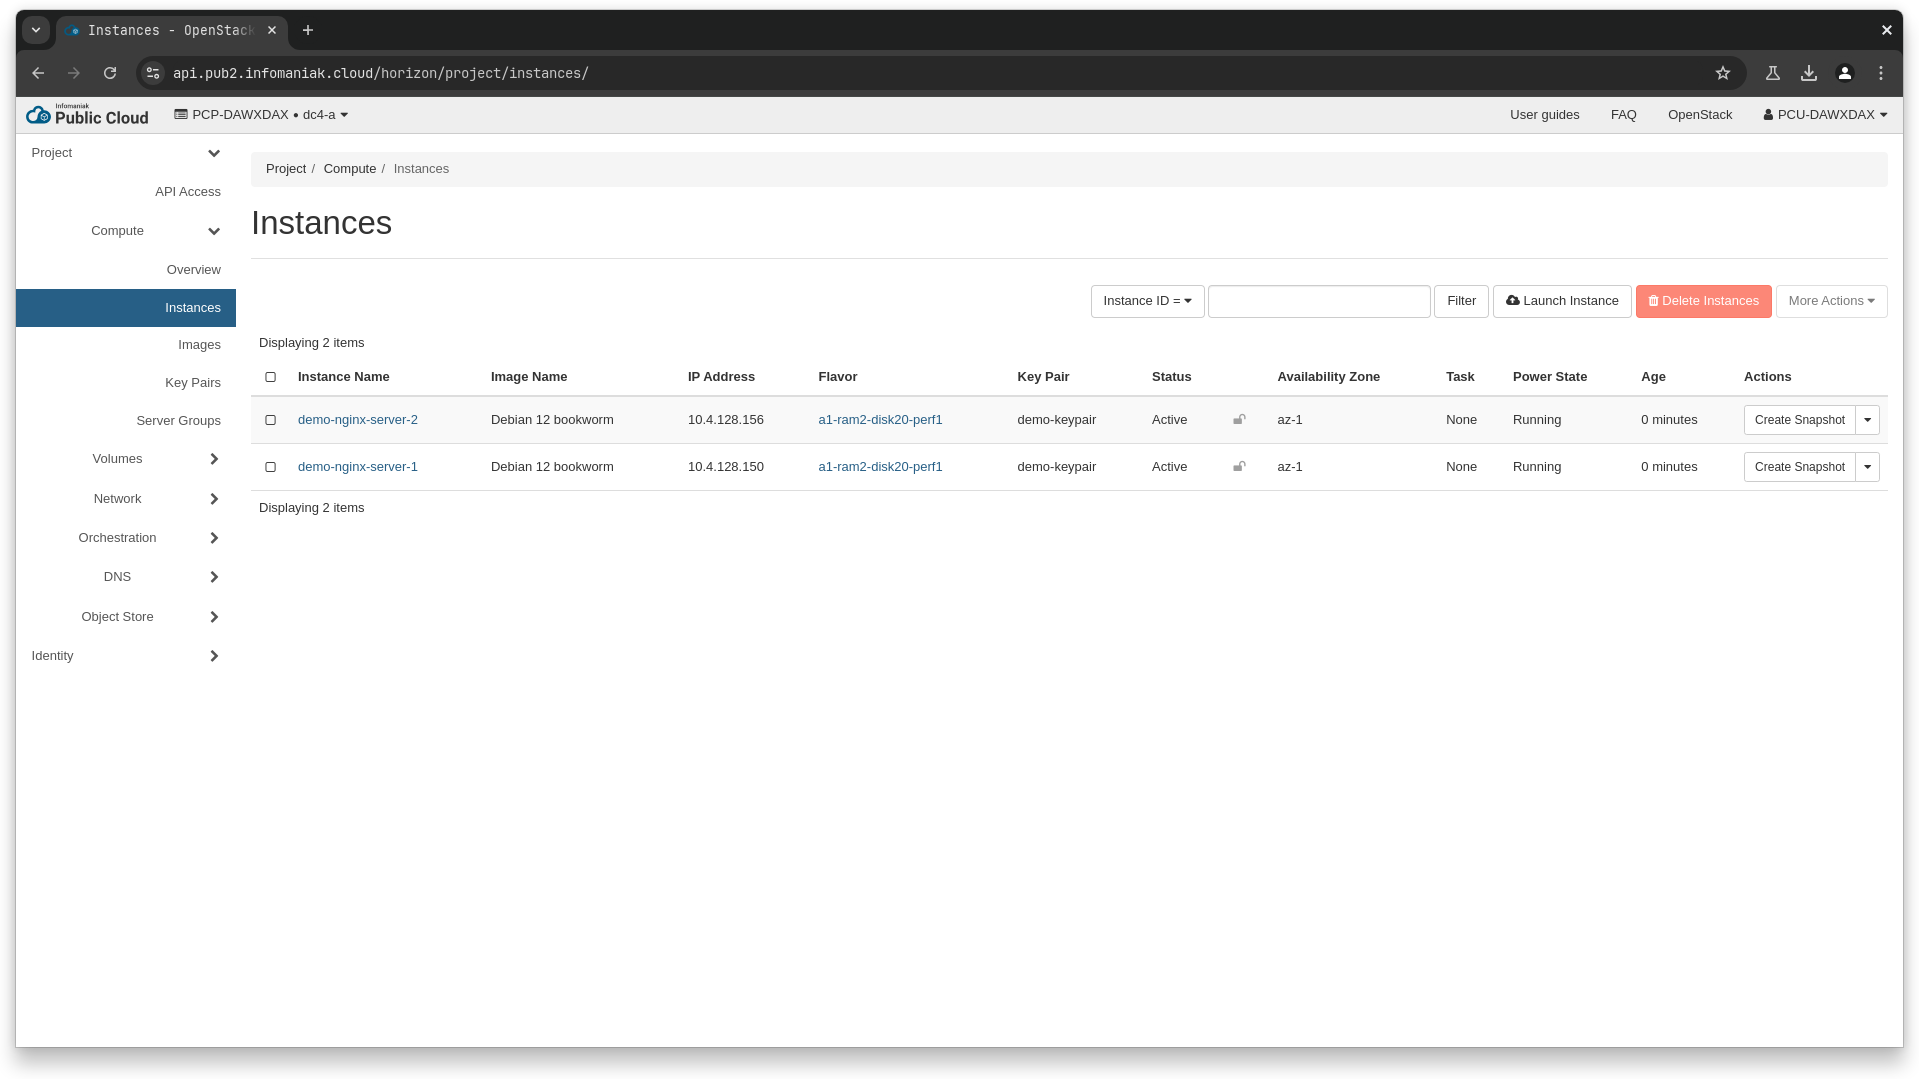
Then, we will create the two nginx instances.
❯ openstack image list --name "Debian 12 bookworm"
+--------------------------------------+--------------------+--------+
| ID | Name | Status |
+--------------------------------------+--------------------+--------+
| 39d7884c-b173-4d0b-9b80-233a2acb3588 | Debian 12 bookworm | active |
+--------------------------------------+--------------------+--------+
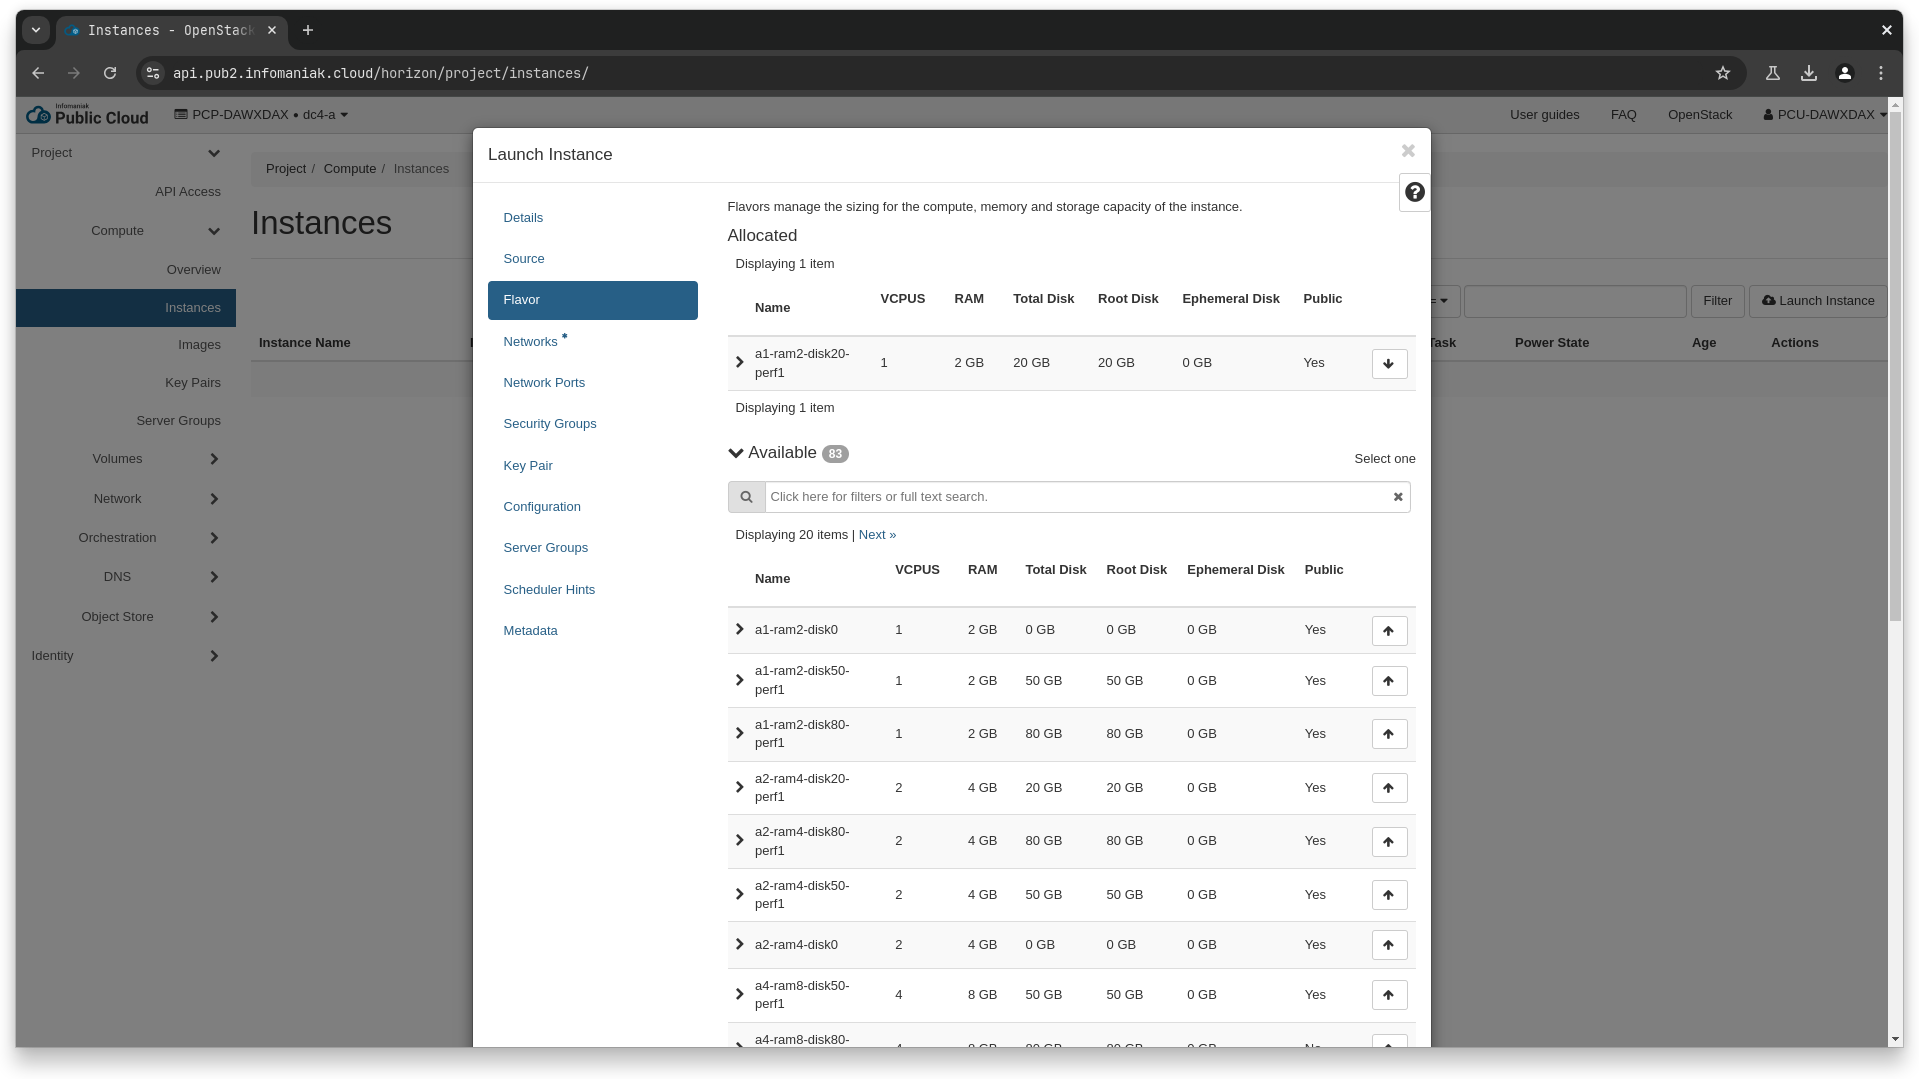
❯ openstack flavor show a1-ram2-disk20-perf1
+----------------------------+---------------------------------------------------------------------------------------------------------------------------------------------------+
| Field | Value |
+----------------------------+---------------------------------------------------------------------------------------------------------------------------------------------------+
| OS-FLV-DISABLED:disabled | False |
| OS-FLV-EXT-DATA:ephemeral | 0 |
| access_project_ids | None |
| description | None |
| disk | 20 |
| id | 093a53d7-f420-4b79-9bb0-9ad4eb190631 |
| name | a1-ram2-disk20-perf1 |
| os-flavor-access:is_public | True |
| properties | hw:cpu_sockets='1', quota:disk_read_bytes_sec='209715200', quota:disk_read_iops_sec='500', quota:disk_write_bytes_sec='209715200', |
| | quota:disk_write_iops_sec='500' |
| ram | 2048 |
| rxtx_factor | 1.0 |
| swap | 0 |
| vcpus | 1 |
+----------------------------+---------------------------------------------------------------------------------------------------------------------------------------------------+
❯ openstack network list --name pcp-dawxdax-frontend-network
+--------------------------------------+------------------------------+--------------------------------------+
| ID | Name | Subnets |
+--------------------------------------+------------------------------+--------------------------------------+
| 83f559b1-3522-4bb2-a179-4f3f4ec58b71 | pcp-dawxdax-frontend-network | be560c41-bcf4-49a1-8117-caf292bd9e49 |
+--------------------------------------+------------------------------+--------------------------------------+
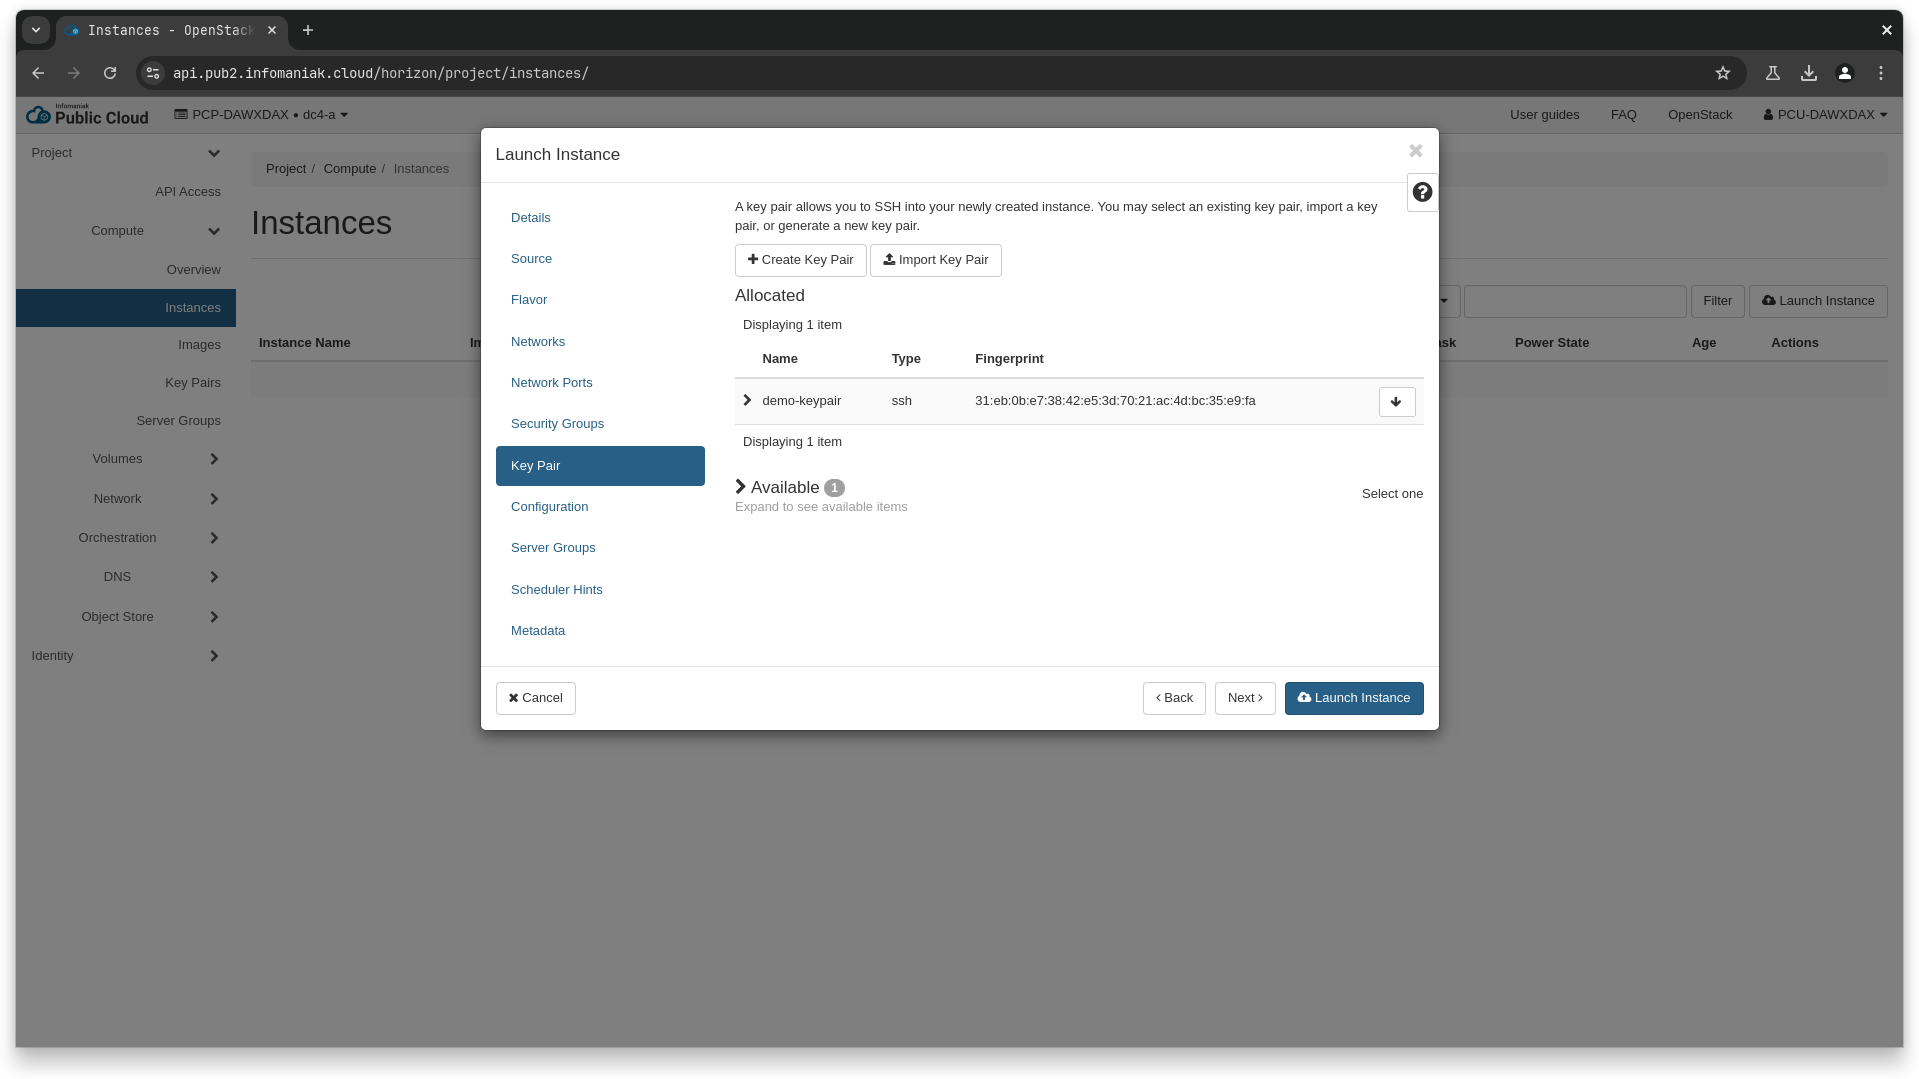
❯ openstack keypair create demo-keypair > demo-keypair.pem
❯ chmod 600 demo-keypair.pem
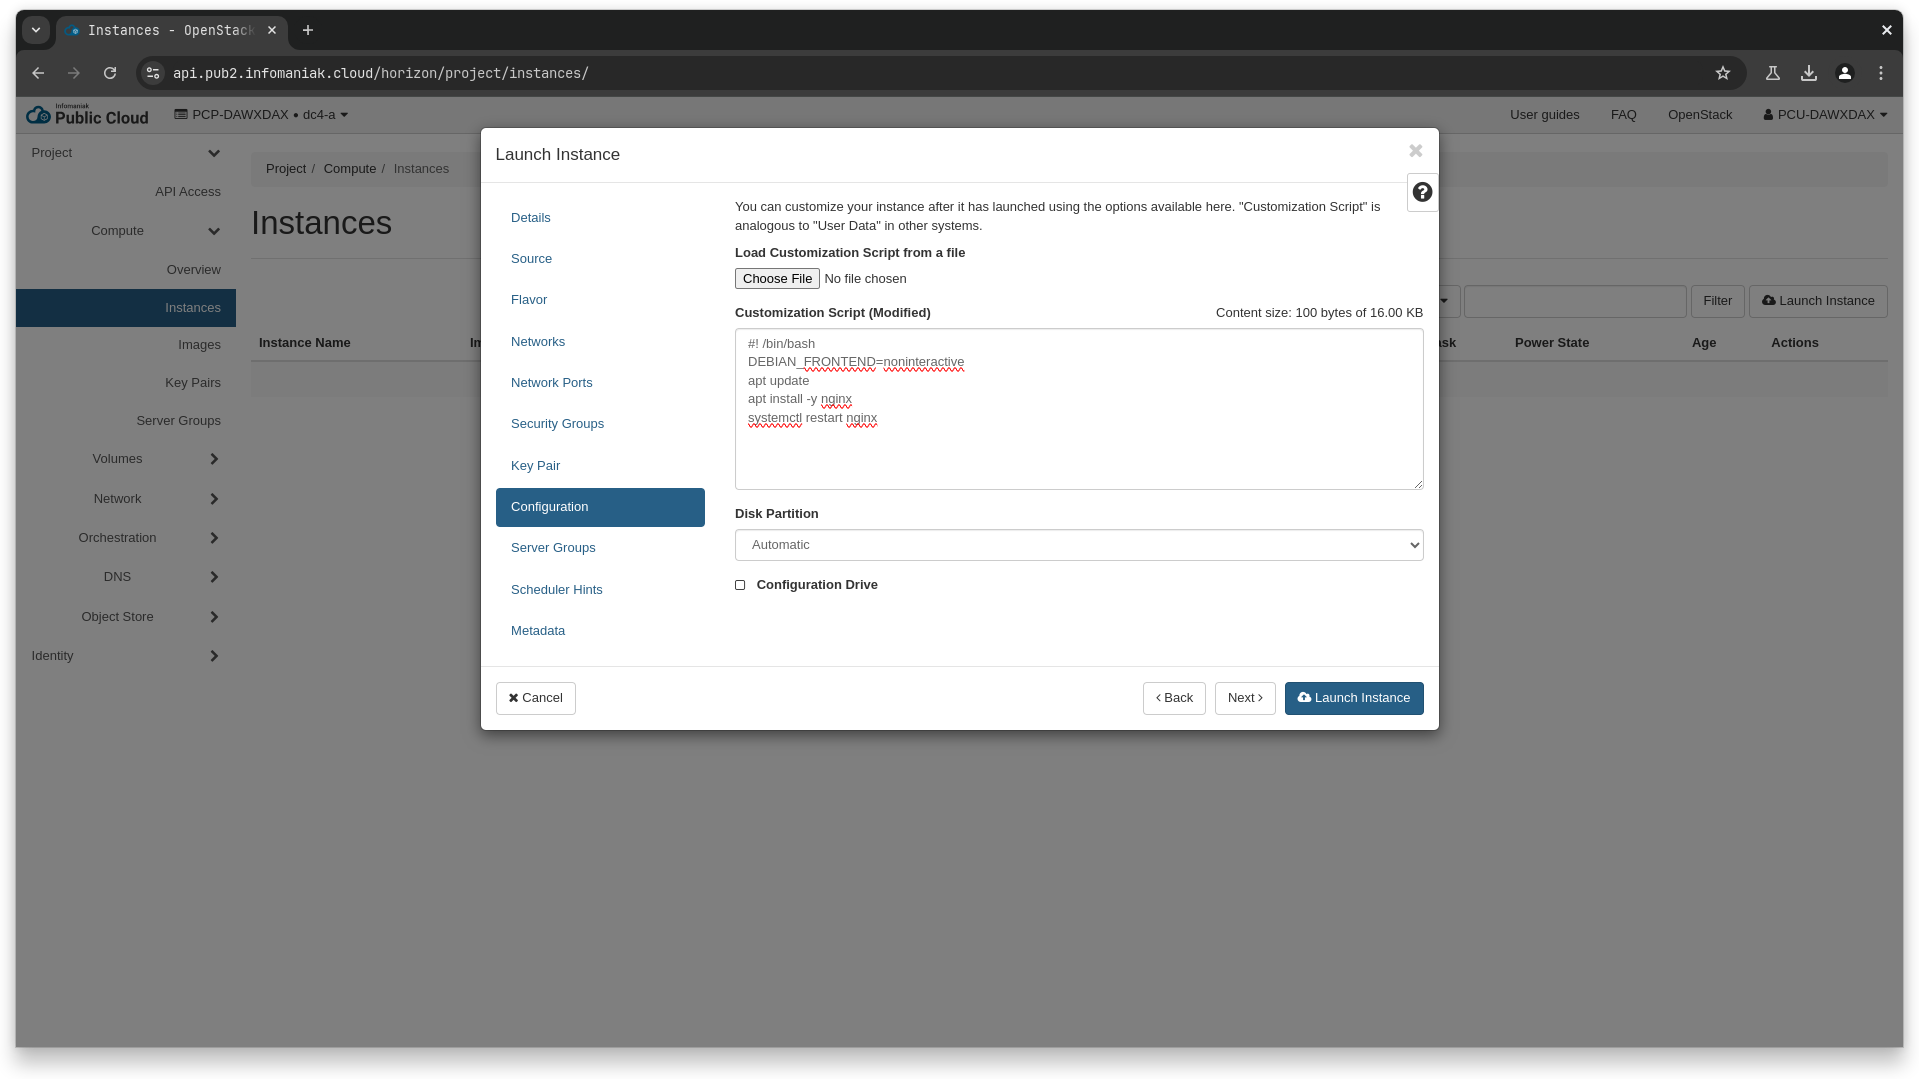
❯ cat > user_data_script.sh <<EOL
#! /bin/bash
DEBIAN_FRONTEND=noninteractive
apt update
apt install -y nginx
systemctl restart nginx
EOL
# here, we re-use the values retrieved earlier for the flavor id,
# network id, image id, as well as the security group name we created.
❯ openstack server create \
--flavor a1-ram2-disk20-perf1 \
--image 39d7884c-b173-4d0b-9b80-233a2acb3588 \
--key-name demo-keypair \
--security-group demo-security-group \
--network 83f559b1-3522-4bb2-a179-4f3f4ec58b71 \
--user-data user_data_script.sh \
demo-nginx-server-1
❯ openstack server create \
--flavor a1-ram2-disk20-perf1 \
--image 39d7884c-b173-4d0b-9b80-233a2acb3588 \
--key-name demo-keypair \
--security-group demo-security-group \
--network 83f559b1-3522-4bb2-a179-4f3f4ec58b71 \
--user-data user_data_script.sh \
demo-nginx-server-2
data "openstack_compute_flavor_v2" "a1_ram2_disk20_perf1" {
  name = "a1-ram2-disk20-perf1"
}

data "openstack_images_image_v2" "debian_12" {
  name_regex  = "^Debian 12.*"
  most_recent = true
}


data "openstack_networking_network_v2" "demo" {
  name = "pcp-dawxdax-frontend-network"
}

resource "openstack_compute_keypair_v2" "demo_keypair" {
  name = "demo-keypair"
}

resource "openstack_compute_instance_v2" "nginx_server" {
  count = 2

  name      = "demo-nginx-server-${count.index + 1}"
  flavor_id = data.openstack_compute_flavor_v2.a1_ram2_disk20_perf1.id
  image_id  = data.openstack_images_image_v2.debian_12.id

  key_pair = openstack_compute_keypair_v2.demo_keypair.name

  security_groups = [openstack_networking_secgroup_v2.demo.name]

  network {
    uuid = data.openstack_networking_network_v2.demo.id
  }

  user_data = <<EOT
#! /bin/bash
DEBIAN_FRONTEND=noninteractive
apt update
apt install -y nginx
systemctl restart nginx
EOT
}
Create the TLS certificate
Next, we'll create the TLS certificate for the loadbalancer.
❯ openssl genrsa -out private_key.pem 2048

❯ openssl req -new -x509 -key private_key.pem -out certificate.pem -days 365 \
  -subj "/CN=nginx.example.com/O=Example Org"

❯ openssl pkcs12 -export -in certificate.pem -inkey private_key.pem -out certificate.pfx -passout pass:

❯ base64 certificate.pfx > certificate.pfx.b64

❯ openstack secret store --name demo-lb-certificate \
  --payload "$(cat certificate.pfx.b64)" \
  --payload-content-type application/octet-stream \
  --payload-content-encoding base64
# here, the secret href is https://api.pub2.infomaniak.cloud/keymanager/v1/secrets/ab0b05c2-0dc8-426a-b383-cae02aea6ad5
resource "tls_private_key" "demo" {
  algorithm = "RSA"
  rsa_bits  = 2048
}

resource "tls_self_signed_cert" "demo" {
  private_key_pem = tls_private_key.demo.private_key_pem
  subject {
    common_name  = "nginx.example.com"
    organization = "Example Org"
  }

  validity_period_hours = 8760
  is_ca_certificate     = false

  allowed_uses = [
    "key_encipherment",
    "digital_signature",
    "server_auth",
  ]
}

resource "local_file" "private_key_pem" {
  filename = "${path.module}/private_key.pem"
  content  = tls_private_key.demo.private_key_pem
}

resource "local_file" "certificate_pem" {
  filename = "${path.module}/certificate.pem"
  content  = tls_self_signed_cert.demo.cert_pem
}

resource "null_resource" "pem2pfx" {
  triggers = {
    always_run = timestamp()
  }

  provisioner "local-exec" {
    command = "openssl pkcs12 -export -in ${local_file.certificate_pem.filename} -inkey ${local_file.private_key_pem.filename} -out ${path.module}/certificate.pfx -passout pass:"
  }
}

data "local_file" "certificate_pfx" {
  filename = "${path.module}/certificate.pfx"

  depends_on = [
    null_resource.pem2pfx
  ]
}


resource "openstack_keymanager_secret_v1" "demo_certificate" {
  name                     = "demo-lb-certificate"
  payload                  = data.local_file.certificate_pfx.content_base64
  payload_content_encoding = "base64"
  payload_content_type     = "application/octet-stream"
}
Creating the loadbalancer
We can now create the loadbalancer, and use the previously created TLS certificate for the listener.
❯ openstack subnet list --network 83f559b1-3522-4bb2-a179-4f3f4ec58b71
+--------------------------------------+-------------------------------+--------------------------------------+-----------------+
| ID                                   | Name                          | Network                              | Subnet          |
+--------------------------------------+-------------------------------+--------------------------------------+-----------------+
| be560c41-bcf4-49a1-8117-caf292bd9e49 | pcp-dawxdax-frontend-subnet-1 | 83f559b1-3522-4bb2-a179-4f3f4ec58b71 | 10.4.128.128/27 |
+--------------------------------------+-------------------------------+--------------------------------------+-----------------+

❯ openstack port create demo-loadbalancer-port \
  --network 83f559b1-3522-4bb2-a179-4f3f4ec58b71 \
  --fixed-ip subnet=be560c41-bcf4-49a1-8117-caf292bd9e49 \
  --enable \
  --no-security-group
# Here, we get id faee4783-c9bb-4ec4-9d1a-f8f5d553b120 for the newly created port

❯ openstack loadbalancer create \
  --name demo-loadbalancer-1 \
  --vip-port-id faee4783-c9bb-4ec4-9d1a-f8f5d553b120

# We re-use the href from the secret we created when generating the TLS certificate
❯ openstack loadbalancer listener create \
  --name demo-listener-https-terminated \
  --protocol TERMINATED_HTTPS \
  --protocol-port 443 \
  --default-tls-container-ref https://api.pub2.infomaniak.cloud/keymanager/v1/secrets/ab0b05c2-0dc8-426a-b383-cae02aea6ad5 \
  demo-loadbalancer-1

❯ openstack loadbalancer pool create \
  --name demo-pool-https-terminated \
  --listener demo-listener-https-terminated \
  --protocol HTTP \
  --lb-algorithm ROUND_ROBIN

# to add the members, we will re-use the ip aqddresses of the instances we created earlier, here, 10.4.128.154 and 10.4.128.155

❯ openstack loadbalancer member create \
  --name demo-member-1 \
  --address 10.4.128.154 \
  --protocol-port 80 \
  demo-pool-https-terminated

❯ openstack loadbalancer member create \
  --name demo-member-2 \
  --address 10.4.128.155 \
  --protocol-port 80 \
  demo-pool-https-terminated

# We use an http health monitor here, because the TLS connection being terminated at the loadbalancer,
# The communication between the loadbalancer and the backend instances is unencrypted HTTP.

❯ openstack loadbalancer healthmonitor create \
  --type HTTP \
  --pool demo-pool-https-terminated \
  --delay 30 \
  --timeout 5 \
  --max-retries 2 \
  --http-method GET \
  --url-path "/" \
  --expected-codes 200
TODO
data "openstack_networking_subnet_v2" "demo" {
  name       = "pcp-dawxdax-frontend-subnet-1"
  network_id = data.openstack_networking_network_v2.demo.id
}

resource "openstack_networking_port_v2" "demo_lb" {
  name                  = "demo-loadbalancer-port"
  network_id            = data.openstack_networking_network_v2.demo.id
  admin_state_up        = "true"
  port_security_enabled = true
  no_security_groups    = true
  fixed_ip {
    subnet_id = data.openstack_networking_subnet_v2.demo.id
  }
}

resource "openstack_lb_loadbalancer_v2" "demo" {
  name        = "demo-loadbalancer-1"
  vip_port_id = openstack_networking_port_v2.demo_lb.id
  security_group_ids = [
    openstack_networking_secgroup_v2.demo.id,
  ]
}

resource "openstack_lb_listener_v2" "demo_tls_terminated" {
  name                      = "demo-listener-https-terminated"
  protocol                  = "TERMINATED_HTTPS"
  protocol_port             = 443
  default_tls_container_ref = openstack_keymanager_secret_v1.demo_certificate.secret_ref
  loadbalancer_id           = openstack_lb_loadbalancer_v2.demo.id
}

resource "openstack_lb_pool_v2" "demo" {
  name        = "demo-pool-https-terminated"
  protocol    = "HTTP"
  lb_method   = "ROUND_ROBIN"
  listener_id = openstack_lb_listener_v2.demo_tls_terminated.id
}

resource "openstack_lb_member_v2" "demo_https_terminated" {
  count = 2

  name          = "demo-member-${count.index + 1}"
  pool_id       = openstack_lb_pool_v2.demo.id
  address       = openstack_compute_instance_v2.nginx_server[count.index].access_ip_v4
  protocol_port = 80
}


resource "openstack_lb_monitor_v2" "demo_liveness" {
  pool_id        = openstack_lb_pool_v2.demo.id
  type           = "HTTP"
  url_path       = "/"
  http_method    = "GET"
  expected_codes = "200"
  delay          = 30
  timeout        = 5
  max_retries    = 2
}
Associate a floating IP
The last step is to associate a floating ip to our loadbalancer VIP, in order to make it available publicly.
Warning
This step is optional, and should only be done for testing purpose, or if you intend to make your loadbalancer public-facing.
❯ openstack network show -f value -c id ext-floating1
34a684b8-2889-4950-b08e-c33b3954a307

❯ openstack floating ip create 34a684b8-2889-4950-b08e-c33b3954a307
# here we get the ip 37.156.43.216, and the floating ip id of 6029cc65-4802-4fe2-9d46-846db9046ee5

# we reference the id of the previously created vip-port of the loadbalancer (faee4783-c9bb-4ec4-9d1a-f8f5d553b120)
❯ openstack floating ip set --port faee4783-c9bb-4ec4-9d1a-f8f5d553b120 6029cc65-4802-4fe2-9d46-846db9046ee5
data "openstack_networking_network_v2" "floating" {
  name = "ext-floating1"
}

resource "openstack_networking_floatingip_v2" "demo_float" {
  pool = data.openstack_networking_network_v2.floating.name
}

# we reference the loadbalancer port from the previous step here
resource "openstack_networking_floatingip_associate_v2" "demo_float_lb" {
  floating_ip = openstack_networking_floatingip_v2.demo_float.address
  port_id     = openstack_networking_port_v2.demo_lb.id
}
Testing your loadbalancer
Now that everything is created, we should be able to access our nginx servers through our loadbalancer via HTTPS, with the TLS certificate being served by the loadbalancer.
The certificate will not be trusted as it is self-signed, so we'll use the --insecure flag.
❯ curl --insecure -o /dev/null -s -w "%{http_code}\n" https://37.156.40.43
200

❯ curl --insecure https://37.156.40.43
<!DOCTYPE html>
<html>
<head>
<title>Welcome to nginx!</title>
<style>
html { color-scheme: light dark; }
body { width: 35em; margin: 0 auto;
font-family: Tahoma, Verdana, Arial, sans-serif; }
</style>
</head>
<body>
<h1>Welcome to nginx!</h1>
<p>If you see this page, the nginx web server is successfully installed and
working. Further configuration is required.</p>

<p>For online documentation and support please refer to
<a href="http://nginx.org/">nginx.org</a>.<br/>
Commercial support is available at
<a href="http://nginx.com/">nginx.com</a>.</p>

<p><em>Thank you for using nginx.</em></p>
</body>
</html>
If we retrieve our certificate, we can see it's indeed the one we generated earlier.
❯ echo | openssl s_client -connect 37.156.40.43:443 2>/dev/null | openssl x509 -text
Certificate:
    Data:
        Version: 3 (0x2)
        Serial Number:
            15:91:84:04:11:70:5c:80:03:1f:29:ae:65:c1:d0:df
        Signature Algorithm: sha256WithRSAEncryption
        Issuer: O = Example Org, CN = nginx.example.com
        Validity
            Not Before: Jan  8 08:32:44 2025 GMT
            Not After : Jan  8 08:32:44 2026 GMT
        Subject: O = Example Org, CN = nginx.example.com
        Subject Public Key Info:
            Public Key Algorithm: rsaEncryption
                Public-Key: (2048 bit)
                Modulus:
                    00:a2:dc:ec:99:88:c0:c0:e7:94:3e:04:90:39:c4:
                    c9:e1:33:9d:65:37:3f:04:f2:ef:63:b1:cc:c5:fc:
                    3f:62:fc:fd:96:ee:ea:fb:48:b4:de:10:b4:86:87:
                    49:f0:73:d4:a7:aa:c0:cb:b1:86:79:cc:af:e7:30:
                    a9:1c:29:21:7b:fb:3f:35:9e:ee:f4:e7:62:37:43:
                    0d:d0:2c:ff:b0:df:f5:90:04:d4:bf:e0:55:e3:67:
                    fe:27:94:d9:d0:dc:b0:4e:2b:b0:73:50:f0:6f:70:
                    f8:16:dc:07:7f:14:58:49:d5:65:d9:b8:22:44:f6:
                    87:49:28:cf:fa:08:b8:af:25:15:5c:28:29:f5:d0:
                    eb:ed:61:48:b5:58:c2:62:c9:61:fd:ff:b1:2a:71:
                    d4:b7:0d:af:e9:f8:0f:c5:9a:3f:41:9d:11:7a:9b:
                    40:9d:31:6f:a1:70:02:54:53:22:1a:bd:c0:48:cd:
                    cd:3a:b7:13:13:8b:4a:9b:f4:5c:a1:d5:95:f8:4f:
                    e3:3d:2e:fd:38:1d:ba:8e:f8:d2:21:12:d6:62:44:
                    59:c4:46:bc:d7:70:9a:db:c2:4b:19:26:17:8e:fb:
                    ce:30:95:ec:5c:88:15:1b:3c:70:dd:ab:46:35:75:
                    a7:70:a6:58:7b:fc:ea:79:d6:65:37:2e:98:0c:a4:
                    d7:9d
                Exponent: 65537 (0x10001)
        X509v3 extensions:
            X509v3 Key Usage: critical
                Digital Signature, Key Encipherment
            X509v3 Extended Key Usage:
                TLS Web Server Authentication
            X509v3 Basic Constraints: critical
                CA:FALSE
    Signature Algorithm: sha256WithRSAEncryption
    Signature Value:
        53:0a:fc:37:09:93:2e:97:aa:52:c1:7e:1a:ff:a9:24:1e:34:
        73:17:79:82:f3:78:0c:63:55:1b:40:15:ad:54:f2:f3:84:e3:
        89:df:e9:da:58:70:07:c8:a2:f1:ff:d3:d0:85:7c:ad:27:fa:
        8f:dc:01:96:27:28:b9:32:04:5a:0a:a9:ef:f8:ca:3f:f4:b7:
        ff:de:6c:b5:31:71:c2:07:64:2b:e1:82:04:e5:53:a4:47:25:
        15:16:68:8d:48:16:33:4f:6d:e6:38:ff:68:7b:31:03:13:f3:
        6f:07:a9:d5:82:8b:1e:92:e6:51:62:c4:77:f3:13:e0:89:e3:
        9d:05:b4:14:6f:e9:f1:c1:cf:0e:37:02:e1:20:7e:4b:69:aa:
        8b:c8:52:a2:15:ee:42:4a:d7:1e:08:1b:9b:38:e5:e1:53:92:
        40:31:31:ef:76:5a:fb:53:57:ed:88:9d:7e:c0:1f:89:ea:65:
        22:f5:06:e8:a0:95:de:74:ee:04:ae:4b:69:7c:49:e2:8b:40:
        80:7f:b7:93:3f:e8:9d:34:d7:70:12:9d:1b:1b:c2:0e:42:c2:
        bc:75:0a:46:32:9f:7f:c7:ae:26:e3:a1:5c:29:c9:68:63:c0:
        52:73:94:eb:a6:74:c4:3f:24:51:34:d6:5a:3e:7c:a1:eb:af:
        14:8e:44:23
Warning
While this setup works, using self-signed certificates for your loadbalancer is not a production-ready setup. You should use certificates that have been signed by trusted Certificate Authorities.