Basic HTTP Loadbalancer
The first usecase for a Loadbalancer is a simple HTTP Loadbalancer.
Info
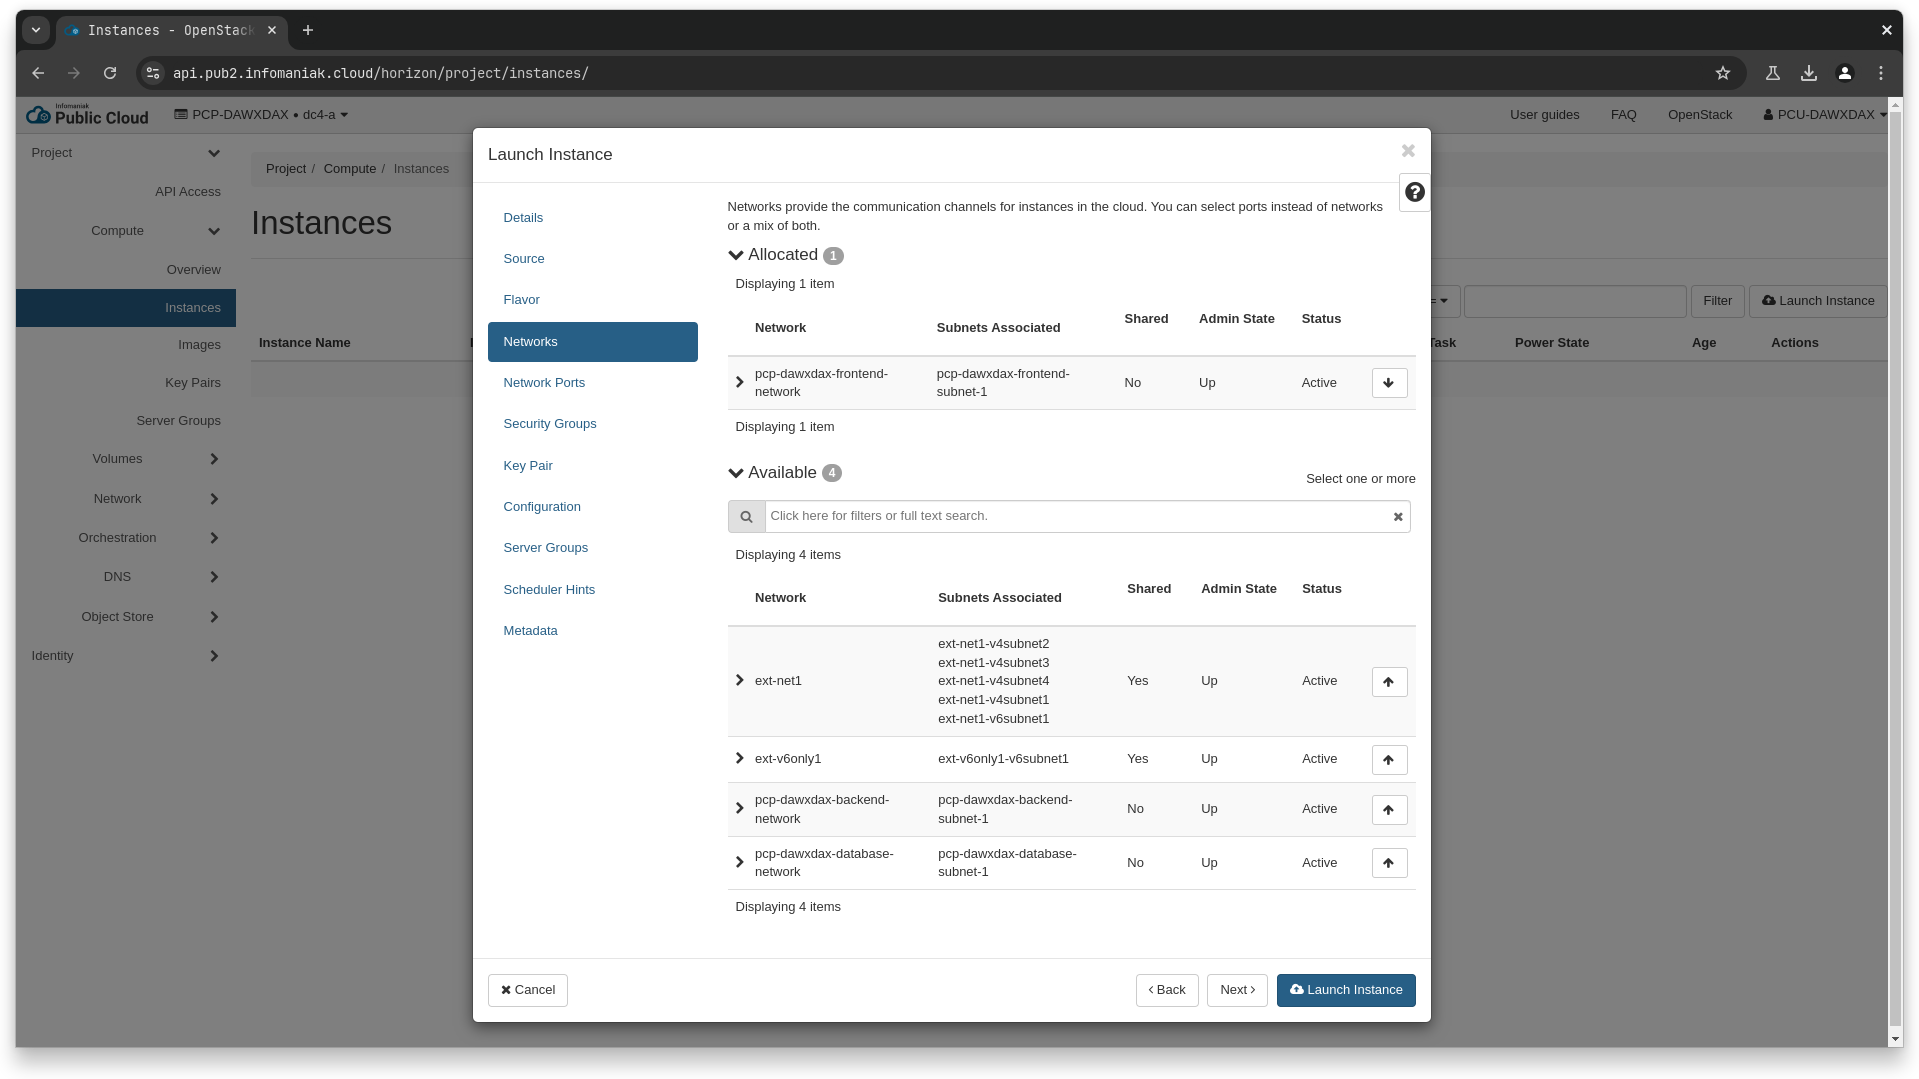
Prior to this, we've created a single private network in our openstack project, called pcp-dawxdax-frontend-network, that we'll be using to deploy both our backends and ou loadbalancer. This network contains a single subnet, pcp-dawxdax-frontend-subnet-1, with a cidr of 10.4.128.128/27.
Creating backend instances
We need to create a couple of instances that will be used as the backend for the loadbalancer.
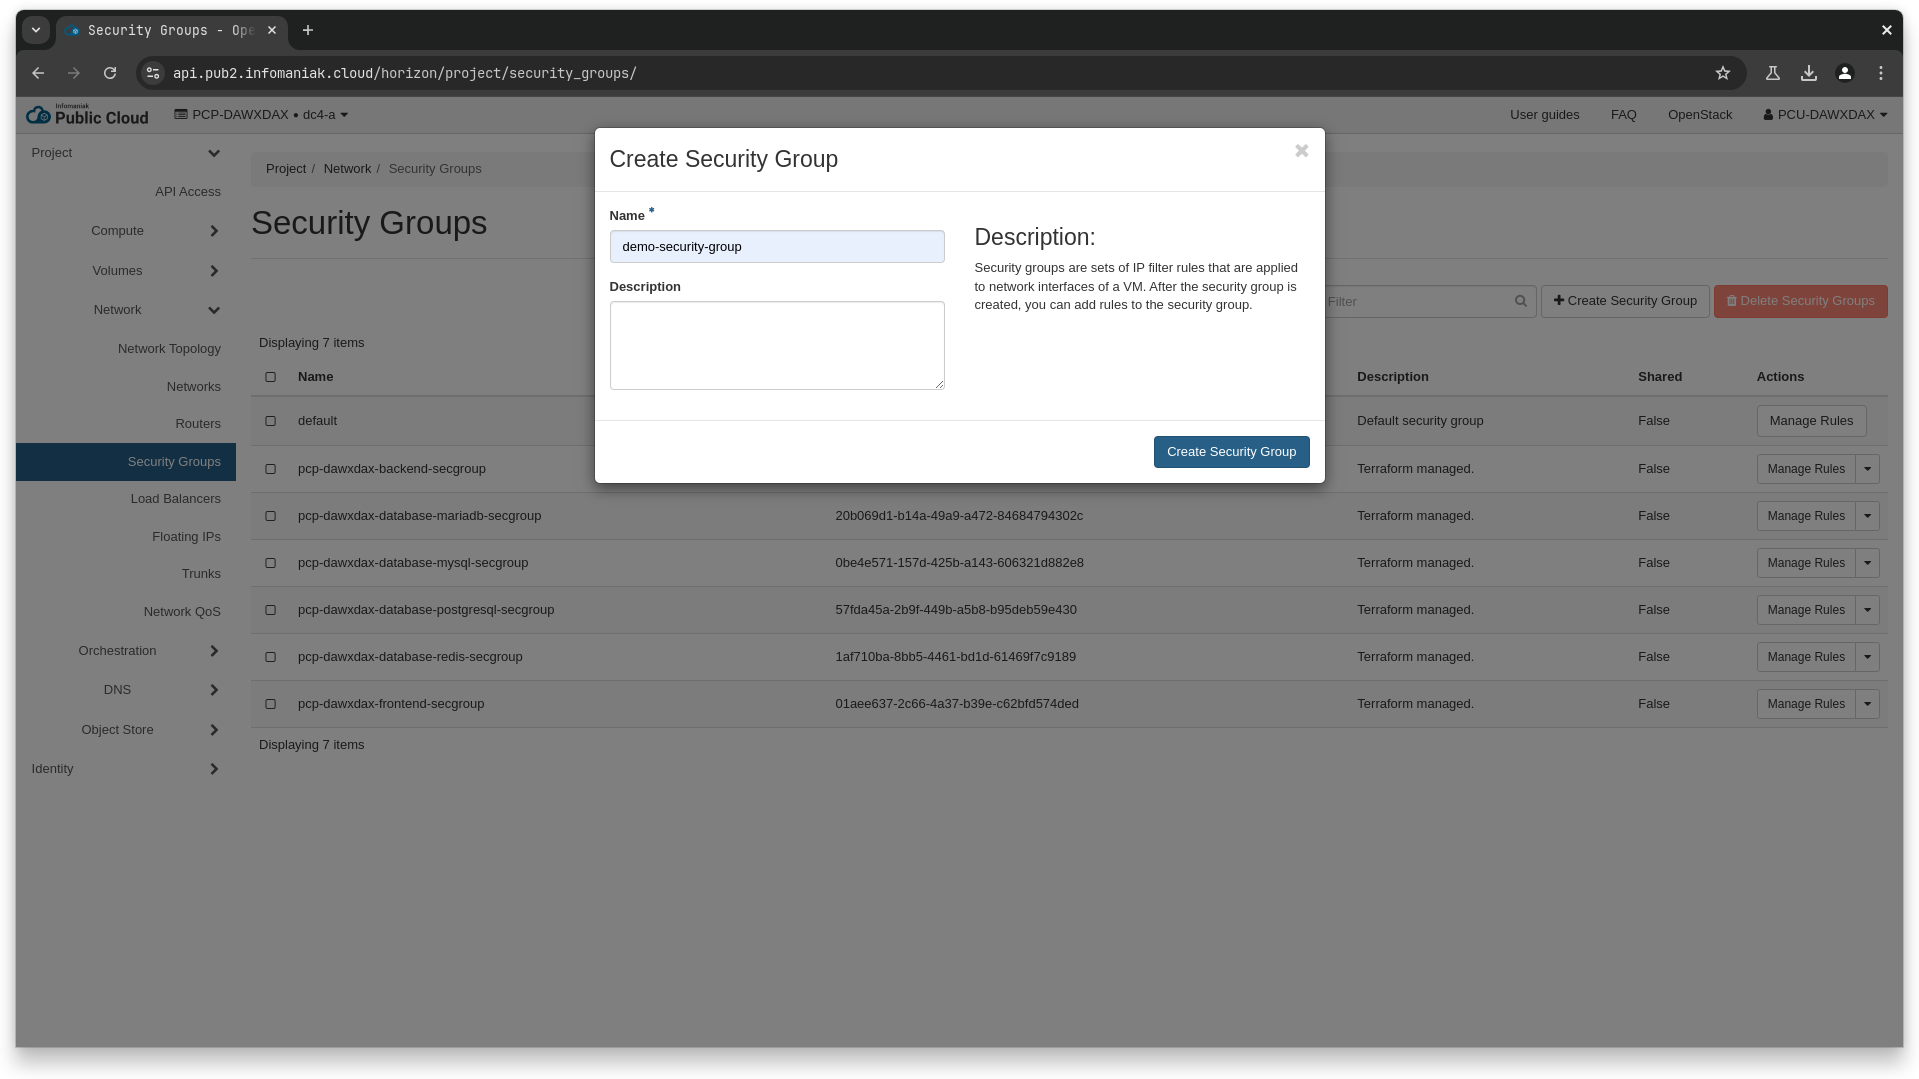
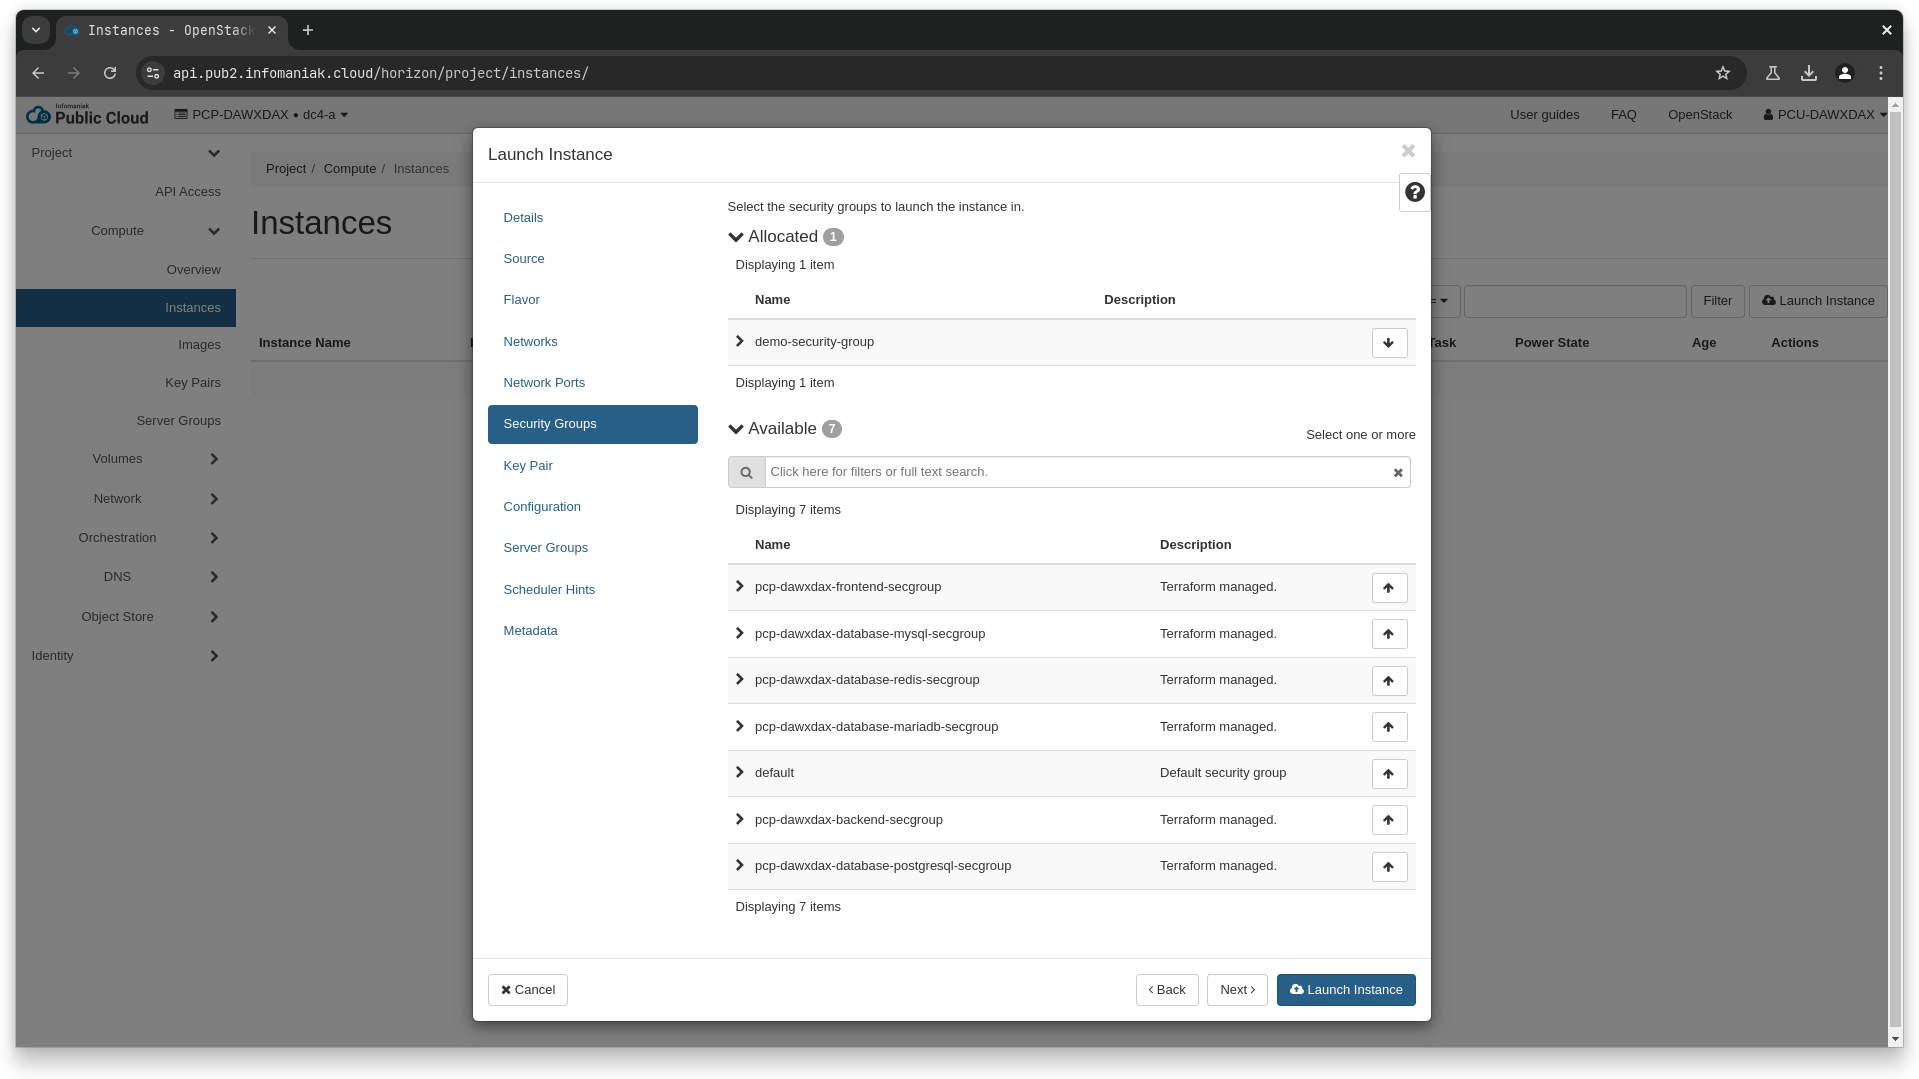
First, we need to create the security group that we will associate to the instances.
❯ openstack security group create demo-security-group
# we get id 459888ad-0d17-4e76-8a13-96cd5ed248c1 for our new security group
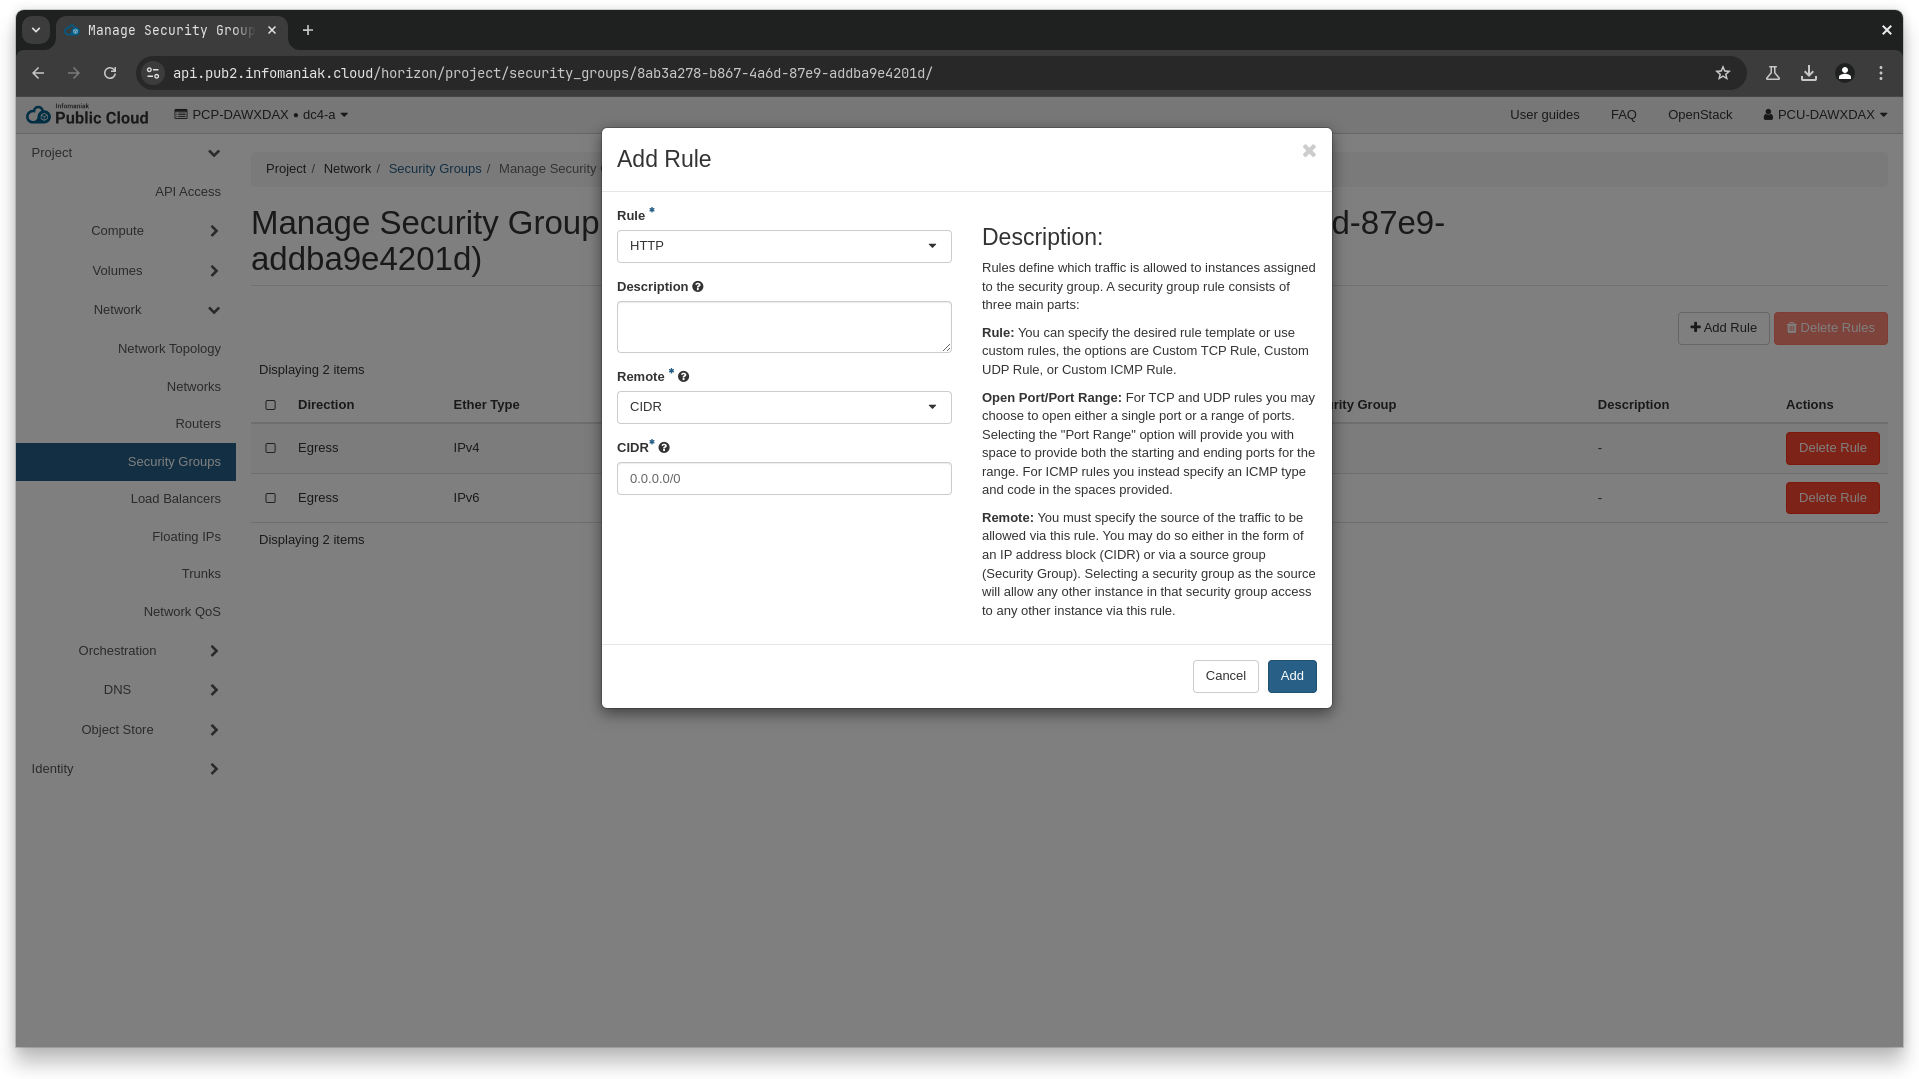
❯ openstack security group rule create \
--ingress \
--ethertype IPv4 \
--protocol tcp \
--dst-port 80 \
--remote-ip 0.0.0.0/0 \
459888ad-0d17-4e76-8a13-96cd5ed248c1
resource "openstack_networking_secgroup_v2" "demo" {
  name        = "demo-security-group"
  description = "Terraform managed."
}

resource "openstack_networking_secgroup_rule_v2" "ingress" {
  direction         = "ingress"
  security_group_id = openstack_networking_secgroup_v2.demo.id

  description      = "Terraform managed."
  ethertype        = "IPv4"
  protocol         = "tcp"
  port_range_min   = 80
  port_range_max   = 80
  remote_ip_prefix = "0.0.0.0/0"
}
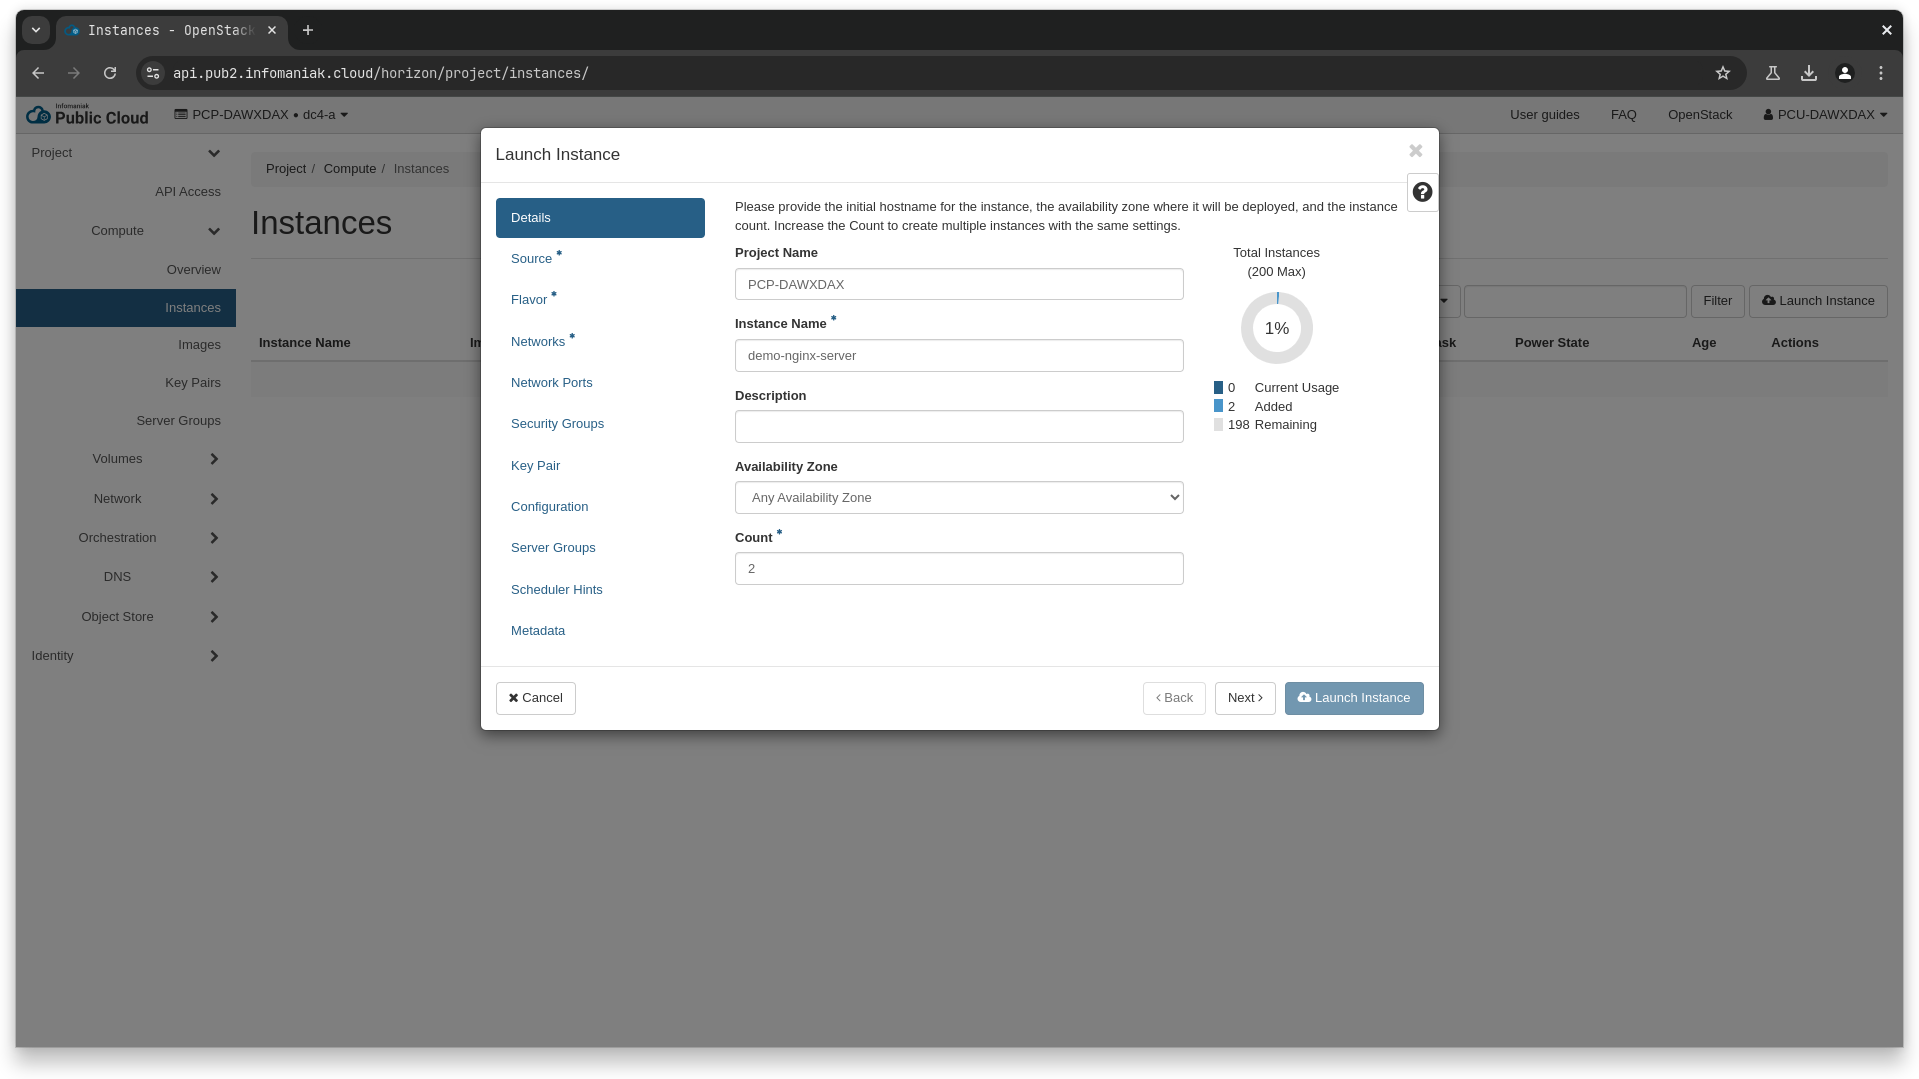
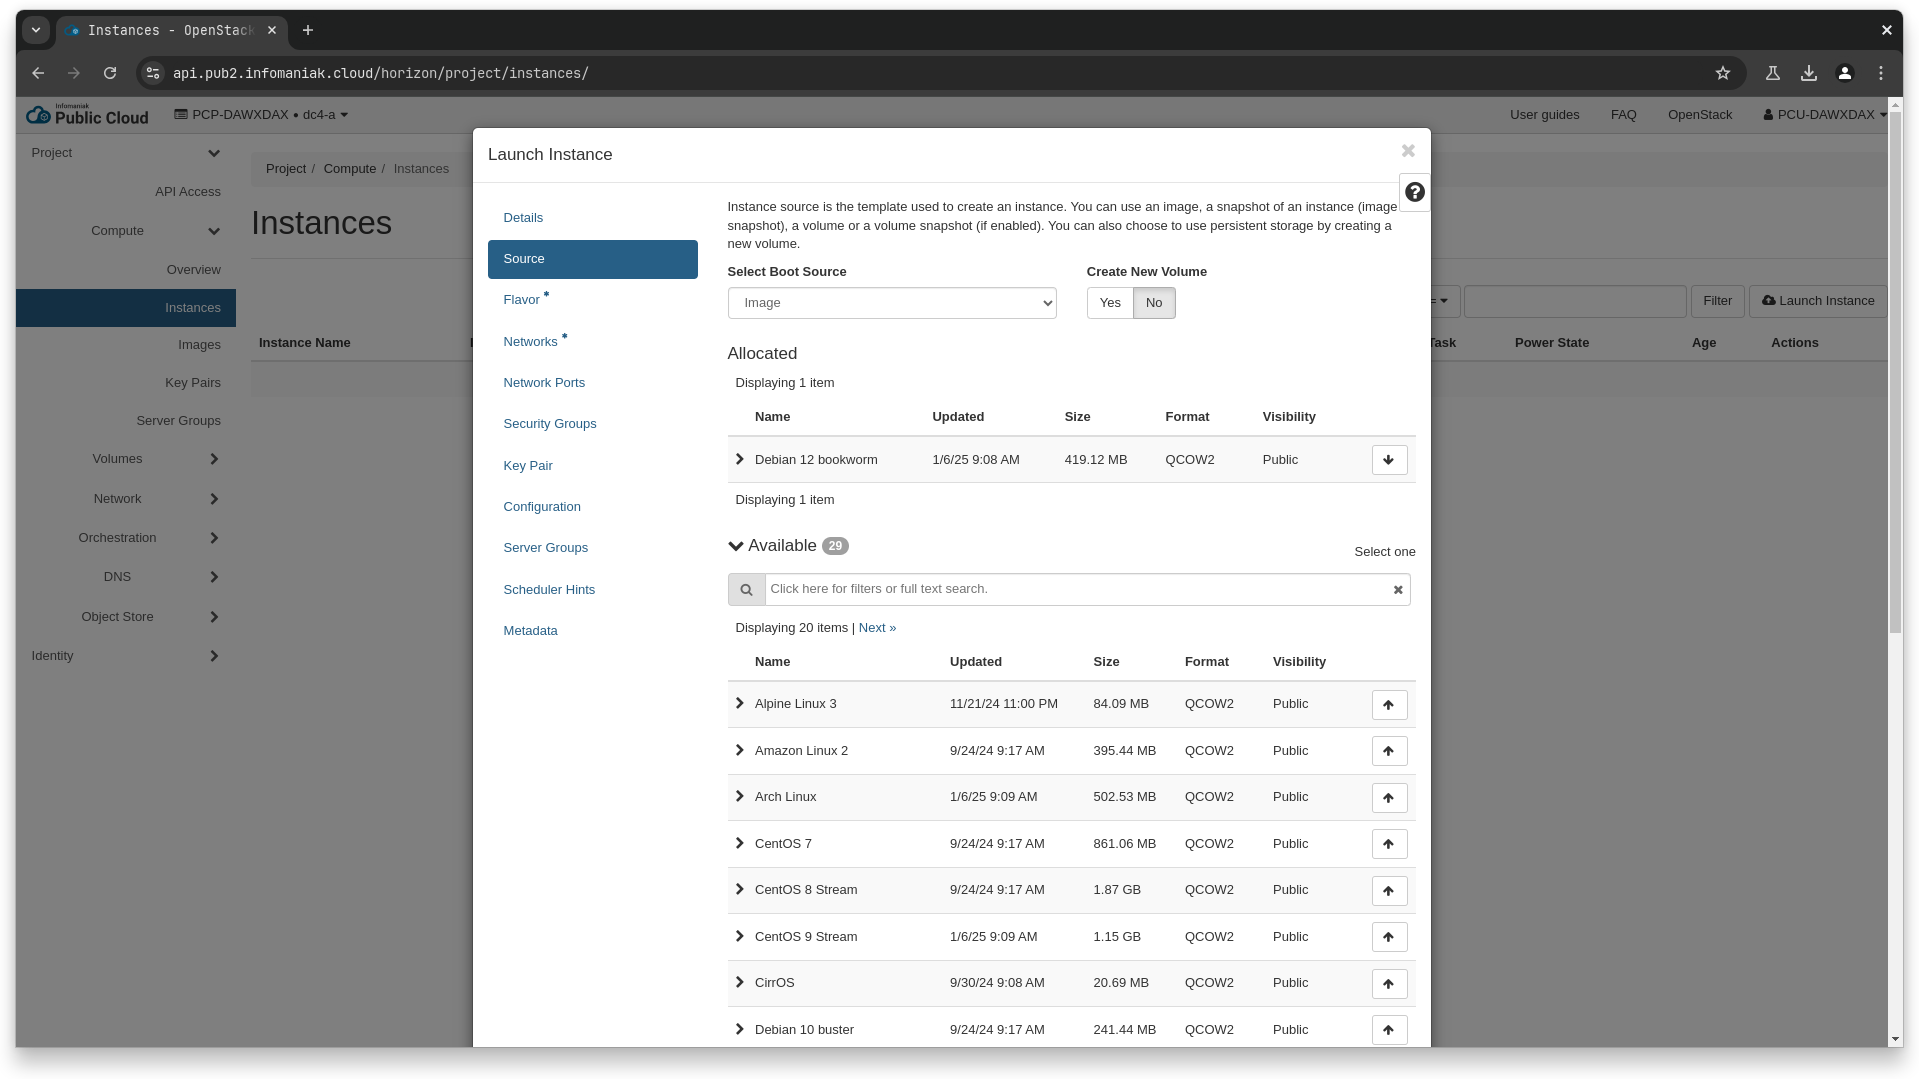
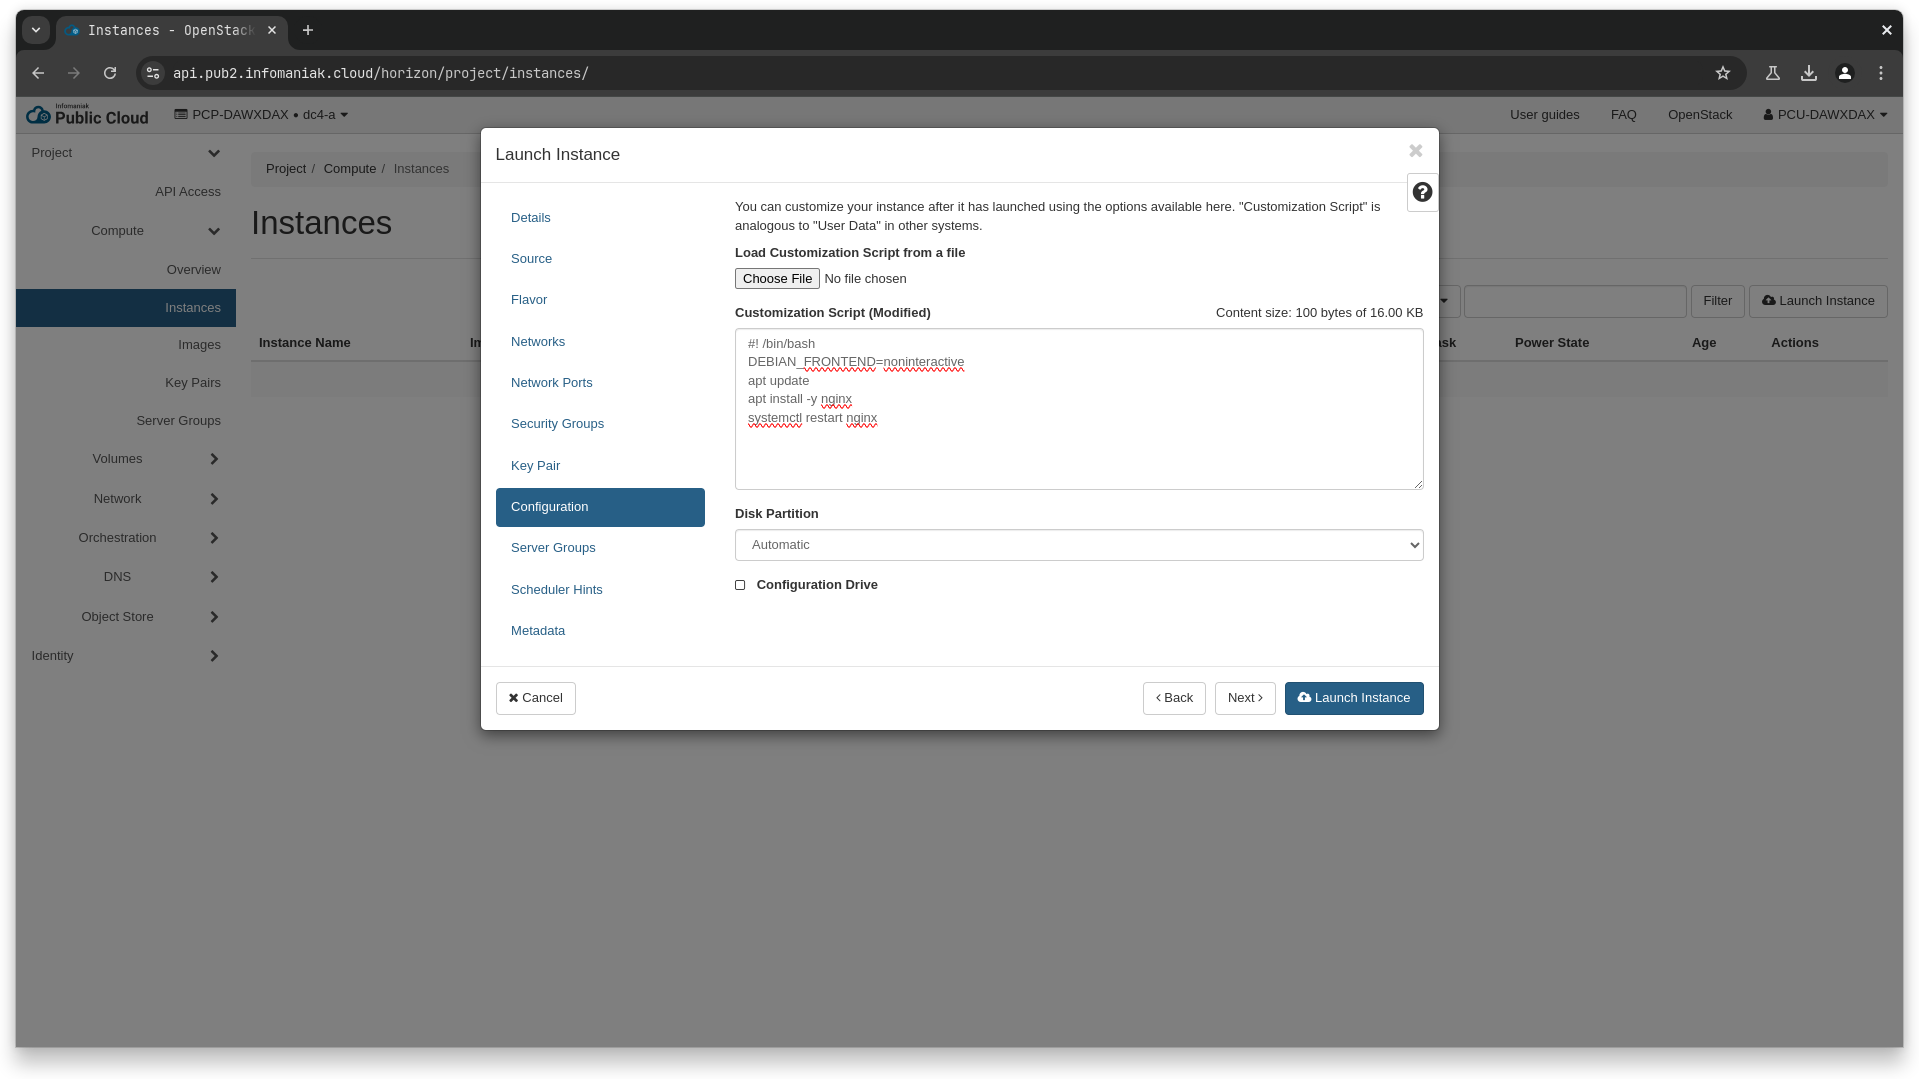
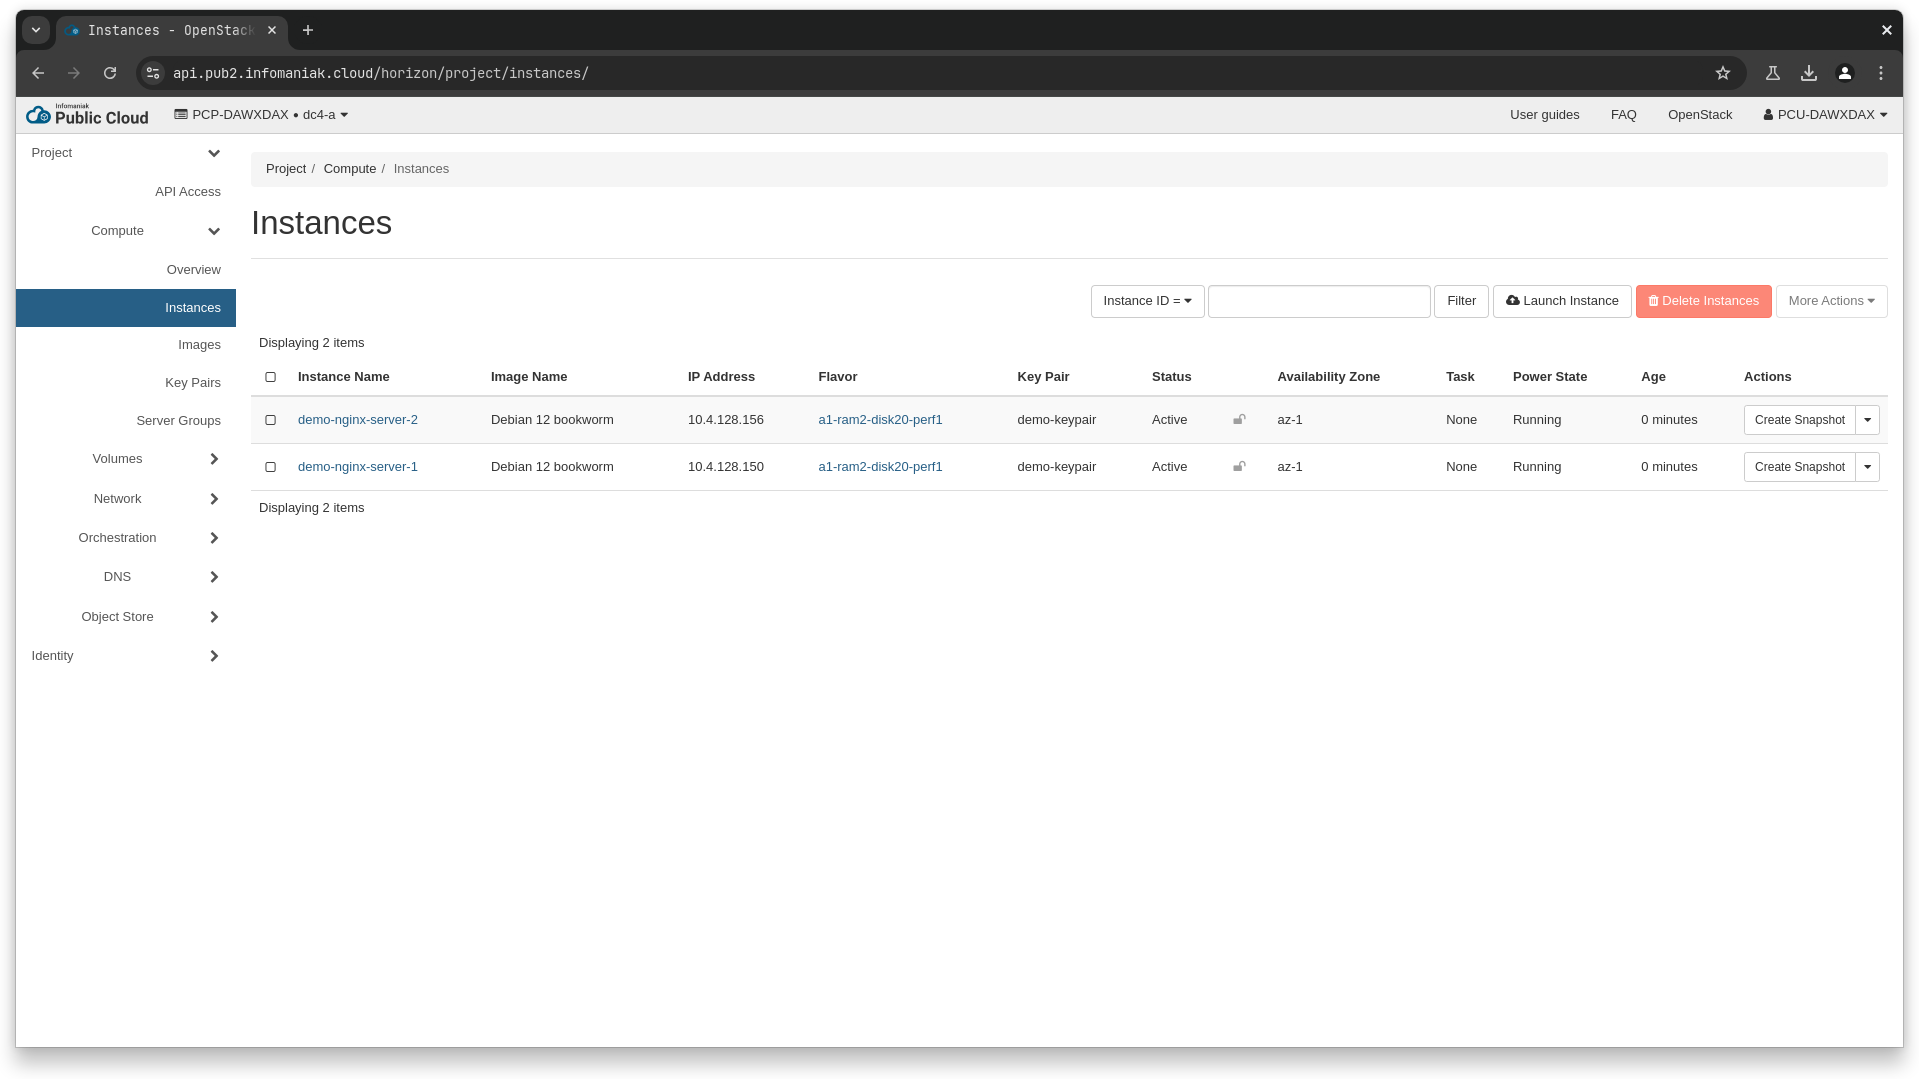
Then, we will create our instances to serve as a backend for the loadbalancer, and install a simple webserver on them.
❯ openstack image list --name "Debian 12 bookworm"
+--------------------------------------+--------------------+--------+
| ID | Name | Status |
+--------------------------------------+--------------------+--------+
| 39d7884c-b173-4d0b-9b80-233a2acb3588 | Debian 12 bookworm | active |
+--------------------------------------+--------------------+--------+
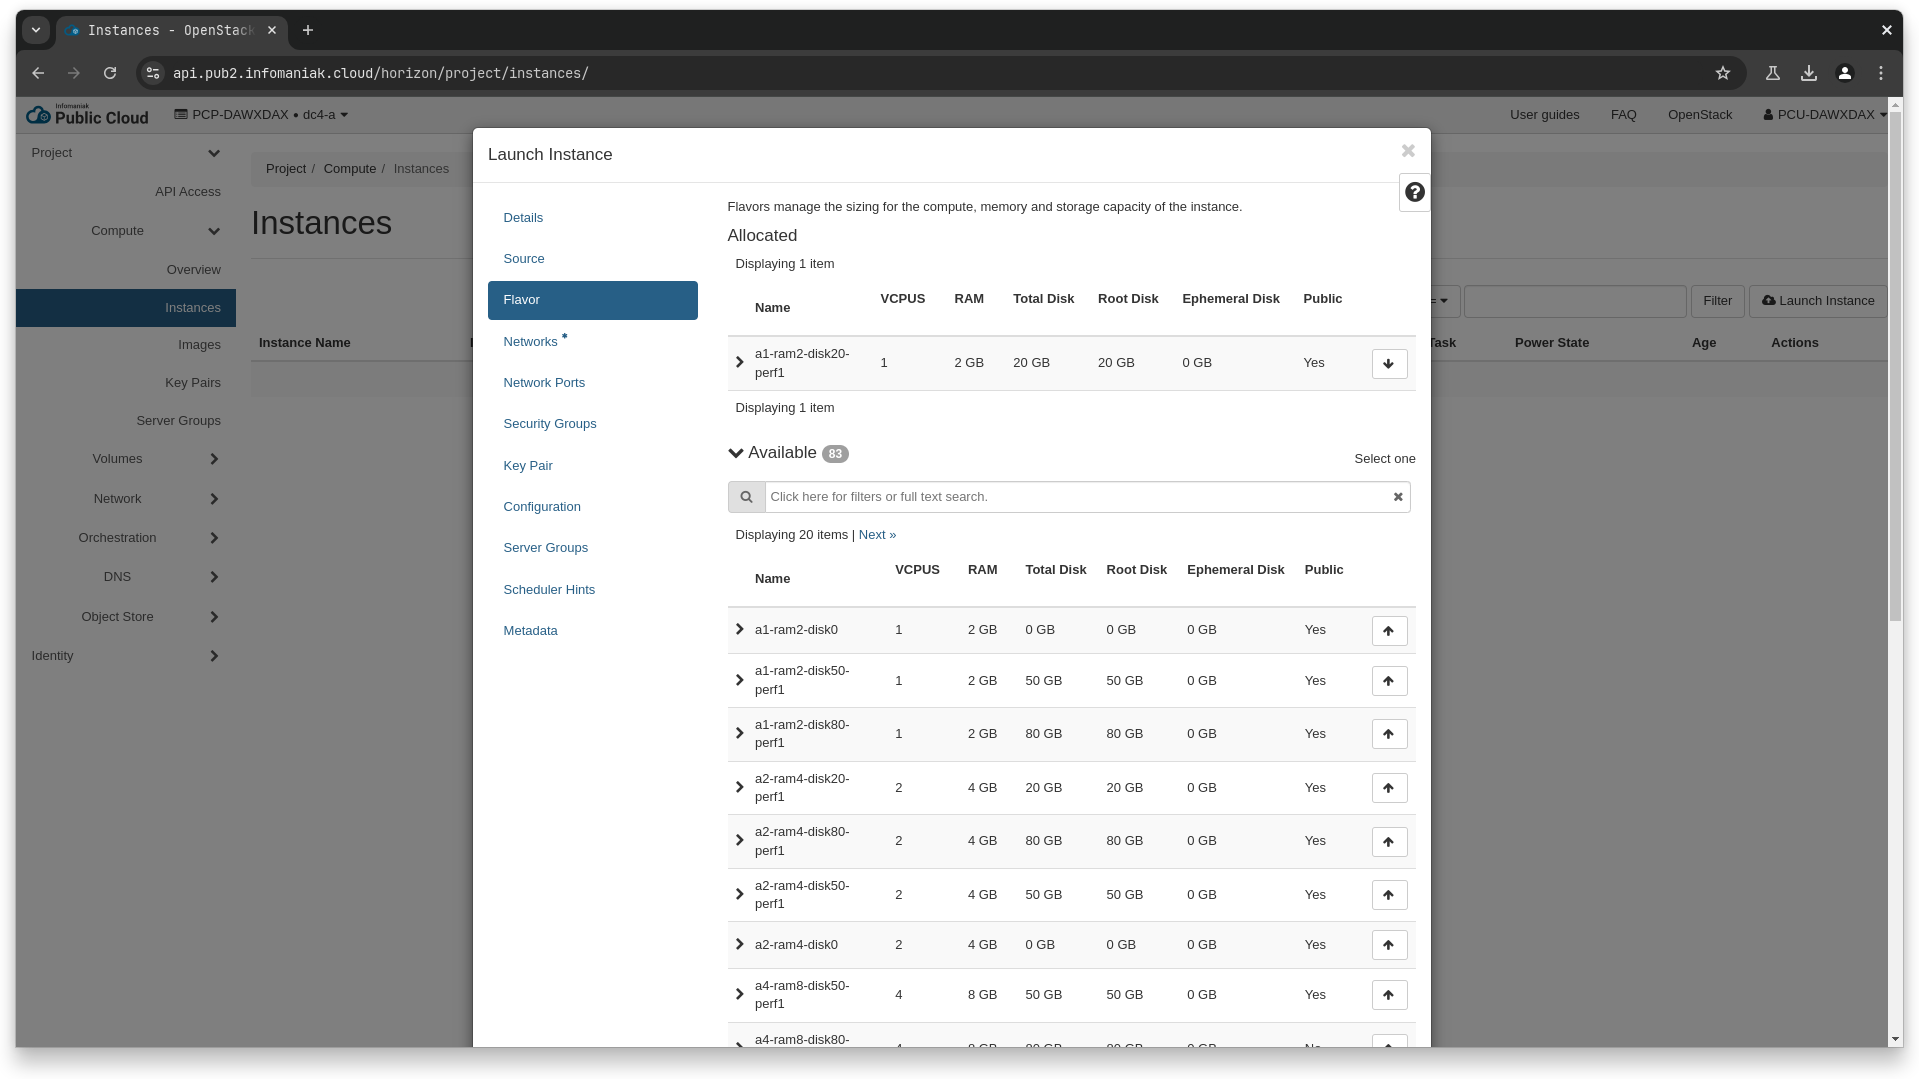
❯ openstack flavor show a1-ram2-disk20-perf1
+----------------------------+---------------------------------------------------------------------------------------------------------------------------------------------------+
| Field | Value |
+----------------------------+---------------------------------------------------------------------------------------------------------------------------------------------------+
| OS-FLV-DISABLED:disabled | False |
| OS-FLV-EXT-DATA:ephemeral | 0 |
| access_project_ids | None |
| description | None |
| disk | 20 |
| id | 093a53d7-f420-4b79-9bb0-9ad4eb190631 |
| name | a1-ram2-disk20-perf1 |
| os-flavor-access:is_public | True |
| properties | hw:cpu_sockets='1', quota:disk_read_bytes_sec='209715200', quota:disk_read_iops_sec='500', quota:disk_write_bytes_sec='209715200', |
| | quota:disk_write_iops_sec='500' |
| ram | 2048 |
| rxtx_factor | 1.0 |
| swap | 0 |
| vcpus | 1 |
+----------------------------+---------------------------------------------------------------------------------------------------------------------------------------------------+
❯ openstack network list --name pcp-dawxdax-frontend-network
+--------------------------------------+------------------------------+--------------------------------------+
| ID | Name | Subnets |
+--------------------------------------+------------------------------+--------------------------------------+
| 83f559b1-3522-4bb2-a179-4f3f4ec58b71 | pcp-dawxdax-frontend-network | be560c41-bcf4-49a1-8117-caf292bd9e49 |
+--------------------------------------+------------------------------+--------------------------------------+
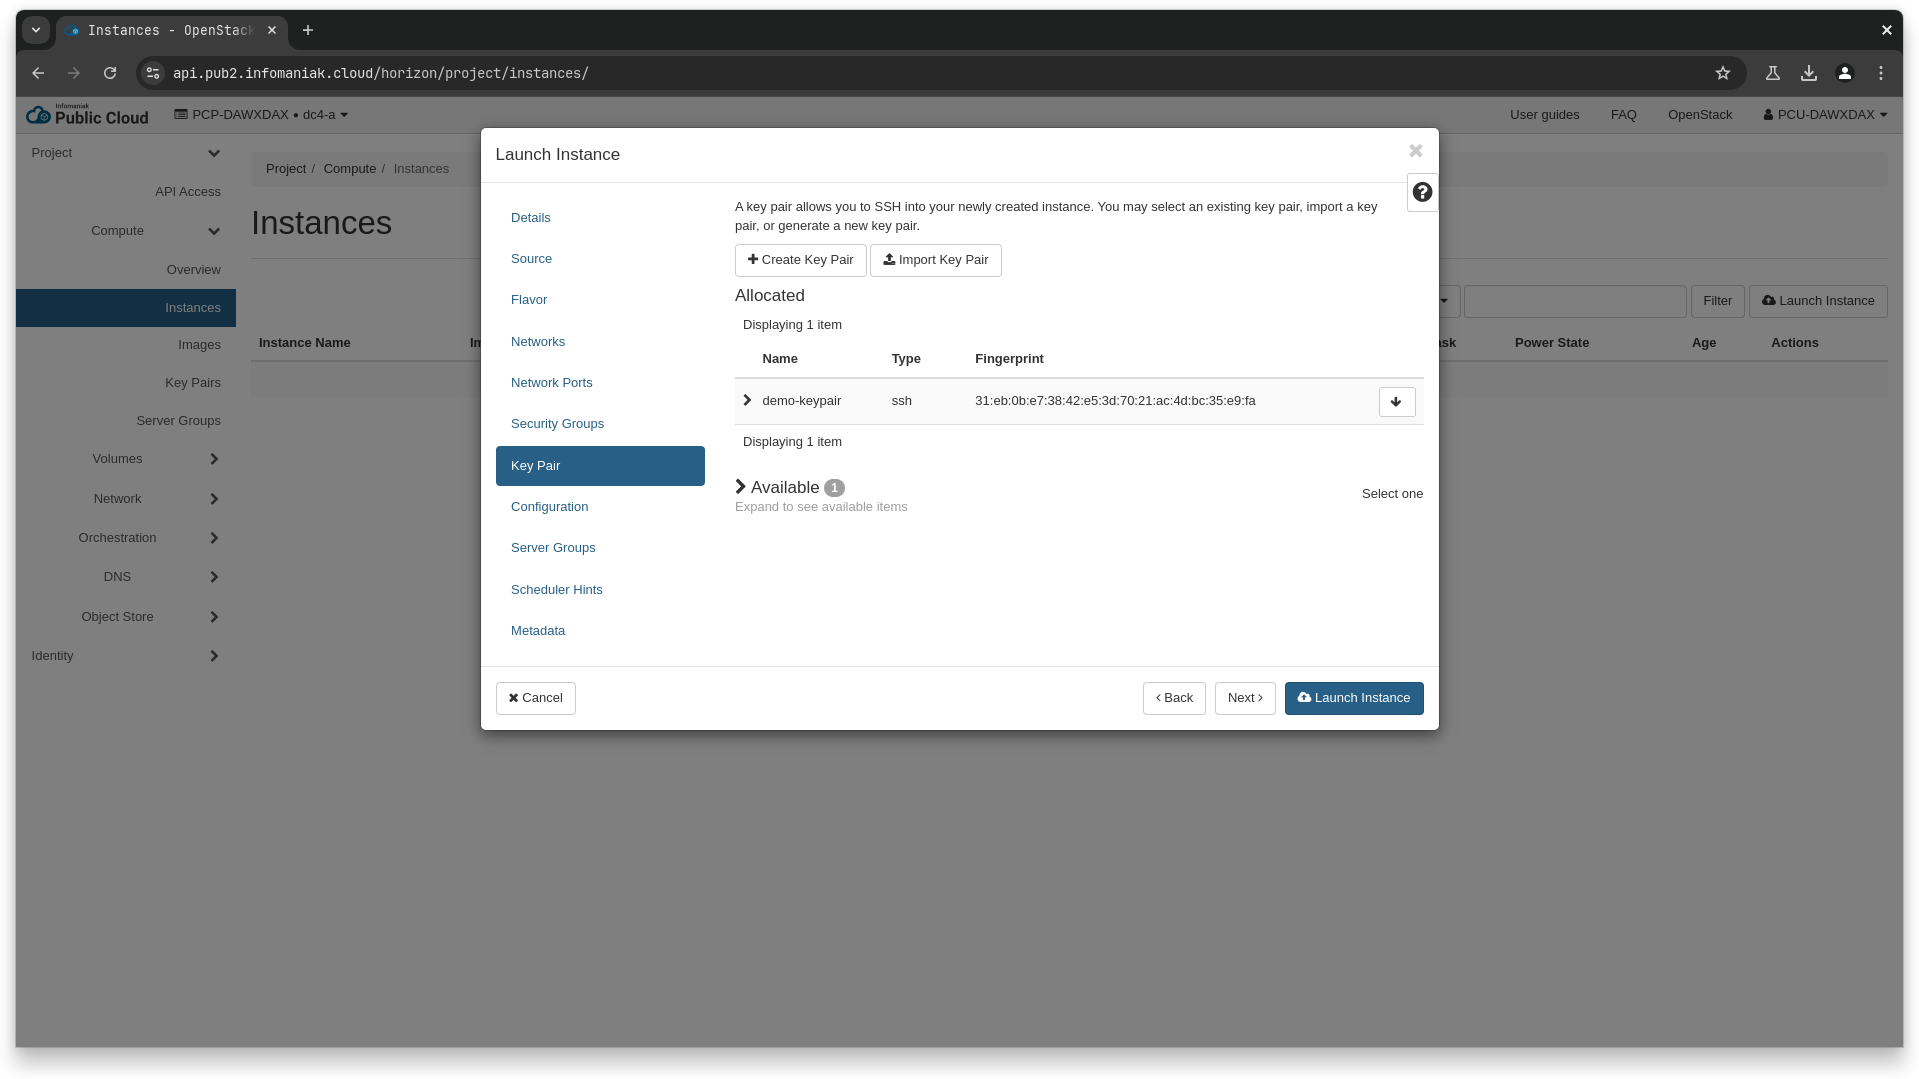
❯ openstack keypair create demo-keypair > demo-keypair.pem
❯ chmod 600 demo-keypair.pem
❯ cat > user_data_script.sh <<EOL
#! /bin/bash
DEBIAN_FRONTEND=noninteractive
apt update
apt install -y nginx
systemctl restart nginx
EOL
# here, we re-use the values retrieved earlier for the flavor id,
# network id, image id, as well as the security group name we created.
❯ openstack server create \
--flavor a1-ram2-disk20-perf1 \
--image 39d7884c-b173-4d0b-9b80-233a2acb3588 \
--key-name demo-keypair \
--security-group demo-security-group \
--network 83f559b1-3522-4bb2-a179-4f3f4ec58b71 \
--user-data user_data_script.sh \
demo-nginx-server-1
❯ openstack server create \
--flavor a1-ram2-disk20-perf1 \
--image 39d7884c-b173-4d0b-9b80-233a2acb3588 \
--key-name demo-keypair \
--security-group demo-security-group \
--network 83f559b1-3522-4bb2-a179-4f3f4ec58b71 \
--user-data user_data_script.sh \
demo-nginx-server-2
data "openstack_compute_flavor_v2" "a1_ram2_disk20_perf1" {
  name = "a1-ram2-disk20-perf1"
}

data "openstack_images_image_v2" "debian_12" {
  name_regex  = "^Debian 12.*"
  most_recent = true
}


data "openstack_networking_network_v2" "demo" {
  name = "pcp-dawxdax-frontend-network"
}

resource "openstack_compute_keypair_v2" "demo_keypair" {
  name = "demo-keypair"
}

resource "openstack_compute_instance_v2" "nginx_server" {
  count = 2

  name      = "demo-nginx-server-${count.index + 1}"
  flavor_id = data.openstack_compute_flavor_v2.a1_ram2_disk20_perf1.id
  image_id  = data.openstack_images_image_v2.debian_12.id

  key_pair = openstack_compute_keypair_v2.demo_keypair.name

  security_groups = [openstack_networking_secgroup_v2.demo.name]

  network {
    uuid = data.openstack_networking_network_v2.demo.id
  }

  user_data = <<EOT
#! /bin/bash
DEBIAN_FRONTEND=noninteractive
apt update
apt install -y nginx
systemctl restart nginx
EOT
}
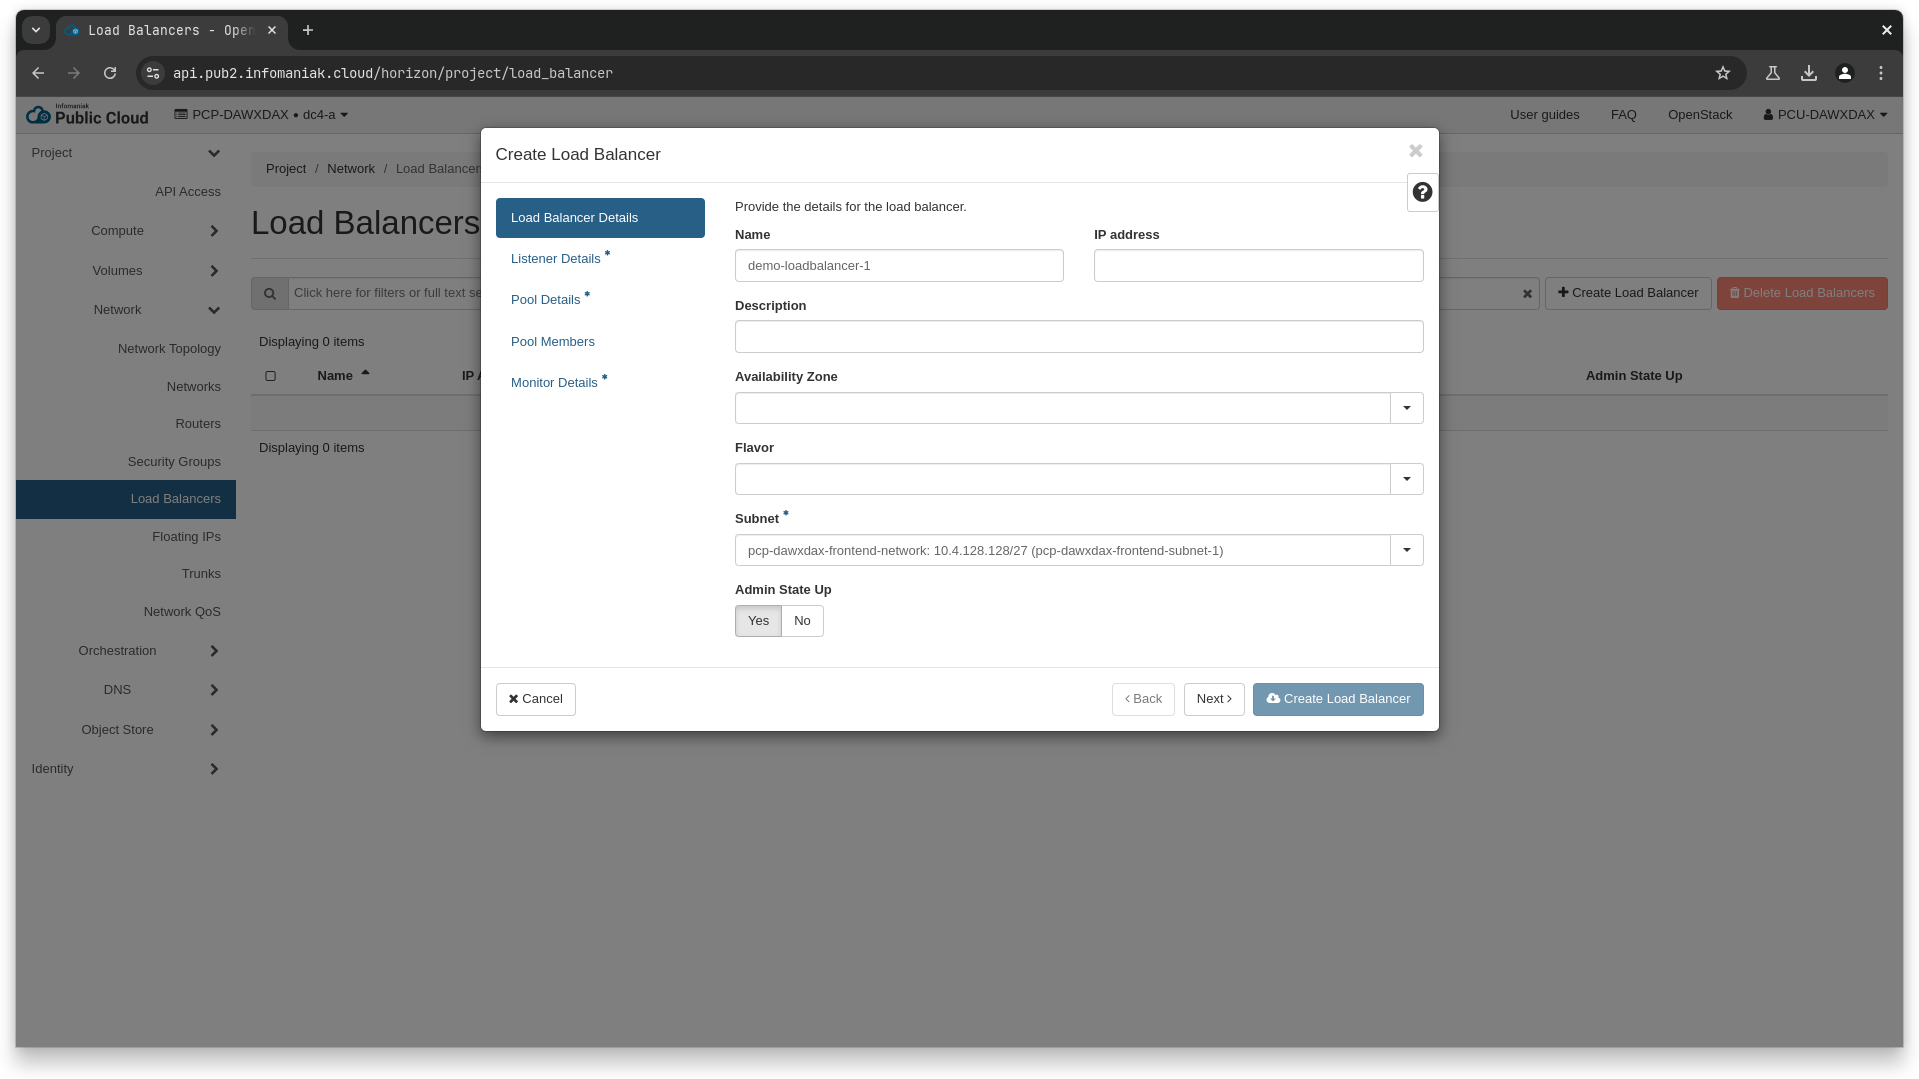
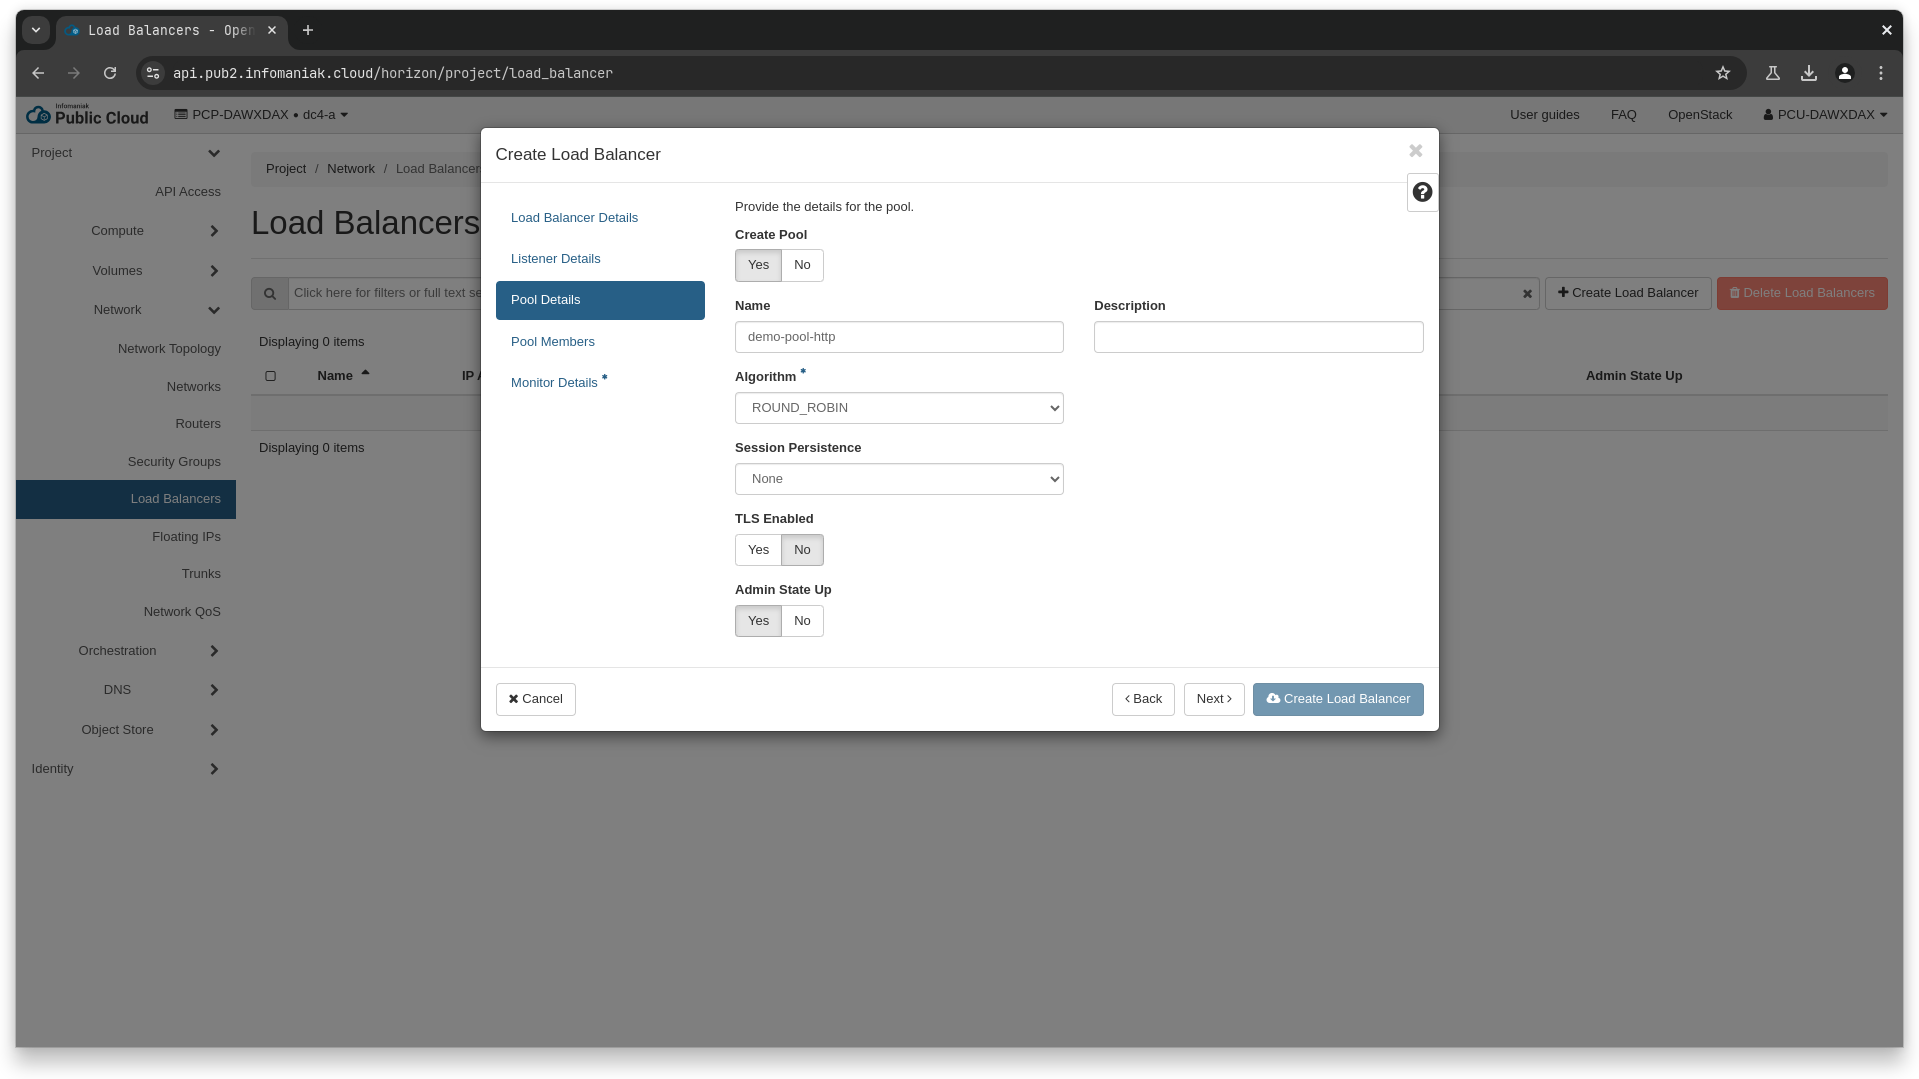
Creating the loadbalancer
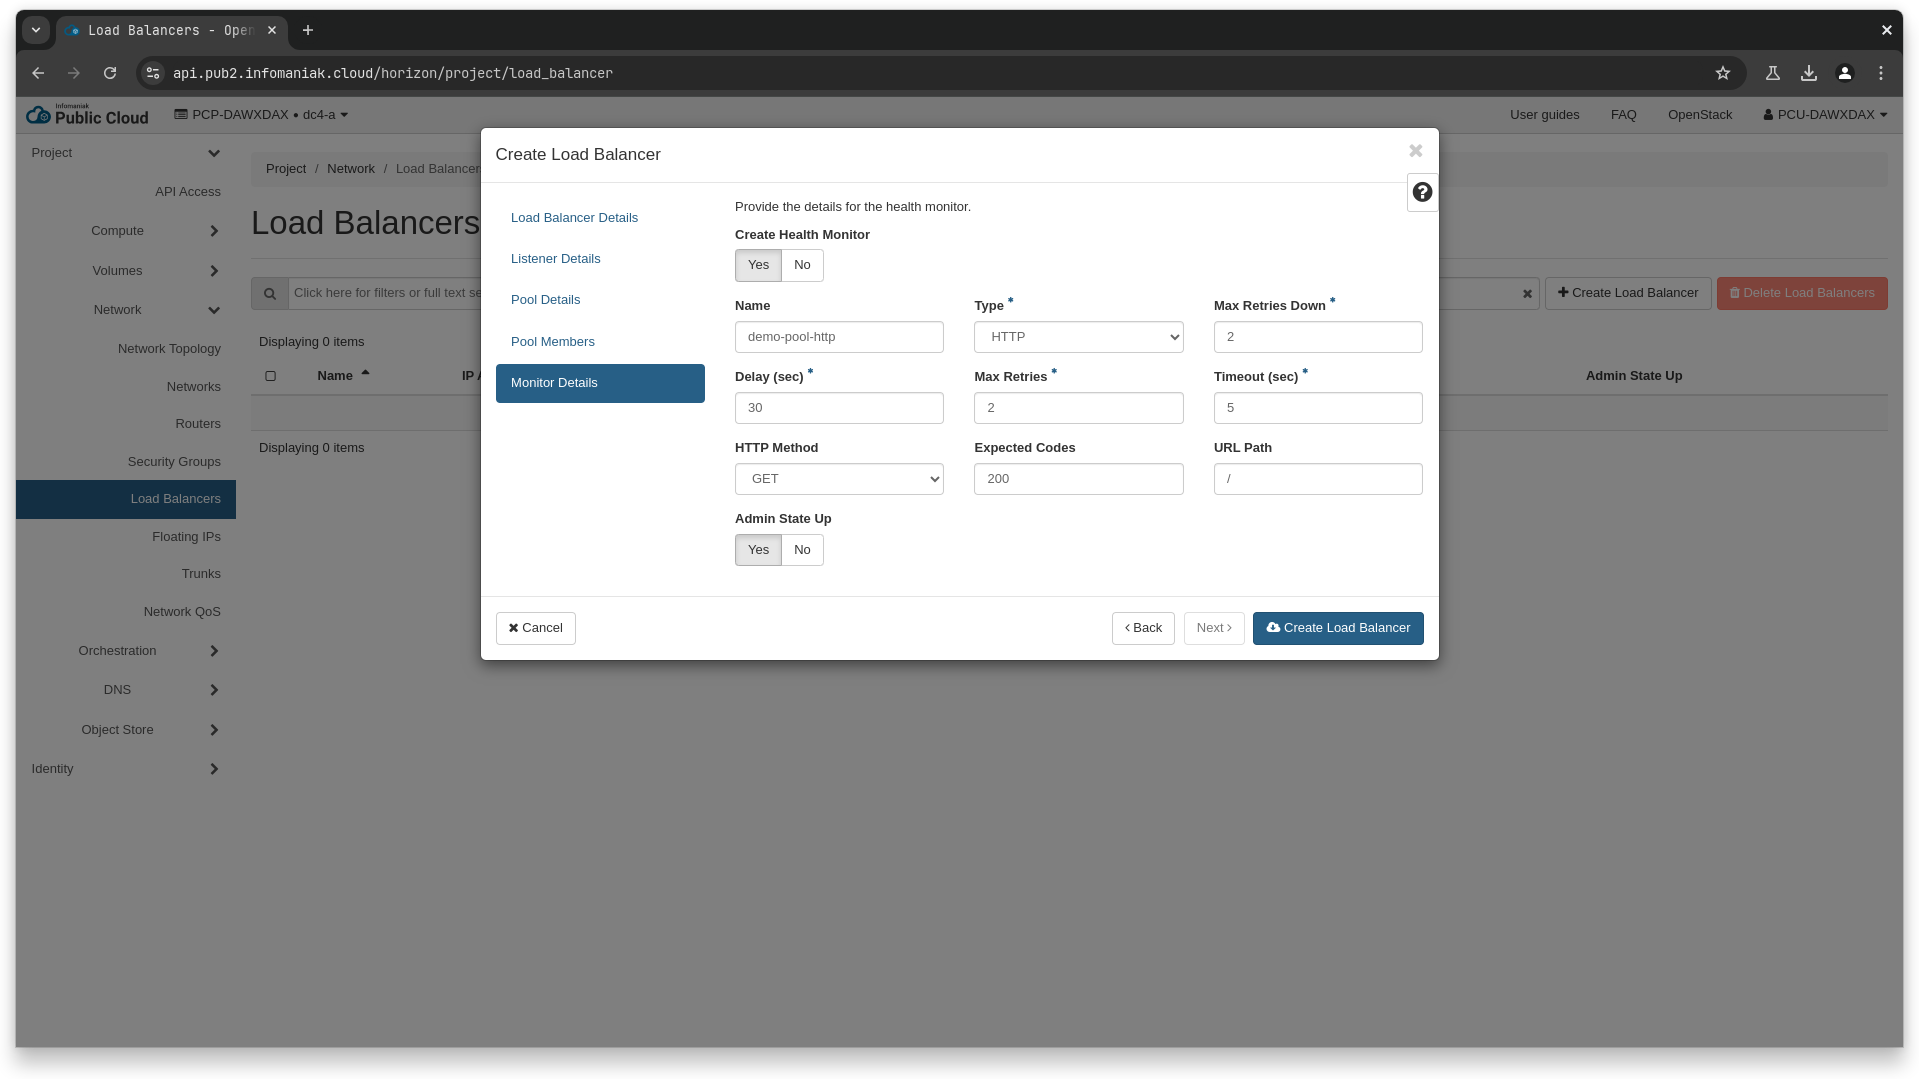
We can now create our loadbalancer, as well as a listener and a pool for our http endpoint. We'll also add a heatlthcheck to automatically remove from the round robin, any backend that does not respond as it should.
❯ openstack subnet list --network 83f559b1-3522-4bb2-a179-4f3f4ec58b71
+--------------------------------------+-------------------------------+--------------------------------------+-----------------+
| ID | Name | Network | Subnet |
+--------------------------------------+-------------------------------+--------------------------------------+-----------------+
| be560c41-bcf4-49a1-8117-caf292bd9e49 | pcp-dawxdax-frontend-subnet-1 | 83f559b1-3522-4bb2-a179-4f3f4ec58b71 | 10.4.128.128/27 |
+--------------------------------------+-------------------------------+--------------------------------------+-----------------+
❯ openstack port create demo-loadbalancer-port \
--network 83f559b1-3522-4bb2-a179-4f3f4ec58b71 \
--fixed-ip subnet=be560c41-bcf4-49a1-8117-caf292bd9e49 \
--enable \
--no-security-group
# Here, we get id 00248eb2-8019-4e42-b33b-90b9f9f1e7cc for the newly created port
❯ openstack loadbalancer create \
--name demo-loadbalancer-1 \
--vip-port-id 00248eb2-8019-4e42-b33b-90b9f9f1e7cc
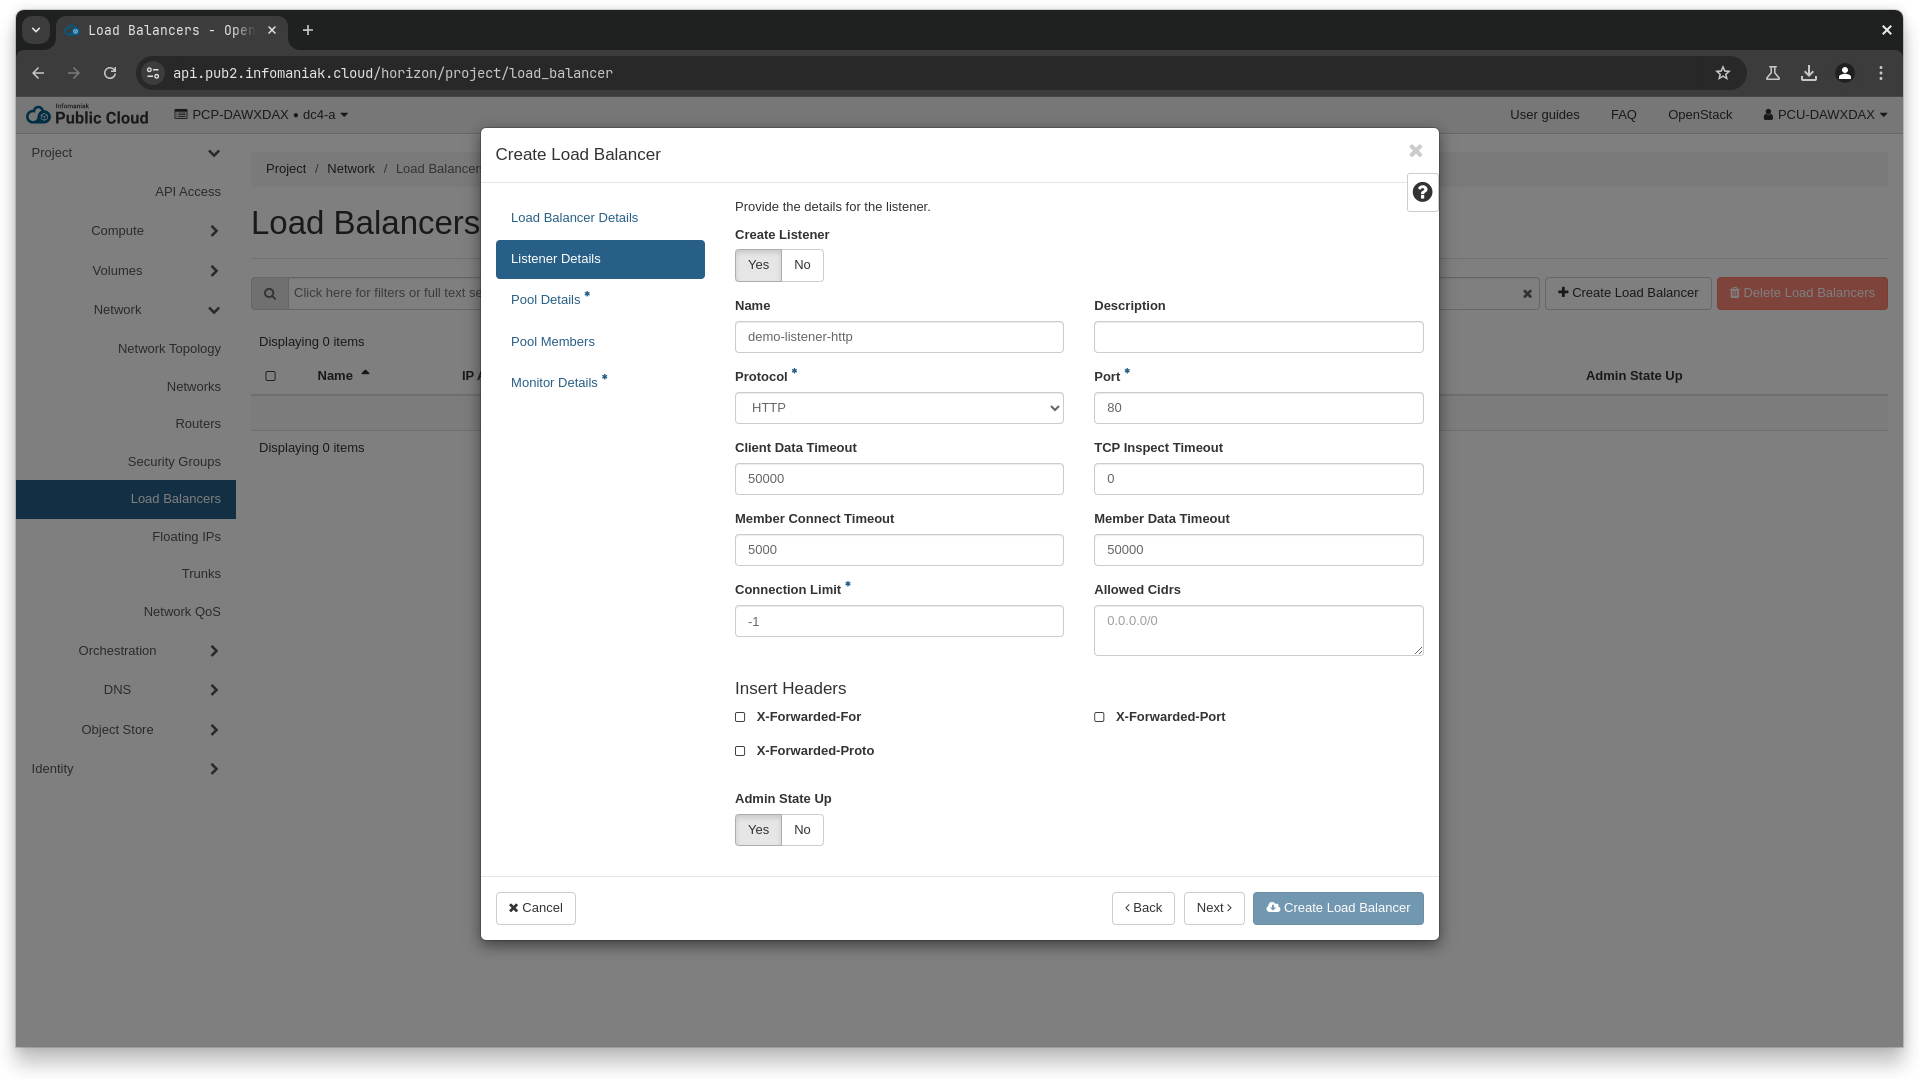
❯ openstack loadbalancer listener create \
--name demo-listener-http \
--protocol HTTP \
--protocol-port 80 \
demo-loadbalancer-1
❯ openstack loadbalancer pool create \
--name demo-pool-http \
--protocol HTTP \
--lb-algorithm ROUND_ROBIN \
--listener demo-listener-http
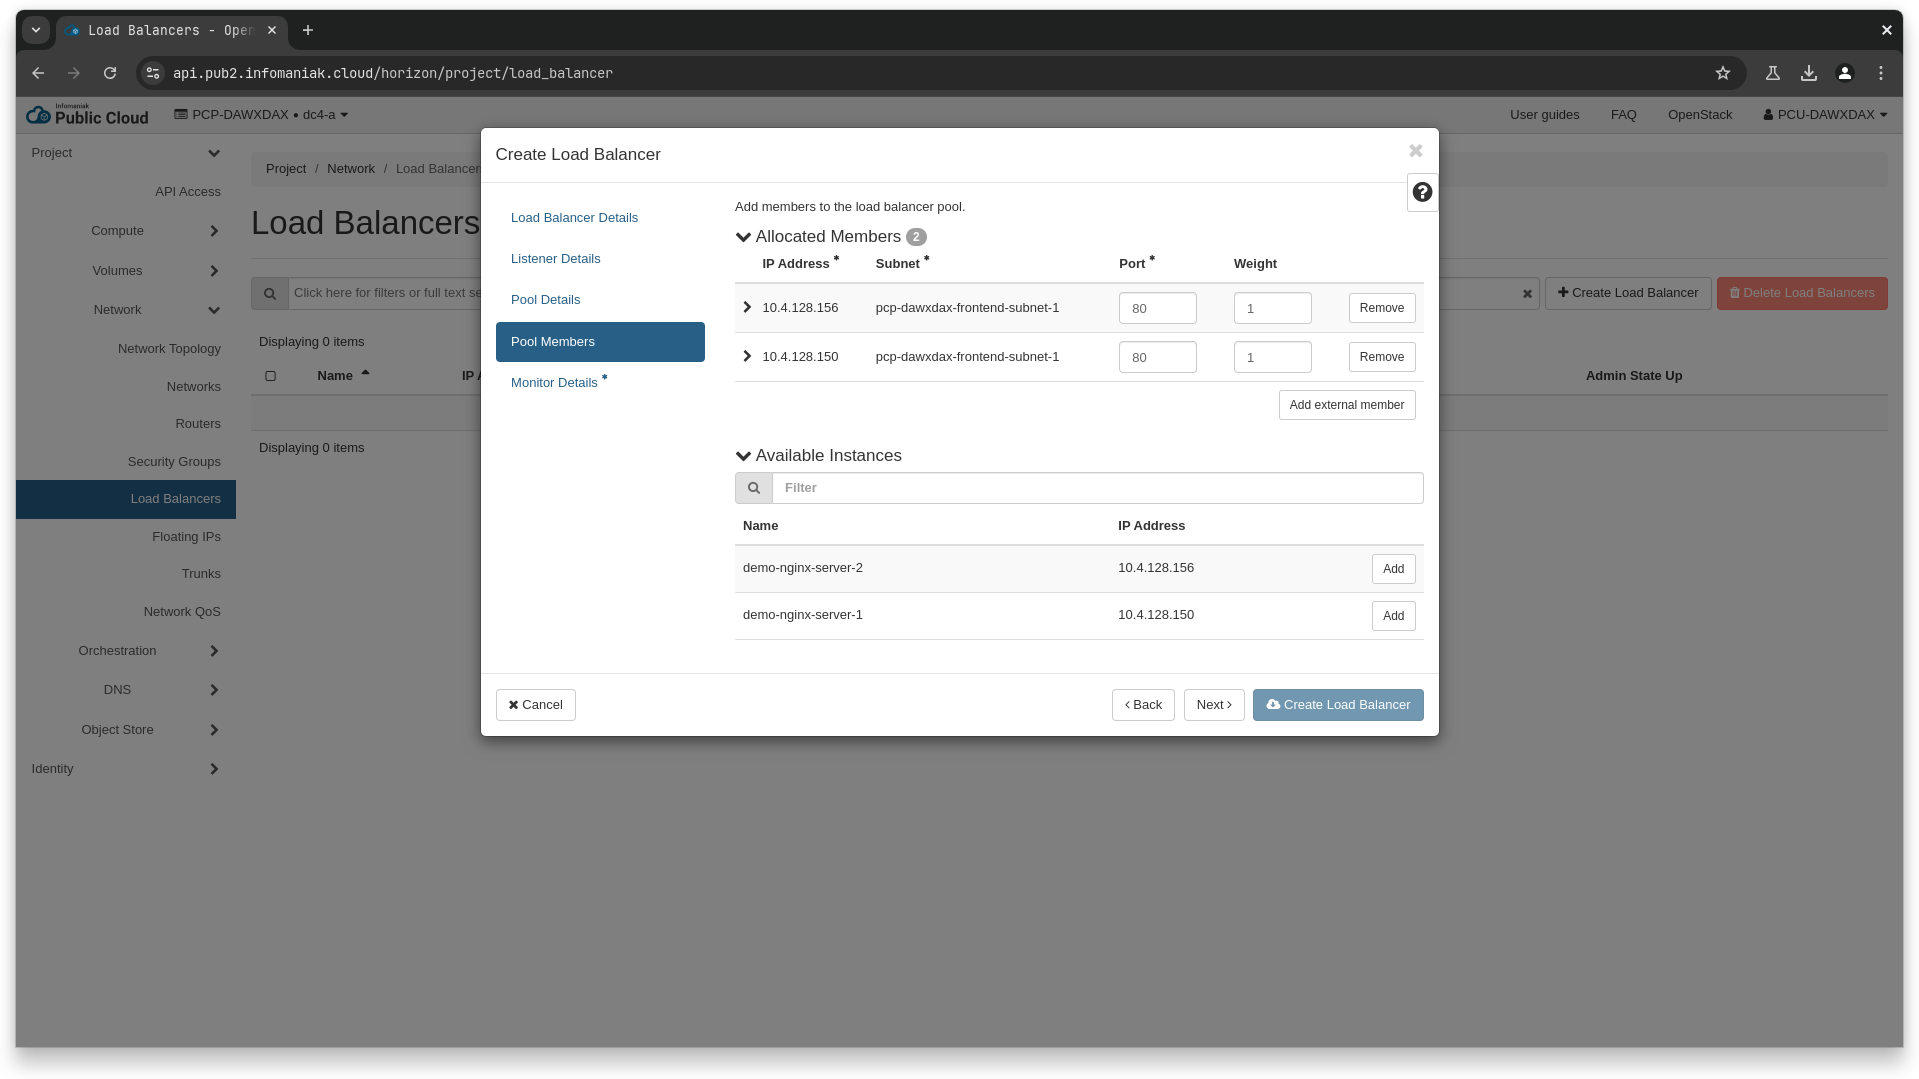
# to add the members, we will re-use the ip aqddresses of the instances we created earlier, here, 10.4.128.138 and 10.4.128.141
❯ openstack loadbalancer member create \
--name demo-member-1 \
--address 10.4.128.138 \
--protocol-port 80 \
demo-pool-http
❯ openstack loadbalancer member create \
--name demo-member-1 \
--address 10.4.128.141 \
--protocol-port 80 \
demo-pool-http
❯ openstack loadbalancer healthmonitor create \
--type HTTP \
--delay 30 \
--timeout 5 \
--max-retries 2 \
--expected-codes 200 \
--url-path "/" \
demo-pool-http
data "openstack_networking_subnet_v2" "demo" {
  name       = "pcp-dawxdax-frontend-subnet-1"
  network_id = data.openstack_networking_network_v2.demo.id
}

resource "openstack_networking_port_v2" "demo_lb" {
  name                  = "demo-loadbalancer-port"
  network_id            = data.openstack_networking_network_v2.demo.id
  admin_state_up        = "true"
  port_security_enabled = true
  no_security_groups    = true
  fixed_ip {
    subnet_id = data.openstack_networking_subnet_v2.demo.id
  }
}

resource "openstack_lb_loadbalancer_v2" "demo" {
  name        = "demo-loadbalancer-1"
  vip_port_id = openstack_networking_port_v2.demo_lb.id
  security_group_ids = [
    openstack_networking_secgroup_v2.demo.id,
  ]
}

resource "openstack_lb_listener_v2" "demo_http" {
  name            = "demo-listener-https-passthrough"
  protocol        = "HTTP"
  protocol_port   = 80
  loadbalancer_id = openstack_lb_loadbalancer_v2.demo.id
}

resource "openstack_lb_pool_v2" "demo" {
  name     = "demo-pool-http"
  protocol = "HTTP"
  lb_method   = "ROUND_ROBIN"
  listener_id = openstack_lb_listener_v2.demo_tls_passthrough.id
}

resource "openstack_lb_member_v2" "demo_http" {
  count = 2

  name          = "demo-member-${count.index + 1}"
  pool_id       = openstack_lb_pool_v2.demo.id
  address       = openstack_compute_instance_v2.nginx_server[count.index].access_ip_v4
  protocol_port = 80
}


resource "openstack_lb_monitor_v2" "demo_liveness" {
  pool_id        = openstack_lb_pool_v2.demo.id
  type           = "HTTP"
  url_path       = "/"
  http_method    = "GET"
  expected_codes = "200"
  delay          = 30
  timeout        = 5
  max_retries    = 2
}
Associate a floating IP
The last step is to associate a floating ip to our loadbalancer VIP, in order to make it available publicly.
Warning
This step is optional, and should only be done for testing purpose, or if you intend to make your loadbalancer public-facing.
❯ openstack network show -f value -c id ext-floating1
34a684b8-2889-4950-b08e-c33b3954a307

❯ openstack floating ip create 34a684b8-2889-4950-b08e-c33b3954a307
# here we get the ip 37.156.43.216, and the floating ip id of e84fa8f9-7ee5-4751-a7d2-d2f583194d73

# we reference the id of the previously created vip-port of the loadbalancer (00248eb2-8019-4e42-b33b-90b9f9f1e7cc)
❯ openstack floating ip set --port 00248eb2-8019-4e42-b33b-90b9f9f1e7cc e84fa8f9-7ee5-4751-a7d2-d2f583194d73
TODO
data "openstack_networking_network_v2" "floating" {
  name = "ext-floating1"
}

resource "openstack_networking_floatingip_v2" "demo_float" {
  pool = data.openstack_networking_network_v2.floating.name
}

# we reference the loadbalancer port from the previous step here
resource "openstack_networking_floatingip_associate_v2" "demo_float_lb" {
  floating_ip = openstack_networking_floatingip_v2.demo_float.address
  port_id     = openstack_networking_port_v2.demo_lb.id
}
Testing your loadbalancer
Now that everything is created, we should be able to access our nginx servers through our loadbalancer via HTTP.
❯ curl -o /dev/null -s -w "%{http_code}\n" http://37.156.43.216
200

❯ curl http://37.156.43.216
<!DOCTYPE html>
<html>
<head>
<title>Welcome to nginx!</title>
<style>
html { color-scheme: light dark; }
body { width: 35em; margin: 0 auto;
font-family: Tahoma, Verdana, Arial, sans-serif; }
</style>
</head>
<body>
<h1>Welcome to nginx!</h1>
<p>If you see this page, the nginx web server is successfully installed and
working. Further configuration is required.</p>

<p>For online documentation and support please refer to
<a href="http://nginx.org/">nginx.org</a>.<br/>
Commercial support is available at
<a href="http://nginx.com/">nginx.com</a>.</p>

<p><em>Thank you for using nginx.</em></p>
</body>
</html>